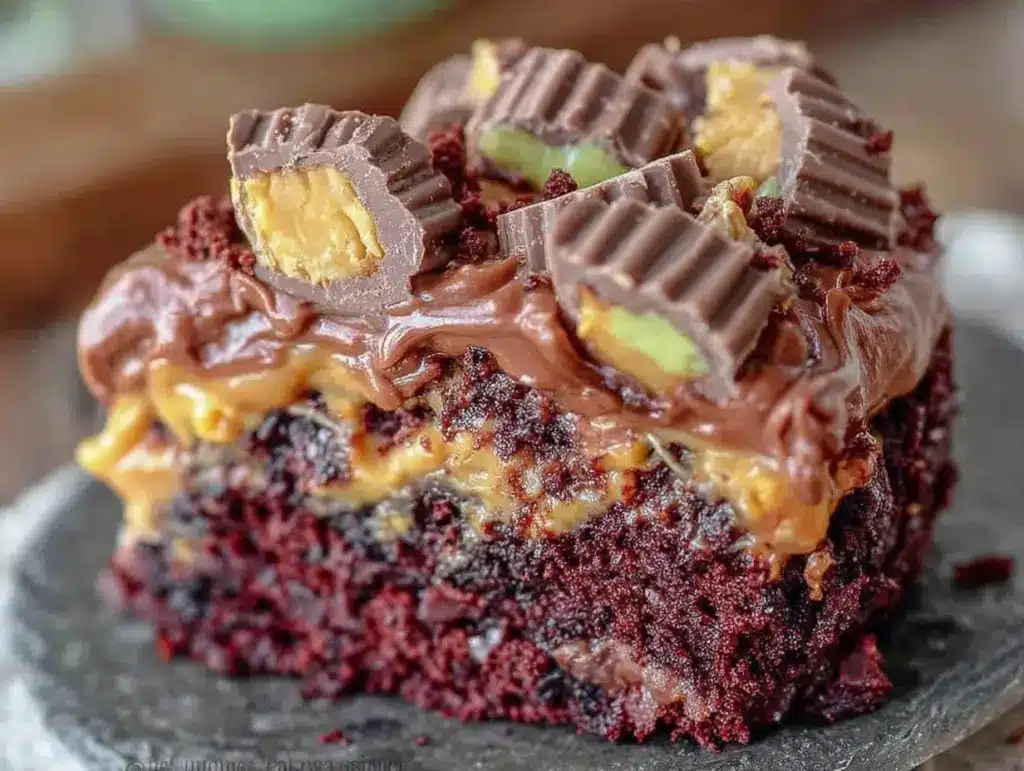
Last Saturday, I was staring at a box of standard chocolate cake mix and feeling pretty defeated. I have friends who are gluten-free, and I have friends who are dairy-free, and honestly, trying to make one cake that satisfies everyone usually ends in a sad, dense crumb or a flavor profile that tastes like cardboard. I wanted to make something that screamed “celebration” but didn’t require me to apologize for every slice. So, I decided to skip the box mix and go old school with a homemade Reese’s Peanut Butter Chocolate Cake.
Here’s the confession: I’ve made this cake six times in the last two months. The first three attempts were disasters. I used regular flour and almond milk, and while it was edible, it lacked the structural integrity to hold up the frosting. It was more of a chocolate pudding with a crust. On the fourth try, I switched to a high-quality gluten-free flour blend and swapped the dairy butter for coconut oil. That’s when it clicked. The texture became light, the chocolate flavor deepened, and the peanut butter swirl? Pure magic.
This isn’t just a “diet” cake. It’s a rich, moist, indulgent dessert that tastes like you spent hours in the kitchen. I’ve tested this recipe multiple times to ensure the gluten-free flour doesn’t make it gritty and the dairy-free fats don’t leave a weird aftertaste. The secret is in the ratio of wet to dry ingredients and the temperature of your eggs. If you get those right, you’ll have a cake that rivals any bakery version, but better because you know exactly what’s going into it.
I served this at a neighborhood potluck last week. A guy who usually complains about “health food” took two slices and asked for the recipe. He had no idea it was gluten-free or dairy-free. That’s the win for me. This Reese’s Peanut Butter Chocolate Cake is proof that dietary restrictions don’t mean giving up joy. It’s rich, it’s chocolatey, and it’s dangerously easy to make.
Why You’ll Love This Gluten-Free Dairy-Free Cake
Let’s be real for a second. Most gluten-free cakes are dry. Most dairy-free cakes are flat. This Reese’s Peanut Butter Chocolate Cake breaks that mold. It’s not just a compromise; it’s an upgrade in flavor and texture. Here’s why this specific recipe has earned a permanent spot in my rotation:
Moisture Without the Guilt — The key is using buttermilk made from unsweetened almond milk and apple cider vinegar. The acid tenderizes the gluten-free flour blend, which usually has a rougher texture. I tested this against straight almond milk, and the difference is night and day. The cake stays moist for three days without drying out.
Rich Chocolate Flavor — I use Dutch-processed cocoa powder. It’s darker, less acidic, and gives you that deep, fudge-like taste you get from premium chocolate bars. Regular cocoa powder tastes too fruity and thin for this cake. Trust me on this one.
Zero Grainy Texture — One of the biggest fears with gluten-free baking is that gritty mouthfeel. By sifting the flour blend and letting the batter rest for 10 minutes before baking, the starches hydrate fully. The result is a tender crumb that feels exactly like traditional wheat flour.
Swirls of Peanut Butter Bliss — We aren’t just adding peanut butter as a garnish. We’re swirling it into the batter *and* using it in the frosting. This creates pockets of salty-sweet goodness in every bite. It mimics the classic Reese’s cup experience without the processed wrapper.
Simple, Accessible Ingredients — You don’t need obscure flours like sorghum or millet unless you’re an advanced baker. A standard 1-to-1 gluten-free flour blend (like Bob’s Red Mill or King Arthur) works perfectly here. It keeps the shopping list short and the prep time low.
This is my go-to when I need to impress people who have allergies but still want to feel like they’re cheating on their diet. It just works.
Key Ingredients for the Best Reese’s Peanut Butter Chocolate Cake
Every ingredient here has a job. In gluten-free baking, there’s no room for lazy substitutions because the structure relies entirely on what’s in the bowl. Here’s what you need and why it matters.
Gluten-Free Flour Blend (2 1/2 cups / 315g) — Use a blend that includes xanthan gum. If your blend doesn’t have it, add 1 teaspoon of xanthan gum. This acts as the glue that holds the cake together since there’s no gluten. I prefer King Arthur Measure for Measure because it has a neutral flavor.
Dutch-Processed Cocoa Powder (3/4 cup / 75g) — This is non-negotiable. Dutch-processed cocoa is treated with an alkali to neutralize acidity, resulting in a darker color and richer flavor. Natural cocoa powder will make the cake taste sour and bright, which clashes with the peanut butter. Sift this to remove clumps.
Unsweetened Almond Milk (1 1/2 cups / 360ml) — This is our liquid base. It’s light and doesn’t overpower the chocolate. For the “buttermilk,” you’ll mix this with vinegar. Make sure it’s unsweetened; vanilla or chocolate almond milk will throw off the sugar balance.
Apple Cider Vinegar (2 tbsp / 30ml) — This reacts with the baking soda to create lift. It also reacts with the almond milk to create a homemade buttermilk. You won’t taste the vinegar in the final cake, I promise. It just makes the crumb tender.
Coconut Oil (3/4 cup / 170g) — Melted, not liquid. Coconut oil provides the fat structure that butter usually does. It keeps the cake moist at room temperature. If you hate coconut flavor, use refined coconut oil, which has no taste. Avocado oil works too, but coconut oil gives a slight richness that pairs well with chocolate.
Smooth Peanut Butter (1 cup / 250g) — Use natural, no-stir peanut butter if possible, but ensure it’s well-mixed. Avoid “natural” brands that separate too much or have added oils, as they can make the batter greasy. Jif or Skippy work fine if you need stability, but I prefer a brand like MaraNatha for a cleaner taste.
Dark Chocolate Chips (1/2 cup / 85g) — Dairy-free dark chocolate chips add pockets of melted chocolate. Look for brands labeled dairy-free, as many standard chips contain milk solids. Ghirardelli has a dairy-free line that melts beautifully.
Vanilla Extract (2 tsp / 10ml) — Pure vanilla extract, not imitation. It rounds out the chocolate and peanut butter flavors. I use Nielsen-Massey because it’s potent and pure.
Tools You’ll Need
You don’t need fancy equipment. Here’s what I use to make this Reese’s Peanut Butter Chocolate Cake without a headache.
Two 8-inch Round Cake Pans — I use metal pans because they conduct heat evenly. Glass or ceramic pans can cause the edges to burn before the center is done. Grease them well with coconut oil spray.
Large Mixing Bowls — You need one big bowl for dry ingredients and one for wet. A 5-quart bowl is ideal. I use stainless steel because they’re durable and easy to clean.
Electric Mixer — A hand mixer or stand mixer is helpful for creaming the coconut oil and sugar. Doing this by arm is possible, but it takes effort and you might not get enough air into the batter. I use a KitchenAid for consistency.
Wire Whisk — Essential for sifting the cocoa powder and flour. It breaks up lumps better than a spoon and ensures an even distribution of leavening agents.
Cooling Rack — Never frost a warm cake. It will melt the frosting and make a mess. A wire rack allows air to circulate under the cake, cooling it evenly.
How to Make It
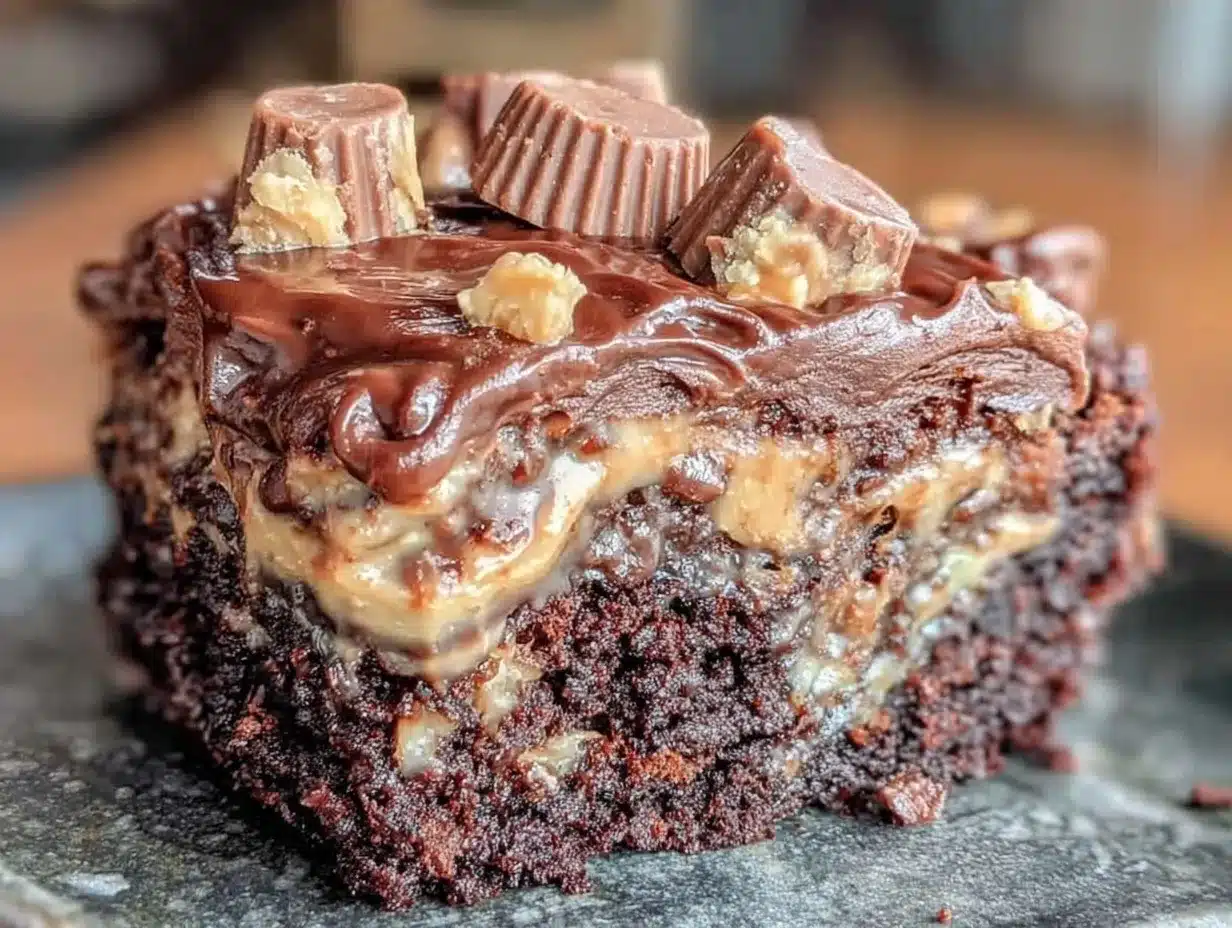
Let’s get into the batter. I’m walking you through exactly how I do it, step by step.
Step 1: Prep Your Pans and Oven (5 minutes)
Preheat your oven to 350°F (175°C). This is crucial. Gluten-free cakes need steady heat to set properly. Line the bottoms of your two 8-inch cake pans with parchment paper circles. This guarantees the cakes won’t stick. Grease the sides with coconut oil spray and dust with a little gluten-free flour. Tap out the excess.
Step 2: Mix the Dry Ingredients (5 minutes)
In a large bowl, whisk together the gluten-free flour blend, Dutch-processed cocoa powder, baking soda, baking powder, and salt. Sifting the cocoa powder here is a pro move—it prevents bitter chunks in your final cake. Whisk until everything is uniformly brown and no white streaks of flour remain. Set this aside.
Step 3: Create the Homemade Buttermilk (2 minutes)
In a measuring cup, combine the unsweetened almond milk and apple cider vinegar. Stir it up and let it sit for 5 minutes. You’ll see it curdle slightly. This is your dairy-free buttermilk. It’s ready when it looks a bit thickened.
Step 4: Cream the Fats and Sugars (4 minutes)
In your mixer bowl, beat the melted coconut oil and granulated sugar together on medium-high speed for 3 minutes. This step is vital. You are incorporating air into the fat, which helps the cake rise. The mixture should look pale and fluffy. Add the eggs one at a time, beating well after each addition. Mix in the vanilla extract and the prepared almond milk buttermilk. Beat on medium for another 2 minutes until smooth.
Step 5: Combine Wet and Dry (3 minutes)
Reduce your mixer to low speed. Gradually add the dry ingredients to the wet ingredients. Mix until just combined. Do not overmix! Gluten-free flour can become gummy if beaten too much. Stop as soon as you see no dry flour. The batter will be thick and rich.
Step 6: Add the Swirl (5 minutes)
Take about 1/2 cup of the batter and set it aside. To the remaining batter in the bowl, stir in the dark chocolate chips. Now, for the swirl: Take the reserved 1/2 cup of batter and mix in the smooth peanut butter until it’s a uniform color. This will be your peanut butter layer.
Step 7: Layer and Bake (30-35 minutes)
Pour half of the chocolate batter into each pan. Smooth the tops with a spatula. Then, dollop the peanut butter batter over the chocolate batter in each pan. Use a knife to gently swirl it together—don’t mix it completely. You want marbled streaks. Bake for 30-35 minutes. Test for doneness by inserting a toothpick into the center; it should come out with a few moist crumbs, not wet batter.
Total Time: 15 minutes prep, 35 minutes bake. Yields: Two 8-inch layers.
Expert Tips from a Home Baker
Here’s everything I learned from making this too many times so you don’t have to make the same mistakes.
The Game-Changers
Let the Batter Rest
Gluten-free flour absorbs liquid slower than wheat flour. After mixing your batter, let it sit in the bowl for 10 minutes before pouring it into the pans. This allows the starches to hydrate fully, resulting in a softer cake. I learned this the hard way when my first cake was dry and crumbly.
Don’t Skip the Parchment
Gluten-free cakes are fragile when hot. They stick to pans easier than wheat cakes. Parchment paper is your best friend. It ensures the layers come out intact for frosting.
Cool Completely Before Frosting
I know it’s tempting. But if you frost a warm cake, the coconut oil in the frosting will melt and slide off. Let the cakes cool in the pans for 10 minutes, then transfer to a wire rack. Wait until they are completely room temperature. This takes patience, but it’s worth it.
Common Problems & Solutions
Cake is Dense — You likely overmixed the batter or didn’t cream the sugar and fat enough. Be gentle with the flour and thorough with the creaming.
Center is Raw — Ovens vary. If the top is browning too fast, tent the cake with aluminum foil after 20 minutes. Check with a toothpick at 30 minutes.
Frosting Splits — If your frosting looks curdled, it might be too warm. Chill the bowl in the fridge for 10 minutes and whip again. It will come back together.
Reese’s Peanut Butter Chocolate Cake Variations
Once you’ve nailed the basic version, here’s how to mix it up.
Vegan Option
To make this fully vegan, swap the eggs for flax eggs (3 tbsp ground flaxseed mixed with 9 tbsp water, rested for 5 minutes). The texture will be slightly denser, but the flavor remains excellent.
Nut-Free Version
If you have nut allergies, swap the almond milk for oat milk or soy milk. Use sunflower seed butter instead of peanut butter for the swirl. It has a similar texture and pairs surprisingly well with chocolate.
Low-Sugar Option
Use a monk fruit or erythritol blend instead of granulated sugar. Note that sugar provides moisture and structure, so the cake may be slightly drier. Add an extra tablespoon of applesauce to compensate.
Mini Cupcakes
Divide the batter into 24 cupcake liners. Bake for 18-20 minutes. These are perfect for parties and easier to portion control. I often make these alongside soft chocolate chip lunchbox cookies for a sweet treat spread.
Serving & Storage
Serving:
I serve this cake with a dollop of whipped coconut cream and a sprinkle of sea salt. The salt enhances the peanut butter flavor. It pairs beautifully with a cold glass of almond milk or a cup of black coffee. For a more decadent option, serve it with fresh strawberries or raspberries to cut through the richness.
Storage:
This cake keeps well at room temperature for up to 3 days if covered tightly. In the refrigerator, it lasts up to 5 days. Bring it to room temperature before serving for the best texture. Freezing: This cake freezes beautifully. Wrap the unfrosted layers tightly in plastic wrap and then foil. Freeze for up to 3 months. Thaw overnight in the fridge before frosting. I often freeze extra layers for quick dessert fixes.
Nutrition Information
I’m not a nutritionist, but here’s the breakdown per slice (1/12th of the cake):
| Nutrient | Amount |
|---|---|
| Calories | 380 kcal |
| Protein | 6g |
| Carbohydrates | 42g |
| Fiber | 4g |
| Fat | 22g |
| Sodium | 250mg |
My Take: This is indulgent dessert food. It’s rich in fat from the coconut oil and peanut butter. It’s not a health food, but it’s made with whole-food ingredients like almond milk and natural peanut butter. It’s far better than processed store-bought cakes because you control the sugar and quality of fats.
Final Thoughts
Making a Reese’s Peanut Butter Chocolate Cake that is both gluten-free and dairy-free used to feel like an impossible task. I used to settle for dry cookies or sad muffins. But this recipe changed everything. It’s moist, it’s flavorful, and it’s incredibly satisfying. Whether you have dietary restrictions or just want a better-tasting cake, this is the one to make.
If you make this, drop a comment! I love hearing how it turns out in your kitchen. Did you add extra peanut butter? Did you use a specific flour brand? Let me know. And if you need more gluten-free dessert ideas, check out my easy game day brownie footballs for another crowd-pleaser.
Happy cooking!
FAQs
Can I use a different gluten-free flour blend?
Yes, but stick to a 1-to-1 blend that includes xanthan gum. Rice flour or almond flour alone won’t work because they lack the structure needed for a cake this size. A blend ensures the right balance of starches and proteins.
Why did my cake sink in the middle?
This usually happens if the oven door was opened too early or if the cake was underbaked. Gluten-free cakes are delicate. Make sure to test for doneness with a toothpick and avoid opening the oven for at least the first 25 minutes of baking.
Can I make this ahead of time?
Absolutely. Bake the layers a day or two ahead. Wrap them tightly in plastic wrap and store them at room temperature. Frost the day of serving. This actually helps the flavors meld and the texture soften.
What if I don’t have almond milk?
You can use oat milk, soy milk, or rice milk. Oat milk is the closest in creaminess to dairy milk and works very well in baking. Just ensure it’s unsweetened and unflavored.
How do I store leftover frosting?
If you have extra dairy-free buttercream, store it in an airtight container in the fridge for up to 5 days. Let it come to room temperature and re-whip with a mixer before using. It might need a splash of milk to loosen it up again.
Pin This Recipe!
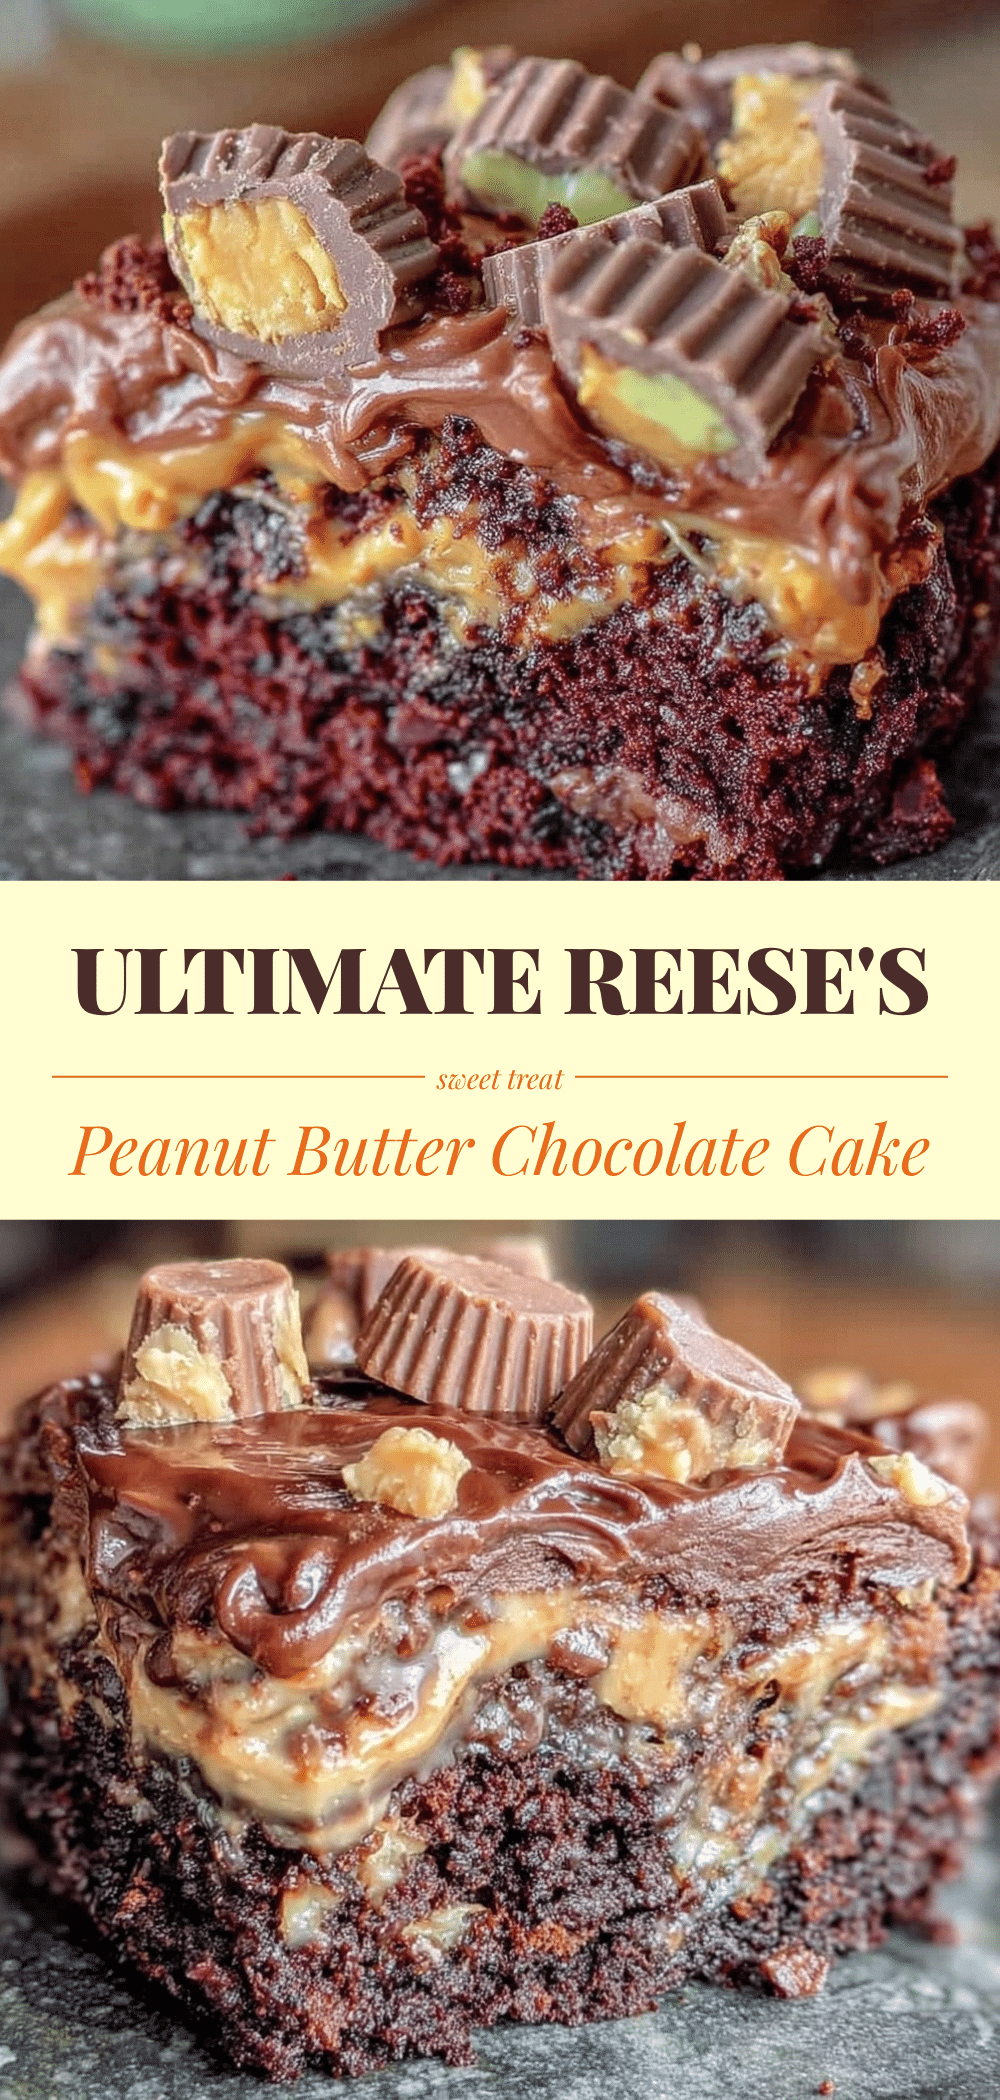
Reeses Peanut Butter Chocolate Cake: Easy GF, Dairy-Free Recipe
- Total Time: 50 minutes
- Yield: Two 8-inch layers (approx. 12 servings) 1x
Description
A rich, moist, and indulgent gluten-free and dairy-free chocolate cake featuring a peanut butter swirl. This homemade dessert rivals bakery versions with a tender crumb and deep chocolate flavor without the grittiness often associated with gluten-free baking.
Ingredients
- 2 1/2 cups (315g) Gluten-Free Flour Blend (with xanthan gum)
- 3/4 cup (75g) Dutch-Processed Cocoa Powder
- 1 1/2 cups (360ml) Unsweetened Almond Milk
- 2 tbsp Apple Cider Vinegar
- 3/4 cup (170g) Coconut Oil (melted)
- Granulated Sugar (amount implied by creaming step, typically 1.5-2 cups based on standard ratios, but exact amount not explicitly listed in ingredients section, inferred from method)
- Eggs (amount implied by method, typically 2-3)
- 2 tsp Vanilla Extract
- Baking Soda
- Baking Powder
- Salt
- 1 cup (250g) Smooth Peanut Butter
- 1/2 cup (85g) Dairy-Free Dark Chocolate Chips
Instructions
- Preheat oven to 350°F (175°C). Line two 8-inch round cake pans with parchment paper circles, grease sides with coconut oil spray, and dust with gluten-free flour.
- In a large bowl, whisk together the gluten-free flour blend, Dutch-processed cocoa powder, baking soda, baking powder, and salt. Sift cocoa powder to prevent clumps.
- In a measuring cup, combine unsweetened almond milk and apple cider vinegar. Let sit for 5 minutes to create homemade buttermilk.
- In a mixer bowl, beat melted coconut oil and sugar on medium-high speed for 3 minutes until pale and fluffy. Add eggs one at a time, beating well after each. Mix in vanilla extract and the almond milk buttermilk. Beat on medium for 2 minutes until smooth.
- Reduce mixer to low speed. Gradually add dry ingredients to wet ingredients. Mix until just combined; do not overmix.
- Set aside 1/2 cup of batter. Stir dark chocolate chips into the remaining batter in the bowl.
- Mix the reserved 1/2 cup of batter with smooth peanut butter until uniform.
- Pour half of the chocolate batter into each pan. Dollop the peanut butter batter over the chocolate batter. Swirl gently with a knife to create marbled streaks.
- Bake for 30-35 minutes. Test for doneness with a toothpick (should come out with moist crumbs).
- Let cakes cool in pans for 10 minutes, then transfer to a wire rack to cool completely before frosting.
Notes
[‘Let the batter rest for 10 minutes before baking to allow gluten-free starches to hydrate fully.’, ‘Use Dutch-processed cocoa for a darker, richer flavor; natural cocoa will taste too sour.’, ‘Ensure coconut oil is melted but not hot liquid.’, ‘Cool cakes completely before frosting to prevent the coconut oil frosting from melting.’, ‘For a vegan option, swap eggs for flax eggs (3 tbsp ground flaxseed + 9 tbsp water).’, ‘For a nut-free version, use oat milk and sunflower seed butter.’]
- Prep Time: 15 minutes
- Cook Time: 35 minutes
- Category: Dessert
- Cuisine: American
Nutrition
- Serving Size: 1 slice (1/12th of t
- Calories: 380
- Sugar: 30
- Sodium: 250
- Fat: 22
- Saturated Fat: 12
- Carbohydrates: 42
- Fiber: 4
- Protein: 6
Keywords: gluten-free cake, dairy-free dessert, peanut butter chocolate cake, reeses cake, gf baking, dairy-free baking, homemade cake, nut-free option available


