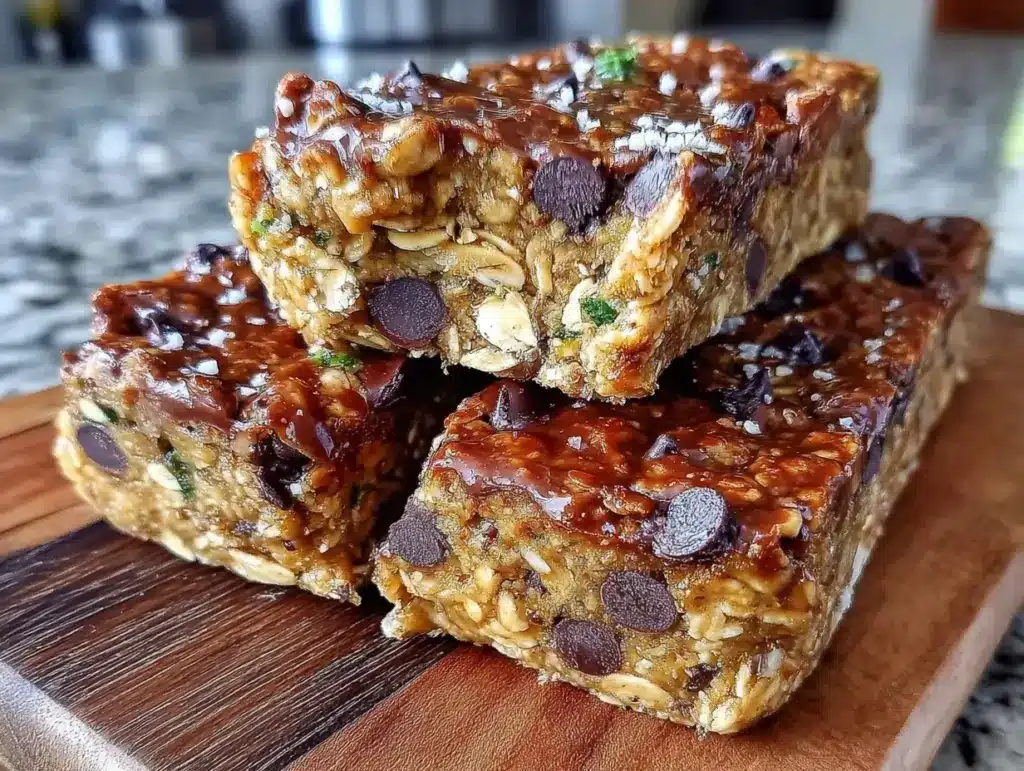
I still remember the smell of my grandmother’s kitchen on Saturday mornings. It wasn’t the sharp tang of yeast rising or the sizzle of bacon. It was something sweeter, heavier. A thick, nutty aroma that clung to the curtains and made the house feel like a warm hug. She didn’t bake often—she wasn’t a fan of the heat in July—but she made these chocolate chip granola bars every single weekend. They weren’t fancy. No fancy nuts from a specialty shop, no artisanal honey, no gluten-free flours that cost as much as a steak.
Just oats, brown sugar, butter, chocolate chips, and a whole lot of patience. I’ve made Grandma’s No-Bake Chocolate Chip Granola Bars hundreds of times since she passed. Some people think “no-bake” means lazy or quick. They’re wrong. This recipe requires you to watch the sugar syrup closely. It demands that you press the mixture down firmly while it’s still hot. It asks for your attention. And when you get it right, those bars are dense, chewy, and impossibly rich. They taste like home. They taste like her.
There’s a specific texture I’m chasing. Not crispy like a cereal bar, and not soft like a brownie. It’s that perfect, dense chew that holds together when you pack it in a lunchbox but melts slightly on your tongue. I’ve tested versions with marshmallows (too sticky), versions with maple syrup (too runny), and versions with too much chocolate (too greasy). This version? This is the one. It’s the Grandma’s No-Bake Chocolate Chip Granola Bars recipe I grew up with, refined by years of trial and error in my own kitchen. If you want a snack that feels like a treat but acts like fuel, this is it.
Why You’ll Love This Recipe
Look, I know there are a thousand granola bar recipes online. Why this one? Because it’s honest. It doesn’t pretend to be a health food. It’s a comfort food that happens to have oats in it. Here’s why this batch belongs in your rotation:
- Zero Oven Heat — It’s July in Texas. I don’t want to turn on my oven to bake a snack. This Grandma’s No-Bake Chocolate Chip Granola Bars recipe stays on the stovetop and in the fridge. The house stays cool, and your kitchen doesn’t turn into a sauna.
- Pantry Staples Only — You likely have everything for this right now. Oats, sugar, butter, chocolate chips. No weird flours you’ve never heard of. No trip to three different stores. It’s the kind of recipe that saves you when you’re out of ideas and out of groceries.
- Meal Prep Champion — I make a double batch every Sunday. These bars keep for two weeks in the fridge, or three months in the freezer. I pack them for hiking trips, for my kid’s school lunches, and for those 3 pm slumps when I need sugar but don’t want to order takeout. Speaking of lunches, if you need a savory counterpart, my Mediterranean chicken wrap bowls are great for lunch, leaving these bars perfect for the afternoon sweet tooth.
- Customizable Texture — Want more crunch? Add toasted pecans. Want it sweeter? Add white chocolate chips. Want it to feel like a dessert? Dip the tops in melted chocolate. This recipe is a canvas. I’ve made them with raisins, with cranberries, and even with crushed pretzels for a salty-sweet kick. They all work because the base is solid.
- Kid-Approved (Even the Picky Ones) — My nephew usually turns his nose up at “healthy” snacks. But these? He asks for them by name. The chocolate chip presence is strong, the texture is familiar, and there’s no mystery ingredient. It’s a win for parents who want to avoid the candy aisle but still want to reward good behavior.
This is my go-to when I need a snack that feels homemade but requires zero effort once it’s in the pan. It’s reliable. It’s consistent. And it tastes better than anything you’ll buy in a box.
Key Ingredients
Before you start, let’s talk about what goes into the pot. I’m being specific here because small changes can throw off the balance. The ratio of sugar to oats is what determines whether you get a bar or a crumble.
Old-Fashioned Rolled Oats (6 cups / 480g) — Do not use quick oats. Quick oats are cut smaller and will turn into mush. You want the heartiness of old-fashioned oats. They hold their structure. If you can find steel-cut oats, you can try them, but you’ll need to cook them longer and they’ll be chewier. For this recipe, old-fashioned is the gold standard. Look for brands like Bob’s Red Mill or store brands that list “100% oats” as the only ingredient.
Unsalted Butter (1 cup / 226g) — I use butter. Always. Margarine might save you a few cents, but it lacks the flavor depth and the emulsification properties that butter brings. You want real dairy fat here. It carries the vanilla and the caramel notes. Measure it out properly. Half a cup isn’t enough; the bars will be dry and crumbly.
Light Brown Sugar (2 cups / 400g) — This is non-negotiable. Dark brown sugar works too and gives a deeper molasses flavor, but light brown sugar is what my grandma used. It creates that soft, chewy texture. White sugar makes these hard as rocks. Brown sugar has moisture in it. That moisture is what binds the oats together without making them soggy.
Light Corn Syrup (1/2 cup / 120ml) — I know, some people avoid corn syrup. But in no-bake recipes, it’s crucial. It prevents the sugar from crystallizing. If you skip it, your bars will be gritty. Honey is a common substitute, but it’s more acidic and has a stronger flavor that can overpower the chocolate. If you must substitute, use agave nectar, but know that the texture will be slightly softer.
Semi-Sweet Chocolate Chips (2 cups / 340g) — Don’t use baking chocolate bars you chop yourself; they melt too fast and can seize. Use standard chocolate chips. They have stabilizers that help them hold their shape. I like Ghirardelli or Nestle Toll House. If you want a more intense chocolate flavor, swap half for dark chocolate chips. But keep it semi-sweet or dark; milk chocolate is too sweet for this ratio.
Vanilla Extract (2 teaspoons) — Real vanilla. Not imitation. It’s a small amount, but it rounds out the sharp sweetness of the sugar. If you’re out, it’s okay to skip, but you’ll miss that warm, floral note that ties it all together.
Sea Salt (1/2 teaspoon) — A pinch of salt is essential. It cuts the sweetness and makes the chocolate taste more chocolatey. Don’t skip it. I learned this the hard way when I made a batch for a potluck without salt. They tasted flat. One pinch of salt changed everything.
Tools Needed
You don’t need a fancy kitchen to make these. I keep it simple.
Large Heavy-Bottomed Pot — I use a 4-quart stainless steel pot. The heavy bottom prevents the sugar from scorching. If you use a thin pot, the heat hits too fast, and you’ll burn the sugar before it melts. A non-stick pot works too, but stainless steel is easier to clean if you get any sugar stuck on the sides.
Wooden Spoon or Heat-Resistant Spatula — You need something sturdy. Plastic might melt. A wooden spoon is traditional and works perfectly. You’ll be stirring constantly, so a long handle keeps your hands away from the heat.
9×13 Inch Baking Pan — Standard size. Line it with parchment paper. This is the most important step. If you don’t line it, you will never get the bars out in one piece. You’ll end up scraping them out with a knife, and nobody wants that. Leave an overhang on the sides so you can lift the whole block out once it’s set.
Measuring Cups and Spoons — I measure by volume, but if you want precision, a kitchen scale is great. Baking is chemistry, after all. But for this, cups are fine as long as you pack the brown sugar down.
How to Make Grandma’s No-Bake Chocolate Chip Granola Bars
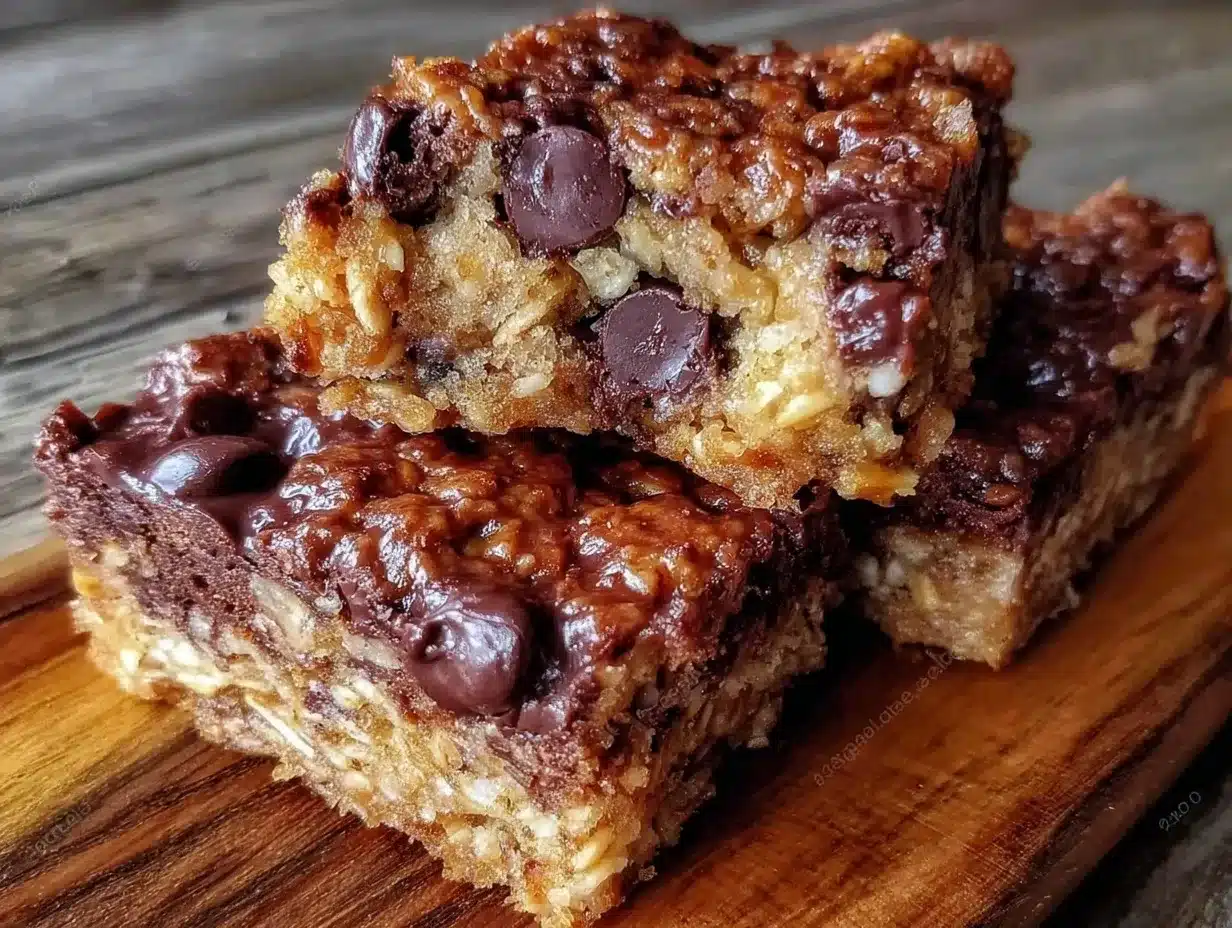
Let’s get into the kitchen. This process takes about 15 minutes of active time, plus an hour to chill. Here is exactly how I do it.
Step 1: Prep Your Pan (2 minutes)
Line your 9×13 inch baking pan with parchment paper. I like to leave a couple of inches of overhang on the long sides. This creates “handles” for lifting the bars out later. Spray the parchment lightly with non-stick spray just to be safe. Set aside. If you’re making these for kids, this is a good job for them to do while you start the stove.
Step 2: Melt the Butter and Sugar (5-7 minutes)
Place your large pot over medium heat. Add the butter. Let it melt completely. Once it’s liquid, add the brown sugar and the corn syrup. Stir constantly. You’re looking for the sugar to dissolve into the butter. This isn’t boiling yet; it’s just getting hot. Keep stirring so the bottom doesn’t burn. After about 3 minutes, you’ll see small bubbles forming around the edges. This means it’s getting ready.
Step 3: Bring to a Boil (1-2 minutes)
Turn the heat up to medium-high. Bring the mixture to a full boil. This is the critical moment. You need to boil it for exactly one minute. Do not walk away. Do not let your phone distract you. Stir constantly. Once it hits a rolling boil, start your timer. Boil for 60 seconds. The mixture will thicken slightly and become glossy. If you under-boil, the bars won’t set. If you over-boil, they’ll become hard candy. One minute is the sweet spot.
Step 4: Remove from Heat and Add Flavor (1 minute)
Take the pot off the heat immediately. Stir in the vanilla extract and the sea salt. The mixture will bubble up aggressively, so be careful. Stir it in until it’s fully combined. This step stops the cooking process and adds that warm aroma.
Step 5: Fold in the Oats and Chocolate (3 minutes)
Here’s where you need to work fast. The mixture will start to cool and thicken. Add the oats first. Stir vigorously. You want every oat coated in the sugar syrup. Then, add the chocolate chips. Fold them in gently. If you stir too much now, you might break the oats. Just fold until they’re distributed. The heat of the syrup will soften the chips slightly, but they’ll hold their shape.
Step 6: Press and Chill (1 hour)
Pour the mixture into your prepared pan. Use a spatula or a greased piece of wax paper to press it down. This is important. You need to press it firmly. If it’s loose, the bars will crumble. Press it down until it’s even and compact. It should look like a solid block. Let it cool at room temperature for 15 minutes, then put it in the fridge for at least 45 minutes, or until completely firm. Patience pays off here. If you cut it while it’s warm, it will be a mess.
Total time: 15 minutes active, 1 hour inactive.
Expert Tips
I’ve made this recipe enough times to know where things go wrong. Here’s how to avoid the pitfalls.
The Boil is Non-Negotiable
I made a batch once where I thought “close enough” to a boil was fine. I didn’t let it boil for the full minute. The result? A tray of sticky, gooey oatmeal that never set. I had to throw it out. Trust the timer. The boiling point is what dissolves the sugar crystals properly. One minute. Period.
Work Quickly in Step 5
Once you take the pot off the heat, the clock starts ticking. The mixture thickens rapidly as it cools. If you take too long to fold in the oats, you’ll end up with lumps of hard sugar. Have your oats and chocolate chips measured and ready next to the stove before you even start boiling. Mise en place isn’t just for chefs; it’s for sanity.
Press It Down Firmly
I’ve seen people press lightly, thinking it’ll stay together. It won’t. The bars need pressure to bind. Use the bottom of a measuring cup or your hands (if they’re not too hot) to press the mixture down tight. The denser it is, the cleaner the cut.
Storage is Key
These bars are best stored in the fridge. The humidity in the air can make them sticky if left out. Keep them in an airtight container with parchment paper between layers. They last two weeks. If you want to keep them longer, freeze them. They thaw in 10 minutes at room temperature.
Recipe Variations
Once you’ve mastered the base, you can play with flavors. Here are my favorites.
Classic Peanut Butter
Swap half the chocolate chips for peanut butter chips. Or, stir in 1/2 cup of creamy peanut butter with the vanilla. The salty-sweet combo is addictive. It’s like a Reese’s cup in bar form.
Tropical Twist
Replace the chocolate chips with toasted coconut flakes and dried mango. Add a tablespoon of lime zest to the vanilla. It’s bright, chewy, and different. Great for summer.
Trail Mix Style
Add 1 cup of mixed nuts (pecans, walnuts, almonds) and 1/2 cup of dried cranberries. This adds crunch and tartness. It makes the bars feel more like a hiking snack and less like a dessert.
Gluten-Free Option
Simply use certified gluten-free rolled oats. The rest of the ingredients are naturally gluten-free. Just double-check your chocolate chips and corn syrup labels to ensure they’re processed in a GF facility. The texture remains the same.
Vegan Adaptation
Use vegan butter and vegan chocolate chips. The corn syrup and oats are already vegan. The texture might be slightly softer because vegan butter has a higher water content, so let them chill for a full hour. They still work beautifully.
Serving & Storage
Serving
I cut these into 24 squares. They’re perfect for lunchboxes, picnic baskets, or just eating straight from the pan (don’t judge me). They pair well with a cold glass of milk or a hot cup of coffee. If you’re serving them at a party, arrange them on a platter with some fresh berries for color. They also travel well in a tin.
Storage
Keep them in an airtight container in the refrigerator for up to two weeks. If your kitchen is very warm, the fridge is necessary. For longer storage, freeze them for up to three months. Wrap the whole block in plastic wrap, then foil. Thaw in the fridge overnight. They do not freeze well if cut into bars first, as they can dry out. Freeze the whole block, then cut after thawing.
Meal Prep Tip
Make a double batch. Freeze half. You’ll thank yourself on busy mornings when you need a quick breakfast. These are dense enough to keep you full for hours.
Nutrition Information
I’m not a nutritionist, but here’s the breakdown per bar (makes 24 bars):
| Nutrient | Amount |
|---|---|
| Calories | 280 |
| Protein | 5g |
| Carbs | 42g |
| Fiber | 3g |
| Fat | 12g |
| Sugar | 28g |
| Sodium | 80mg |
My Take: These are indulgent. They have sugar, butter, and chocolate. They are not “health food.” But they are better than a candy bar, and they have oats, which provide some fiber. Enjoy them as a treat, not as a salad substitute. They’re comfort food, pure and simple.
Final Thoughts
Grandma’s No-Bake Chocolate Chip Granola Bars are more than just a snack. They’re a memory. They’re the smell of her kitchen, the sound of the spoon against the pot, the feeling of waiting for them to set. I hope you make them and create your own memories with them. Maybe with your kids, or your grandkids. Pass it on. And if you do, I’d love to hear how they turned out. Drop a comment below and let me know if you added any extra nuts or if you stuck to the classic. Happy cooking!
FAQs
Can I use quick oats instead of old-fashioned?
I strongly advise against it. Quick oats are too fine and will make the bars mushy. Old-fashioned oats provide the necessary chew and structure. If you only have quick oats, you can try it, but the texture will be very different.
Why did my bars turn out crumbly?
This usually happens if you didn’t boil the sugar mixture long enough, or if you didn’t press them down firmly. Make sure you boil for the full minute and pack the mixture tight into the pan.
Can I substitute honey for corn syrup?
You can, but the texture will be softer and stickier. Honey also has a stronger flavor. If you use honey, use 1/2 cup plus 1 tablespoon. Keep an eye on the boil, as honey burns faster.
How do I store these for school lunches?
Keep them in the fridge until you pack them. Use an insulated lunch bag with an ice pack if it’s a warm day. They’ll stay firm and fresh for hours. They also freeze well, so you can freeze them the night before and pack them frozen.
Can I make these in a smaller pan?
Yes, but you’ll get thicker bars. Use a 8×8 inch pan and reduce the cooking time slightly, keeping a close eye on the boil. The bars will be denser and richer. Just adjust your cutting size accordingly.
Do these bars contain gluten?
Not inherently. Oats, sugar, butter, and chocolate chips are naturally gluten-free. However, oats can be cross-contaminated. If you have celiac disease, use certified gluten-free oats and check your chocolate chip labels.
Can I add protein powder?
Yes, but it will dry out the bars. Add 1/4 cup of whey or plant protein powder, but you may need to add an extra tablespoon of butter or syrup to compensate for the dryness. Taste the mixture before pressing it down to adjust sweetness.
Pin This Recipe!
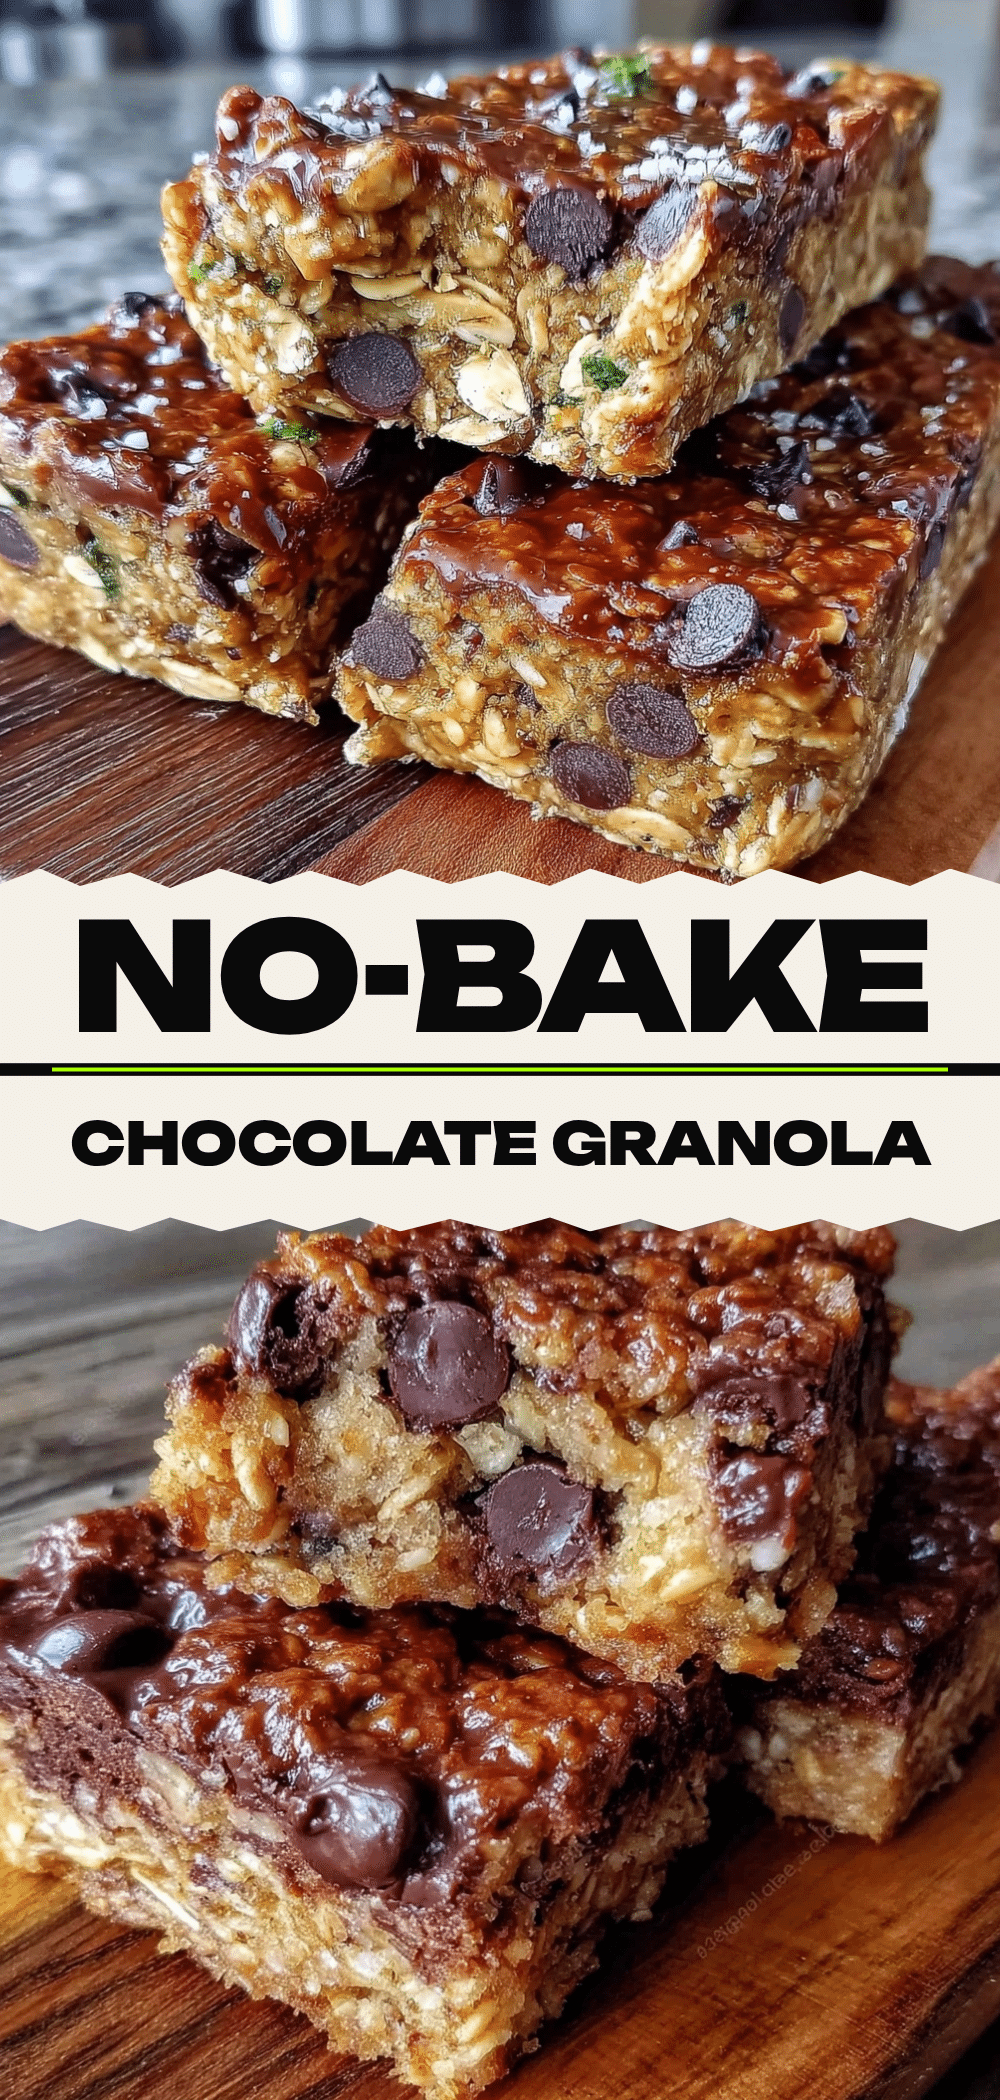
Grandma’s No-Bake Chocolate Chip Granola Bars
- Total Time: 1 hour 25 minutes
- Yield: 24 servings 1x
Description
A dense, chewy, and rich no-bake granola bar recipe using pantry staples like oats, brown sugar, and chocolate chips. These bars require stovetop boiling and chilling, offering a nostalgic comfort food experience without using an oven.
Ingredients
- 6 cups old-fashioned rolled oats
- 1 cup unsalted butter
- 2 cups light brown sugar
- 1/2 cup light corn syrup
- 2 cups semi-sweet chocolate chips
- 2 teaspoons vanilla extract
- 1/2 teaspoon sea salt
Instructions
- Line a 9×13 inch baking pan with parchment paper, leaving an overhang on the sides for easy removal, and lightly spray with non-stick spray.
- Place a large heavy-bottomed pot over medium heat and melt the butter completely.
- Add the brown sugar and corn syrup to the melted butter. Stir constantly until the sugar dissolves and small bubbles form around the edges.
- Increase heat to medium-high and bring the mixture to a full rolling boil. Boil for exactly one minute, stirring constantly to prevent burning.
- Remove the pot from heat immediately and stir in the vanilla extract and sea salt. Be careful as the mixture will bubble up.
- Add the oats to the pot and stir vigorously to coat every oat in the sugar syrup.
- Fold in the chocolate chips gently until distributed throughout the mixture.
- Pour the mixture into the prepared pan and press down firmly and evenly using a spatula or greased wax paper to create a solid block.
- Let the bars cool at room temperature for 15 minutes, then refrigerate for at least 45 minutes until completely firm.
- Cut into 24 squares and serve.
Notes
Do not use quick oats as they will turn mushy. The boiling step is critical; boil for exactly one minute to ensure the bars set properly. Press the mixture firmly into the pan to prevent crumbling. Store in an airtight container in the refrigerator for up to two weeks or freeze for up to three months.
- Prep Time: 15 minutes
- Cook Time: 10 minutes
- Category: Snack
- Cuisine: American
Nutrition
- Serving Size: 1 bar
- Calories: 280
- Sugar: 28
- Sodium: 80
- Fat: 12
- Saturated Fat: 7
- Carbohydrates: 42
- Fiber: 3
- Protein: 5
Keywords: no-bake, granola bars, chocolate chip, oat bars, snack, meal prep, comfort food, family recipe


