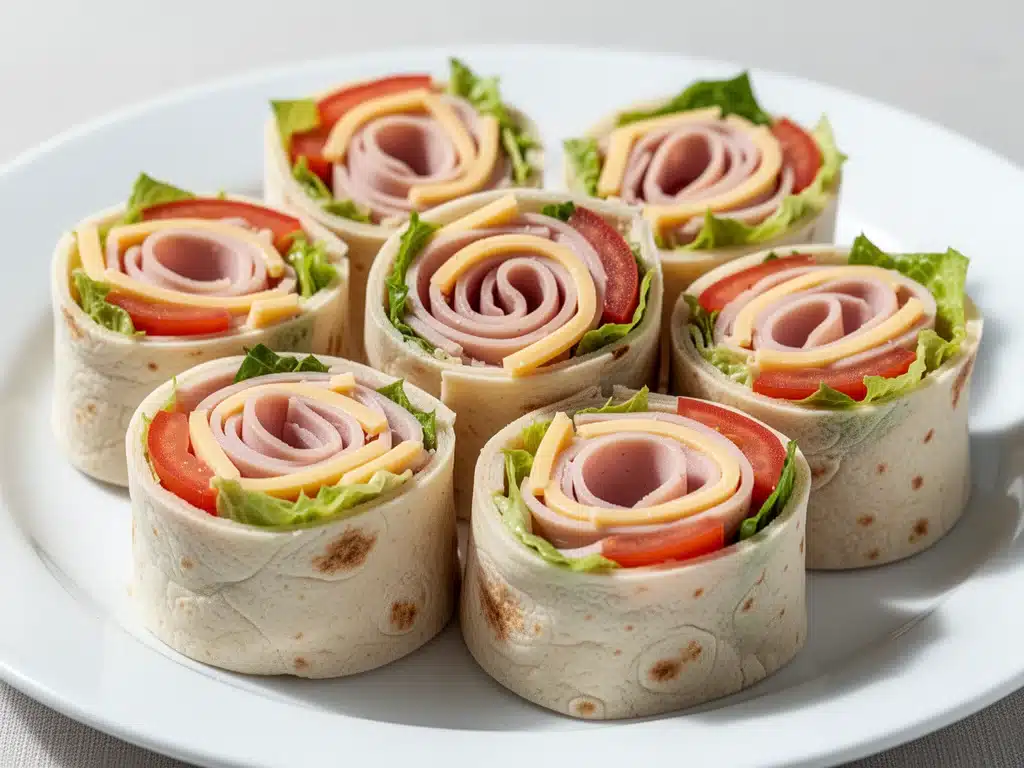
Let me confess something. For the first six months of school, my lunchbox game was tragic. I’m talking sad, squashed sandwiches in plastic bags. The kind where the bread gets soggy from the condiments and the cheese slides out the back before you even reach the cafeteria line. I felt like I was failing my kids. I wanted them to have lunch they’d actually look forward to, something fun, something colorful, something that didn’t look like it was made by a robot (because let’s be honest, that’s what a standard sandwich feels like).
Then came the Tuesday disaster. I was rushing out the door, grabbed a tortilla, slathered it with cream cheese, piled on turkey, rolled it up, and—well, it didn’t roll up. It split. It looked like a burrito that gave up on life. I was about to just give up and buy them pizza rolls. But then I looked at a cooking video on my phone (okay, I was scrolling while waiting for the toaster) and saw a woman slicing her roll into neat little wheels. They looked like donuts. They looked like magic.
I tried it. It worked. And more importantly, my kids asked for it the next day. And the day after that. Now, Turkey and Cheese Pinwheel Wraps are the undisputed kings of our lunchbox rotation. They’re sturdy, they’re pretty, they hold together (unlike that first tragic attempt), and they taste like a real meal, not a compromise. I’ve made hundreds of these over the last two years, tweaking the fillings, testing different tortillas, and figuring out exactly how to keep them from leaking. This is the method that actually works.
Why You’ll Love This Recipe
There are about ten reasons I keep making these pinwheel wraps, but here are the big ones that will change your lunch routine forever.
Zero Waste Breakfast Leftovers — Seriously, this is my favorite hack. You have half a pack of turkey left from making sandwiches the night before? Don’t throw it away. Use it here. I’ve lost count of how many times I’ve saved a lunchbox dinner from the trash bin because I remembered these wraps. It’s the ultimate “use it up” recipe.
Actually Stays Together — I know what you’re thinking. “Rolls fall apart.” I thought that too. But the secret is the cream cheese layer acting as glue and the plastic wrap technique (more on that in the steps). Once you nail the roll, these pinwheels are sturdy. They don’t leak. They don’t spill. They survive the backpack trek.
Customizable for Picky Eaters — My son loves jalapeños. My daughter hates them. I make one batch with peppers and one without. Or I let them build their own mini pinwheels. It turns lunch prep into a game instead of a chore. Everyone gets what they want, and I don’t have to cook two separate meals.
Prep Ahead Friendly — This is the holy grail of meal prep. I make a giant batch of these on Sunday night. They keep perfectly in the fridge for up to four days. When Monday morning hits, I just grab two per kid, toss them in a container, and I’m done. No cooking, no stress, just grab-and-go.
Budget-Friendly — Tortillas, deli turkey, cheese, cream cheese. It’s cheap. Really cheap. You’re spending maybe $2 a lunch compared to the $7 you’d spend at the school cafeteria. Over a school year, that adds up to enough money for a really nice family dinner out.
This is my go-to when I need lunch to just work. No complicated techniques, no weird ingredients, just reliable, delicious food that makes everyone happy. And honestly? It makes me feel like a good parent for five minutes.
Ingredients You’ll Need
Here’s the best part: you probably have most of this already in your fridge. This isn’t a recipe that requires a special trip to the grocery store. It’s pantry and fridge friendly.
Flour Tortillas (8-inch / 20cm, 8 large) — This is the foundation. Do not use the tiny taco-sized ones unless you want tiny pinwheels. Do not use the huge burrito-sized ones unless you want to use half a tortilla per wrap. The 8-inch standard is perfect. I like the soft, fresh ones that don’t crack. If yours are old and dry, microwave them for 10 seconds to soften them up.
Cream Cheese (8 oz / 225g, softened) — This is your secret weapon. It acts as the glue that holds everything together. If you use cold cream cheese, it won’t spread. It’ll tear the tortilla. Take it out of the fridge 15 minutes before you start. If you forget, microwave it in 5-second bursts until it’s spreadable. I use full-fat because it tastes better, but low-fat works if you’re watching calories.
Deli Turkey Breast (12 oz / 340g) — Look for the sliced turkey. Not the ground turkey. Not the roast turkey slices that are super thick. You want the standard deli slices. I prefer the roasted turkey flavor over the smoked one because it’s less salty, but whatever your family likes works. If you’re buying a whole deli pack, you’ll have leftovers for another day.
Cheddar Cheese (1 cup / 100g, shredded) — Sharp cheddar is my favorite because the flavor stands up to the turkey. Mild cheddar is fine if you’re feeding very young kids who are sensitive to strong flavors. Shred it yourself if you can. Pre-shredded cheese has that dusty anti-caking coating that doesn’t melt as nicely into the cream cheese.
Butter Lettuce (1 cup / 30g, leaves) — I use butter lettuce or Boston lettuce. Why? Because iceberg is too crunchy and breaks the roll, and spinach is too floppy. Butter lettuce is sturdy but soft. It adds that fresh crunch without making the wrap soggy. If you can’t find it, romaine hearts (chopped small) work too.
Optional Add-ins — I keep these in my pantry for variety. Cucumber (thinly sliced) adds crunch. Avocado adds creaminess (but add this right before eating or it turns brown). Red onion (very thinly sliced) adds a bite. Herbs like dill or chives mixed into the cream cheese add a nice freshness.
Pro Tip: I always buy the block of cheddar and grate it. It takes two minutes and makes a huge difference in texture. And for the turkey? I buy the deli pack, not the pre-packaged sandwich stuff. The deli slices are thinner and layer better.
Equipment Needed
You don’t need fancy equipment for this. Here’s what I actually use.
Large Cutting Board — You need enough space to lay out the tortillas. If your board is tiny, this will be frustrating. I use a big plastic one from the dollar store because it’s easy to wipe down.
Butter Knife or Offset Spatula — For spreading the cream cheese. A regular butter knife works, but an offset spatula makes it way easier to get an even layer without tearing the tortilla. I’m obsessed with my cheap offset spatula from IKEA.
Cling Wrap (Plastic Wrap) — This is non-negotiable for the rolling step. You need to wrap the tortilla tightly to get those clean slices. I use the heavy-duty kind. It holds the shape better.
Chef’s Knife — For slicing the rolls. A sharp knife makes clean cuts. A dull knife will crush the pinwheels and make them look messy. Sharpen your knife or get a new one. It’s worth it.
Measuring Cups — For the cheese and lettuce. You don’t need to be exact, but having a rough measure helps keep the portions consistent.
Airtight Containers — For storage. I use plastic containers with locking lids. They keep the pinwheels from drying out in the fridge.
Optional: Food Processor — If you’re making a huge batch, you can shred the cheese in the food processor. Just pulse it a few times. Don’t over-process or you’ll get cheese dust.
How to Make It: Step-by-Step
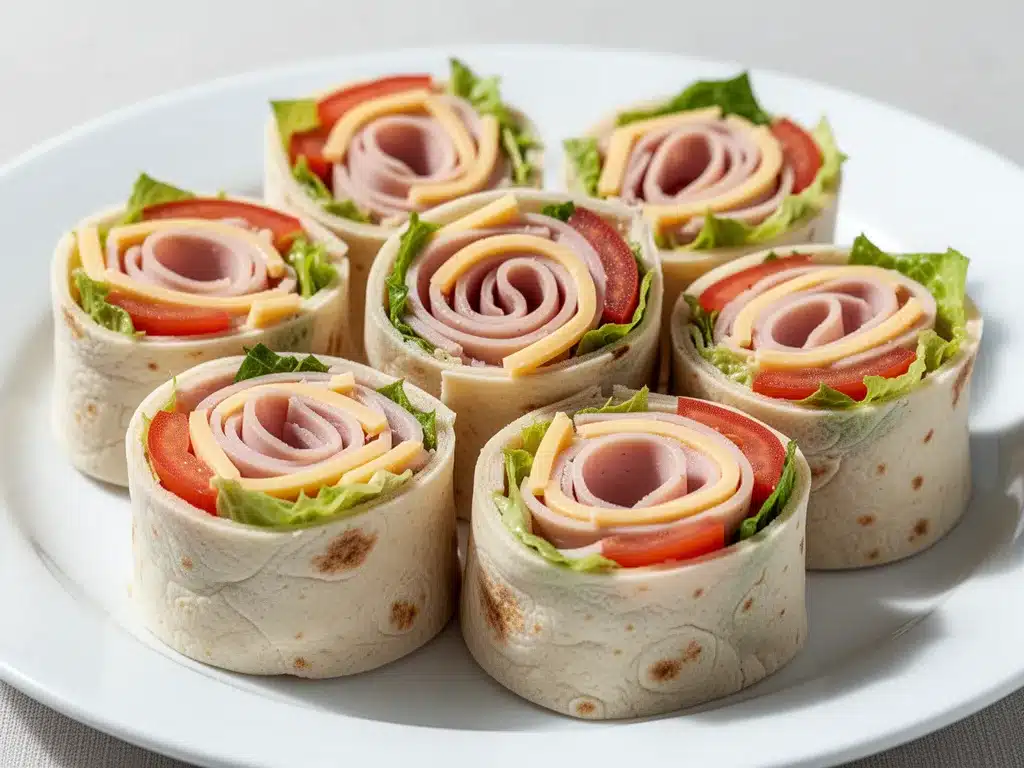
Alright, let’s make these! I’m walking you through exactly how I do it, including the little tricks I’ve picked up so they don’t fall apart.
Step 1: Prep Your Ingredients (5 minutes)
Before you start, get everything ready. Shred your cheese, wash and dry your lettuce (wet lettuce makes soggy wraps), and slice your cucumber if you’re using it. Soften your cream cheese. I know it seems fussy, but it makes the actual rolling way less stressful. Once you start, things move fast.
Step 2: Lay Out the Tortillas (2 minutes)
Lay your tortillas out on your cutting board. They should be overlapping slightly so there are no gaps. If you’re making a big batch, do them in rows. Make sure they’re smooth and flat. If they’re curled up from the package, press them down with your hands.
Step 3: Spread the Cream Cheese (3 minutes)
Take a tortilla and spread a thin, even layer of cream cheese over the entire surface. Leave a tiny border (about half an inch) on the far edge so it doesn’t squeeze out when you roll. The layer should be thin. If it’s too thick, the roll will be bulky and hard to slice. I use a butter knife to get it smooth.
Step 4: Layer the Turkey (2 minutes)
Lay the turkey slices over the cream cheese. Overlap them slightly so there are no gaps. You want full coverage. If there are holes, the filling will fall out. Press the turkey down gently so it sticks to the cream cheese.
Step 5: Add Cheese and Lettuce (2 minutes)
Sprinkle the shredded cheese evenly over the turkey. Then add the lettuce leaves. Don’t overload the lettuce. A little goes a long way. If you add too much, the wrap will be floppy. Just a light layer is enough.
Step 6: Roll It Up (2 minutes)
This is the tricky part. Start at the edge closest to you. Lift the edge of the tortilla and roll it tightly away from you. Use your fingers to tuck the filling in as you roll. Keep it tight. A loose roll will fall apart. When you get to the end, make sure the seam is on the bottom. The cream cheese on the edge should act as glue.
Step 7: Wrap and Chill (30 minutes)
Once rolled, wrap the entire tortilla tightly in plastic wrap. Twist the ends like a candy wrapper. This is crucial. It holds the shape while it firms up in the fridge. Do this for all your rolls. Put them in the fridge for at least 30 minutes. You can leave them longer, up to 24 hours.
Step 8: Slice and Serve (5 minutes)
Take the rolls out of the fridge. Remove the plastic wrap. Use a sharp knife to slice each roll into 1-inch pinwheels. Wipe your knife between cuts if it gets creamy. Arrange them on a plate or in a container. The spiral pattern should be visible. If it’s not, you didn’t roll tight enough, but they’ll still taste good.
Total Time: About 30 minutes active, plus 30 minutes chilling.
Built-in Troubleshooting:
– Roll is loose? You didn’t roll tight enough. Next time, use two hands and pull the tortilla taut as you roll.
– Filling falls out? You didn’t spread enough cream cheese on the edge, or you overfilled the wrap. Keep the filling layer thin.
– Slices are messy? Your knife is dull. Use a sharp chef’s knife and saw gently. Don’t press down.
Expert Tips & Tricks
Here’s everything I’ve learned from making these dozens of times. These tips will save you from my mistakes.
Chill Before Slicing
This is the #1 tip. If you slice the roll immediately after rolling, it will be soft and squishy. The cream cheese needs to firm up in the fridge. I always set a timer for 30 minutes. If I’m in a rush, I put them in the freezer for 15 minutes, but the fridge is better.
Don’t Skimp on the Cream Cheese
It’s the glue. If you use too little, the turkey and cheese will slide out. If you use too much, it’s too rich. Aim for a thin, even layer. Think of it as the mortar between the bricks.
Use a Sharp Knife
A dull knife will crush the pinwheels. I learned this the hard way with a sad, mashed-up mess. Get a sharp chef’s knife. If you don’t have one, use a serrated bread knife and saw gently.
Pat Dry the Lettuce
Wet lettuce makes the tortilla soggy. I always dry my lettuce with a paper towel. If you skip this step, your pinwheels will be limp by lunchtime.
Common Mistakes (and how to avoid them):
– Mistake: Wraps are too thin
Fix: Use 8-inch tortillas. If you use smaller ones, the pinwheels will be tiny and hard to eat.
– Mistake: Filling is too salty
Fix: Use low-sodium turkey and cheese. Deli meats can be very salty. Taste before you assemble.
– Mistake: Pinwheels fall apart in the box
Fix: Make sure they’re chilled. If you’re packing them for school, put a paper towel in the container to absorb moisture.
Pro Tricks I’ve Learned:
– For Extra Flavor
Mix dried dill or chives into the cream cheese before spreading. It adds a nice herbal note.
– For Better Texture
Add a thin layer of mustard to the cream cheese. It adds tang and helps the flavors pop.
– Make-Ahead Strategy
Make the rolls on Sunday night. Slice them Monday morning. They keep perfectly in the fridge for up to four days. I slice them right before packing so they don’t get soggy.
Variations & Substitutions
Once you’ve nailed the basic version, here’s how you can mix it up. I’ve tried all of these.
Ham and Swiss Version
Swap turkey for ham and cheddar for Swiss. Add a little honey mustard to the cream cheese. This is my husband’s favorite. It tastes like a fancy deli sandwich.
Veggie-Loaded
Add roasted red peppers, spinach, and feta cheese. Use hummus instead of cream cheese. This is how I get my kids to eat vegetables. They think it’s a treat.
BLT Pinwheels
Add crispy bacon and tomato slices. The bacon adds crunch and smokiness. I cook the bacon first, let it cool, then crumble it. Don’t skip the bacon. It’s essential.
Spicy Turkey
Add jalapeño slices and use pepper jack cheese. This is for the kids who like a kick. I make one batch spicy and one batch mild.
Dietary Modifications:
– Gluten-Free
Use gluten-free tortillas. They can be brittle, so handle them gently. I like the rice-based ones.
– Dairy-Free
Replace cream cheese with dairy-free spread and cheddar with dairy-free shreds. It’s different but still tasty. My lactose-intolerant friend requests this version.
– Lower-Carb
Use large lettuce leaves instead of tortillas. Roll the filling in the lettuce. It’s like a wrap but without the bread. I won’t lie—it’s not the same, but it works if you’re watching carbs.
Serving & Storage
I usually serve these straight from the container at lunchtime—they look rustic and stay cool. But here are other ways I’ve enjoyed them:
Side Dishes:
– Apple slices
– Carrot sticks with ranch
– A handful of grapes
– Crackers
Toppings Bar:
When I have guests, I put out: extra cream cheese, hot sauce, sliced avocado, fresh herbs. Everyone customizes their bowl.
Storage Instructions:
– Refrigerator: Store in an airtight container for up to 4 days. They keep best if you slice them right before eating. If you slice them ahead, they might get a bit soggy.
– Freezing: Honestly, these don’t freeze well because of the cream cheese and lettuce. The texture gets weird. Make them fresh or store in the fridge for up to 4 days.
– Meal Prep: Make the rolls on Sunday night. Store them whole in the fridge. Slice them Monday morning. Takes 5 minutes and tastes way better than fully pre-sliced.
Pro tip: If leftovers are drying out, wrap them in a damp paper towel when reheating. But these are usually gone by lunchtime.
Nutrition Information
I’m not a nutritionist, but here’s the breakdown if you’re tracking.
Per Serving (based on 4 pinwheels):
- Calories: 280
- Protein: 18g
- Carbs: 22g
- Fiber: 1g
- Sugar: 2g
- Fat: 12g
- Saturated Fat: 6g
- Cholesterol: 45mg
- Sodium: 650mg
- Calcium: 150mg
What’s Good:
– Decent protein from turkey and cheese
– Calcium from the cheese
– Can add vegetables to boost nutrition
– More filling than it looks
What to Know:
– Higher in sodium from deli turkey
– Contains dairy and gluten
– Moderate calories (good for a snack, maybe light for a meal)
My Take:
“Look, this is a lunchbox treat. It’s not a diet recipe. But it’s way better than processed snacks, costs less, and I know exactly what’s in it. When I want to make it lighter, I use low-fat cream cheese and load up on vegetables. But usually? I just eat a reasonable portion and enjoy it.”
Final Thoughts
So that’s my go-to Turkey and Cheese Pinwheel Wraps! I’ve probably talked your ear off at this point, but when you make a recipe this often, you have a lot to say about it.
This has saved lunchboxes more times than I can count. It’s my answer to “what’s for lunch?” when I’m tired, don’t want to cook, and still want something that tastes really good. My kids are happy, my husband’s happy, and I’m happy because I’m not stressed about cooking.
Make it yours! Try different add-ins, swap in your favorite vegetables, adjust the cream cheese (though more is always better in my opinion). The best recipes are the ones you adapt to your family’s tastes.
If you make this, drop a comment and let me know what you think! I love hearing how recipes turn out in your kitchen. And if something doesn’t work, tell me that too—I’m here to help troubleshoot.
Happy cooking! And I hope your lunchbox smells half as good as mine does right now.
Frequently Asked Questions
Q: Can I use whole wheat tortillas?
A: Yes, you can! They’re a bit heartier and have a nuttier flavor. I like them because they hold up better to slicing. Just make sure they’re soft. If they’re dry, microwave them for 10 seconds.
Q: Why did my pinwheels fall apart?
A: Usually means you didn’t roll tight enough, or you didn’t chill them long enough. The cream cheese needs to firm up to hold the shape. Also, make sure you have a thin, even layer of cream cheese on the edge to act as glue.
Q: Can I make these ahead for a party?
A: Absolutely! Make the rolls the night before. Store them in the fridge. Slice them an hour before serving. They’ll look fresh and hold their shape. I do this for all my holiday parties.
Q: Why did my sauce get grainy/lumpy?
A: This doesn’t apply to pinwheels, but if you’re making a dip, it’s usually because the heat was too high. For pinwheels, if the texture is weird, it’s probably because the cream cheese was too cold. Soften it first.
Q: Can I use jarred garlic?
A: You can, but fresh tastes so much better in this recipe. Jarred garlic has a weird metallic taste that really shows up in cream sauces. If you must use it, use half the amount because it’s stronger. But honestly, mincing 6 cloves takes like 2 minutes. Buy pre-peeled garlic cloves if you want to save time.
Q: How do I reheat leftovers without it getting dry?
A: Add a splash of milk or cream to a skillet, add your leftover pasta, and heat gently over low heat, stirring frequently. The extra liquid brings back the creamy texture. Microwave sort of works but tends to dry it out. If you do microwave, definitely add a splash of milk first and heat in short bursts, stirring between.
Q: Can I double this recipe?
A: Absolutely! Double everything and use your biggest pot. The cooking times stay the same. I do this when I’m meal-prepping or feeding a crowd. Just make sure your skillet is big enough for the sauce—you might need to use two pans or a very large skillet.
Pin This Recipe!
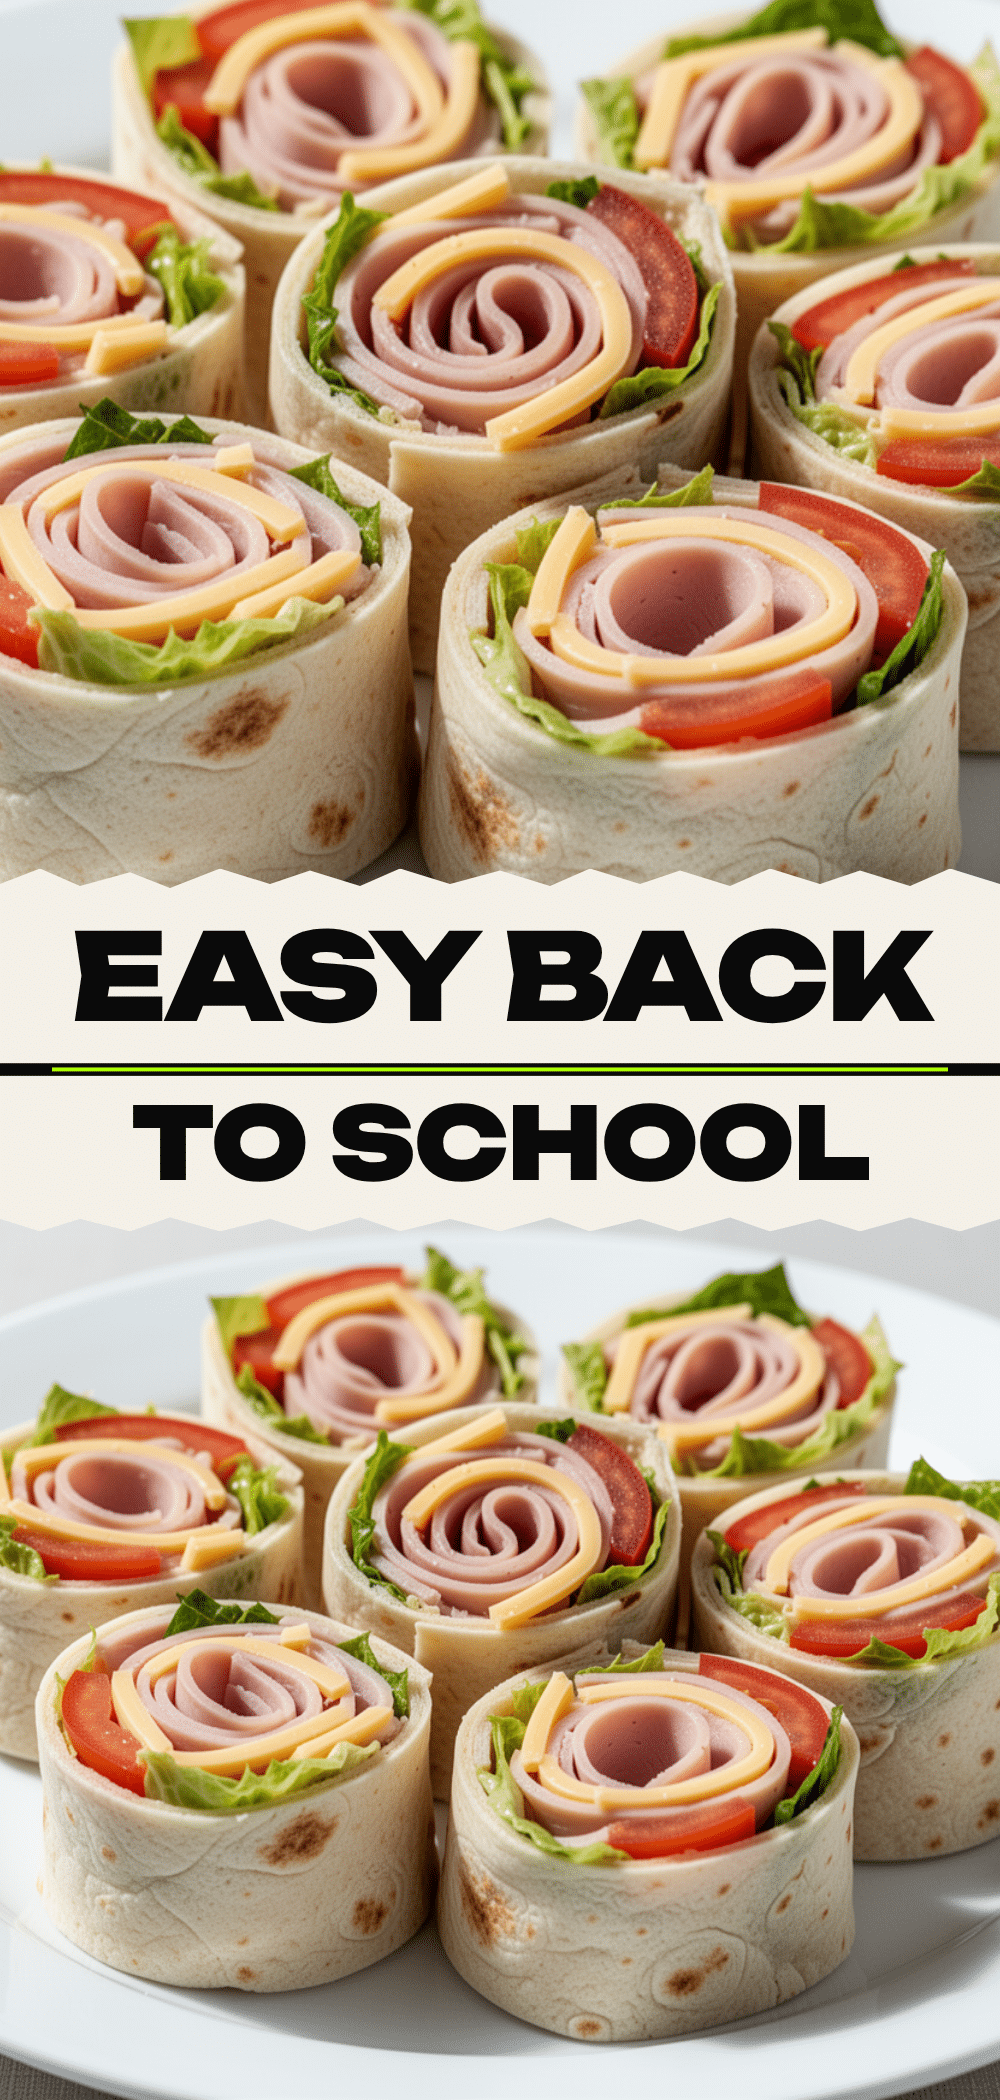

Turkey and Cheese Pinwheel Wraps
- Total Time: 45 minutes
- Yield: 32 pinwheels (8 servings) 1x
Description
A sturdy, customizable, and budget-friendly lunchbox staple that uses cream cheese as glue to keep pinwheels from falling apart. Perfect for meal prep and picky eaters.
Ingredients
- 8 large 8-inch flour tortillas
- 8 oz (225g) cream cheese, softened
- 12 oz (340g) deli turkey breast slices
- 1 cup (100g) shredded cheddar cheese
- 1 cup (30g) butter lettuce leaves, dried
- Optional: Cucumber, avocado, red onion, dill, or chives
Instructions
- Prep ingredients: Shred cheese, wash and thoroughly dry lettuce, and soften cream cheese.
- Lay tortillas out on a cutting board, overlapping slightly to ensure no gaps.
- Spread a thin, even layer of cream cheese over each tortilla, leaving a half-inch border on one edge.
- Layer turkey slices over the cream cheese, overlapping slightly for full coverage.
- Sprinkle shredded cheese evenly over the turkey, then add a light layer of lettuce.
- Starting from the edge closest to you, roll the tortilla tightly away from you, tucking in the filling as you go.
- Wrap each roll tightly in plastic wrap, twisting the ends like a candy wrapper.
- Chill in the refrigerator for at least 30 minutes to firm up.
- Remove plastic wrap and slice each roll into 1-inch pinwheels using a sharp chef’s knife.
Notes
Ensure lettuce is completely dry to prevent soggy wraps. Use a sharp knife for clean cuts. Cream cheese acts as the glue; do not skip this step. These do not freeze well due to the cream cheese and lettuce texture.
- Prep Time: 15 minutes
- Cook Time: 0 minutes
- Category: Lunch
- Cuisine: American
Nutrition
- Serving Size: 4 pinwheels per serv
- Calories: 280
- Sugar: 2
- Sodium: 650
- Fat: 12
- Saturated Fat: 6
- Carbohydrates: 22
- Fiber: 1
- Protein: 18
Keywords: lunchbox ideas, meal prep, turkey wraps, pinwheel wraps, easy lunch, kid-friendly lunch, gluten-free option


