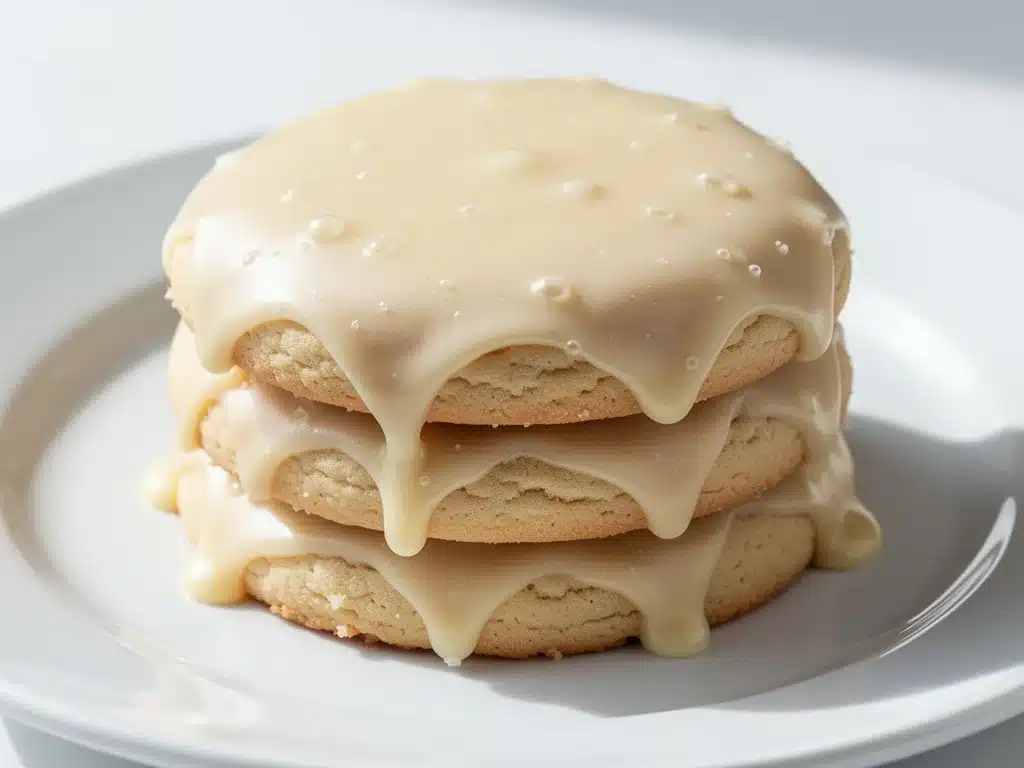
Let me tell you a little secret: I used to think sugar cookies were the most boring, dry, cardboard-like thing you could possibly bake. I was wrong. So, so wrong.
It wasn’t until last December, three days before my family’s holiday party, that I finally decided to stop buying those pre-made dough tubes from the grocery store and actually make them from scratch. I had a panic attack because I didn’t know how to get the edges crisp without the centers going stale. I stared at my mixing bowl like it owed me money.
Then I remembered my aunt’s recipe. She’s the kind of person who can decorate a gingerbread house with royal icing that looks like spun glass, and she shared the one trick that changed everything: a specific ratio of cornstarch and a chilling step that actually matters. I tweaked it, tested it, and failed a few times (one batch was way too soft, another was burnt on the bottom), but I finally nailed it.
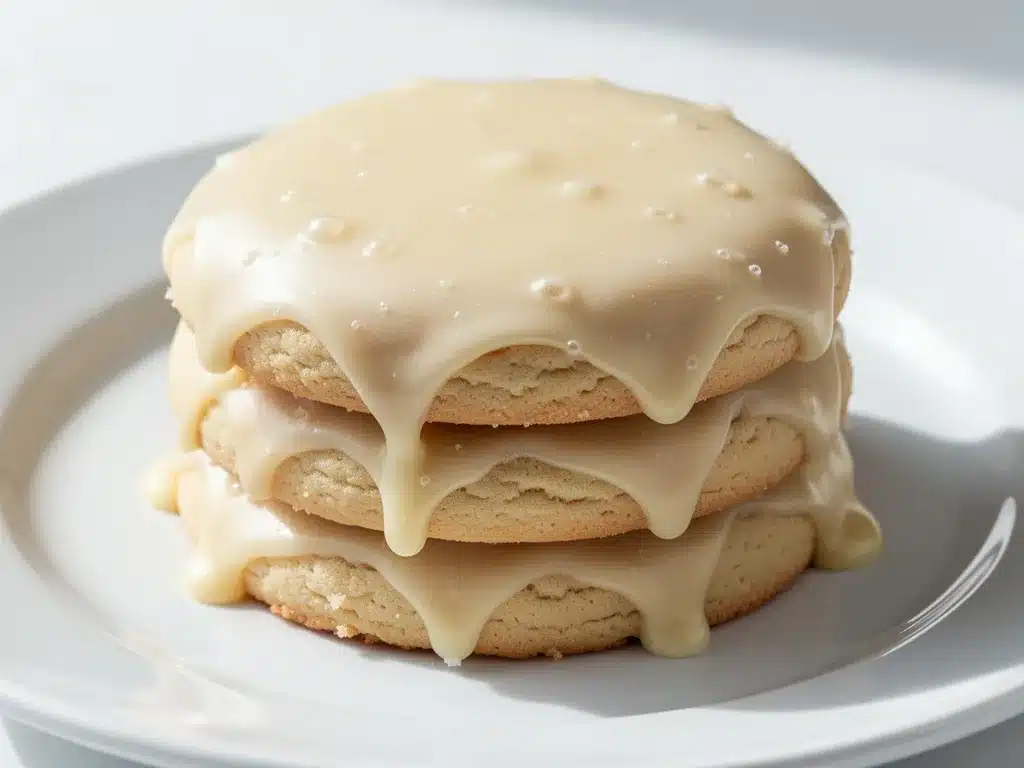
These iced sugar cookies are not just “good.” They are the gold standard. They are soft enough to yield when you bite them, crisp enough around the edges to snap slightly, and they hold their shape beautifully under layers of royal icing. I’ve made these for every holiday since, and they are the first thing people ask for. They are the ultimate classic holiday dessert because they are nostalgic, customizable, and honestly? They taste better than anything you’ll buy at a bakery.
If you’ve been intimidated by the idea of decorating, don’t be. I’m going to walk you through exactly how I do it, including the icing tips that make your cookies look professional without requiring a culinary degree.
Why You’ll Love This Iced Sugar Cookie Recipe
There are a million cookie recipes out there, but this one has earned a permanent spot in my holiday rotation. Here’s why it’s worth the extra effort:
- Perfect Texture Every Time — The secret is the cornstarch and the chilling. These cookies stay soft in the middle but get those dreamy crisp edges. No dry, crumbly disasters.
- Hold Their Shape — One of the biggest frustrations with sugar cookies is they spreading into puddles. These don’t. They stay as round and perfect as you cut them, which is crucial for clean decoration.
- Icing That Actually Sets — The royal icing I’m sharing dries hard but not rock-hard. It’s the perfect consistency for piping intricate designs or flooding, and it won’t smudge when you stack them.
- Make-Ahead Friendly — You can make the dough weeks in advance, freeze it, and bake fresh cookies whenever you want. This is a lifesaver during the busy holiday season.
- Customizable Fun — Whether you’re doing festive red and green swirls, elegant white and gold, or fun shapes for kids, this dough is a blank canvas. It’s interactive and delicious.
This isn’t just a cookie; it’s a holiday tradition waiting to happen. Plus, the smell of vanilla and butter filling your kitchen while these bake? Unbeatable.
Ingredients You’ll Need
The beauty of this iced sugar cookies recipe is that it uses pantry staples. You probably have most of this already. Here’s what you need and why each ingredient matters:
For the Dough
Unsalted butter (1 cup / 226g) — Softened to room temperature. This is non-negotiable. If it’s too cold, it won’t cream properly. If it’s melted, your cookies will spread. Aim for the consistency of peanut butter.
Granulated sugar (1 ½ cups / 300g) — This provides structure and that slight crispness. Don’t substitute with brown sugar unless you want a chewier, cakier cookie. We want that classic snap.
Confectioners’ sugar (1 cup / 120g) — Also known as powdered sugar. This helps keep the texture tender and adds to the sweetness without being gritty.
Eggs (2 large) — Room temperature. These bind everything together. Crack them into a small bowl first to check for shells.
Vanilla extract (2 teaspoons) — Use real vanilla, not imitation. The flavor is huge here since there aren’t many other strong flavors. I use Nielsen-Massey because it’s pure.
All-purpose flour (3 ½ cups / 440g) — Spoon and level, don’t scoop! Scooping packs the flour in and leads to dry cookies. I use Gold Medal for consistency.
Cornstarch (2 tablespoons) — This is the secret weapon. It tenderizes the dough and helps prevent spreading. It’s what gives these cookies their signature melt-in-your-mouth texture.
Baking powder (1 teaspoon) — Just a little lift. We don’t want these to rise much, just enough to stay tender.
Salt (½ teaspoon) — Balances the sweetness. Don’t skip it.
For the Royal Icing
Confectioners’ sugar (3 cups / 360g) — Sifted to remove lumps. Lumpy icing is the enemy of smooth decoration.
Meringue powder (3 tablespoons) — This is safer than raw egg whites and makes the icing stable. If you can’t find it, you can use pasteurized egg whites, but meringue powder is easier for beginners.
Warm water (4-5 tablespoons) — Adjust for consistency.
Vanilla extract (1 teaspoon) — For flavor.
Food coloring — Gel colors work best because they don’t add extra liquid. Liquid food coloring can thin out your icing and make it runny.
Equipment Needed
You don’t need fancy gadgets, but having the right tools helps. Here’s what I actually use:
Electric mixer — Stand mixer is ideal, but a hand mixer works fine. Creaming the butter and sugar by hand is an arm workout, so let the machine do the work.
Baking sheets — I use half-sheet pans. Dark pans can cause bottoms to burn, so I line them with parchment paper or silicone mats. Parchment paper is my go-to for easy cleanup.
Cooling racks — Essential. You need air circulation underneath the cookies so they don’t steam and get soggy.
Cookie cutters — Classic shapes like stars, trees, and circles. Make sure they are sharp; dull cutters tear the dough.
Piping bags and tips — I use disposable bags with #1 and #2 tips for outlining and #3 or #4 for flooding. You can also use zip-top bags with the corner snipped off.
Sifter or fine-mesh strainer — For the powdered sugar. No one wants lumps in their icing.
How to Make Iced Sugar Cookies
Alright, let’s get baking! I’m going to break this down into two parts: the dough and the icing. Don’t worry, it’s easier than it looks.
Part 1: The Dough
Step 1: Cream the Butter and Sugars
In the bowl of your stand mixer fitted with the paddle attachment, beat the softened butter, granulated sugar, and confectioners’ sugar on medium-high speed for about 3-4 minutes. You want this to be light, fluffy, and pale. This step incorporates air, which helps with texture. Scrape down the sides of the bowl with a spatula.
Step 2: Add Wet Ingredients
Add the eggs one at a time, mixing on low until just combined. Add the vanilla extract. Mix for another 30 seconds. The mixture might look slightly curdled—that’s normal. Just keep going.
Step 3: Mix Dry Ingredients
In a separate bowl, whisk together the flour, cornstarch, baking powder, and salt. This ensures even distribution. Slowly add the dry ingredients to the wet mixture on low speed. Mix until *just* combined. Overmixing at this stage develops gluten and makes tough cookies. Stop as soon as you don’t see streaks of flour.
Step 4: Chill the Dough
Divide the dough in half. Flatten each half into a disc, wrap tightly in plastic wrap, and refrigerate for at least 2 hours, or overnight. This is crucial! Chilled dough is easier to roll and doesn’t spread in the oven. If you skip this, your cookies will be flat circles, not defined shapes.
Step 5: Roll and Cut
Preheat your oven to 350°F (175°C). Line baking sheets with parchment paper. Take one disc of dough and roll it out on a lightly floured surface to about ¼-inch thickness. Use your cookie cutters to cut shapes. Place them on the baking sheets about 1 inch apart. If the dough gets too warm while you’re working, pop the sheet back in the fridge for 10 minutes.
Step 6: Bake
Bake for 8-10 minutes. The edges should be lightly golden, but the centers should still look soft. They will firm up as they cool. Do not overbake! Pull them out when they look just set. Let them cool on the pan for 5 minutes, then transfer to a wire rack to cool completely. They must be 100% cool before icing, or the icing will melt.
Part 2: The Royal Icing
Step 1: Mix the Icing
In a large bowl, sift the confectioners’ sugar to remove lumps. Add the meringue powder and mix on low. Gradually add the warm water and vanilla. Beat on high speed for 5-7 minutes until stiff peaks form. The icing should be glossy and hold its shape when you lift the beaters.
Step 2: Divide and Color
Divide the icing into small bowls for each color you want to use. Add gel food coloring a drop at a time. Mix well. Cover with plastic wrap touching the surface of the icing to prevent drying.
Step 3: Outline and Flood
To outline, put icing in a piping bag with a small tip (#1 or #2). Pipe a border around the edge of the cookie. Let it set for a minute. Then, thin a small amount of icing with a few drops of water (to the consistency of honey). Use a toothpick or scribe tool to spread this “flood” icing over the surface, filling in the border. Tap the cookie gently on the counter to release air bubbles.
Step 4: Decorate
Add details with contrasting colors or sprinkles while the base icing is still wet. Let the cookies dry uncovered for at least 4-6 hours, or overnight, until the icing is hard to the touch.
Expert Tips for Perfect Cookies
Here’s everything I’ve learned from making hundreds of these iced sugar cookies. These tips will save you from common pitfalls.
Room Temperature Butter is Key
If your butter is too cold, it won’t cream properly. If it’s too warm, the cookies spread. Stick it on the counter 1-2 hours before baking. It should leave a slight indent when you poke it.
Don’t Overmix the Dough
Once you add the flour, mix only until combined. Overmixing makes the cookies tough and dense. We want tender, melt-in-your-mouth cookies.
Chill Before Baking
If your dough feels soft after cutting, chill the sheets for 10-15 minutes before putting them in the oven. This helps the shapes hold. I do this every time, even if the dough was chilled before rolling.
Use Gel Food Coloring
Liquid food coloring adds water, which can throw off your icing consistency. Gel colors are more vibrant and don’t change the texture. I use Americolor for reliable results.
Store Properly
Once the icing is completely dry, store cookies in an airtight container with parchment paper between layers. They’ll stay fresh for up to 2 weeks. If you’re freezing them, freeze the plain cookies first, then add the icing later for best results.
Variations and Substitutions
Once you’ve mastered the basic recipe, here’s how you can mix it up:
Flavor Twists
Add 1 teaspoon of almond extract instead of vanilla for a different flavor profile. Or mix in 2 tablespoons of citrus zest (lemon, orange, or lime) for a bright, fresh taste. I love lemon zest sugar cookies in the summer.
Dairy-Free Option
You can use a high-quality butter substitute (like Miyoko’s or Earth Balance) for the dough. The icing is naturally dairy-free if you use meringue powder.
Egg-Free Icing
The meringue powder makes the icing egg-free, which is great for allergies. If you can’t find meringue powder, you can use aquafaba (chickpea water) but the texture is different.
Decorating Styles
Instead of flooding, try piping thick outlines and letting them dry, then adding details on top. Or use a “wet-on-wet” technique where you pipe different colors onto the wet base icing for a marbled effect.
Serving and Storage
How to Serve
These iced sugar cookies are perfect for gift-giving! Box them up with a ribbon and give them to neighbors, teachers, or friends. They also look stunning on a holiday dessert table alongside gingerbread men and peppermint bark. Serve with coffee or milk—classic combo.
Storage Instructions
Store in an airtight container at room temperature for up to 2 weeks. Keep them away from direct sunlight and humidity, which can make the icing sticky. If you’re in a humid climate, consider adding a desiccant packet to the container.
Freezing
You can freeze the baked, un-iced cookies for up to 3 months. Thaw at room temperature before icing. You can also freeze iced cookies, but the icing might crack if stacked. Place parchment between layers and freeze flat.
Reheating
No need to reheat! These are best at room temperature. If you want a warm cookie, you can microwave it for 5-10 seconds, but the icing might soften.
Nutrition Information
I’m not a nutritionist, but here’s the breakdown if you’re tracking. Keep in mind that nutrition varies based on exact ingredients and portion sizes.
Per Cookie (approx. 2-inch cookie with icing):
- Calories: 120
- Carbs: 22g
- Sugar: 14g
- Fat: 4g
- Protein: 1g
These are indulgent treats, so enjoy them in moderation! They’re perfect for special occasions but not something you’d want to eat daily. If you’re looking for a lighter option, try reducing the sugar in the dough by ¼ cup, though it will affect texture.
Final Thoughts
Making iced sugar cookies is more than just baking; it’s a ritual. It’s about spending time in the kitchen, rolling out dough, and creating something beautiful that brings people together. I’ve found that the process is just as enjoyable as the eating. Whether you’re a seasoned baker or a beginner, this recipe is forgiving and delicious.
I hope you try this recipe and make it your own. Don’t be afraid to experiment with colors and designs. The best part is seeing the joy on someone’s face when they take a bite of a cookie you made with your own hands. Happy baking, and I can’t wait to see what you create!
Frequently Asked Questions
Can I freeze the dough?
Yes! You can freeze the dough discs for up to 3 months. Thaw them in the fridge overnight before rolling and baking. This is great for meal prepping holiday cookies.
Why did my cookies spread?
Usually, this happens because the butter was too warm, the dough wasn’t chilled enough, or the oven wasn’t preheated. Make sure your butter is softened, not melted, and chill the cut cookies before baking.
Can I use fresh egg whites instead of meringue powder?
You can, but meringue powder is safer and easier for beginners. If using fresh egg whites, ensure they are pasteurized to avoid salmonella risk. The icing might also be less stable.
How do I fix runny icing?
Add more sifted confectioners’ sugar, one tablespoon at a time, until it reaches the right consistency. For outlining, it should be thick. For flooding, it should flow like honey.
Can I make these cookies ahead?
Absolutely. Bake and cool the cookies up to a week in advance. Store in an airtight container. Ice them the day you want to serve them. This helps the icing set properly.
What if I don’t have a stand mixer?
You can use a hand mixer or mix by hand. Creaming the butter and sugar by hand takes more effort, but it’s doable. Just make sure the butter is perfectly softened.
How long does the icing take to dry?
It takes about 4-6 hours to dry to the touch, but overnight is best for a hard finish. If you’re in a humid environment, it might take longer. Don’t stack them until fully dry.
Pin This Recipe!
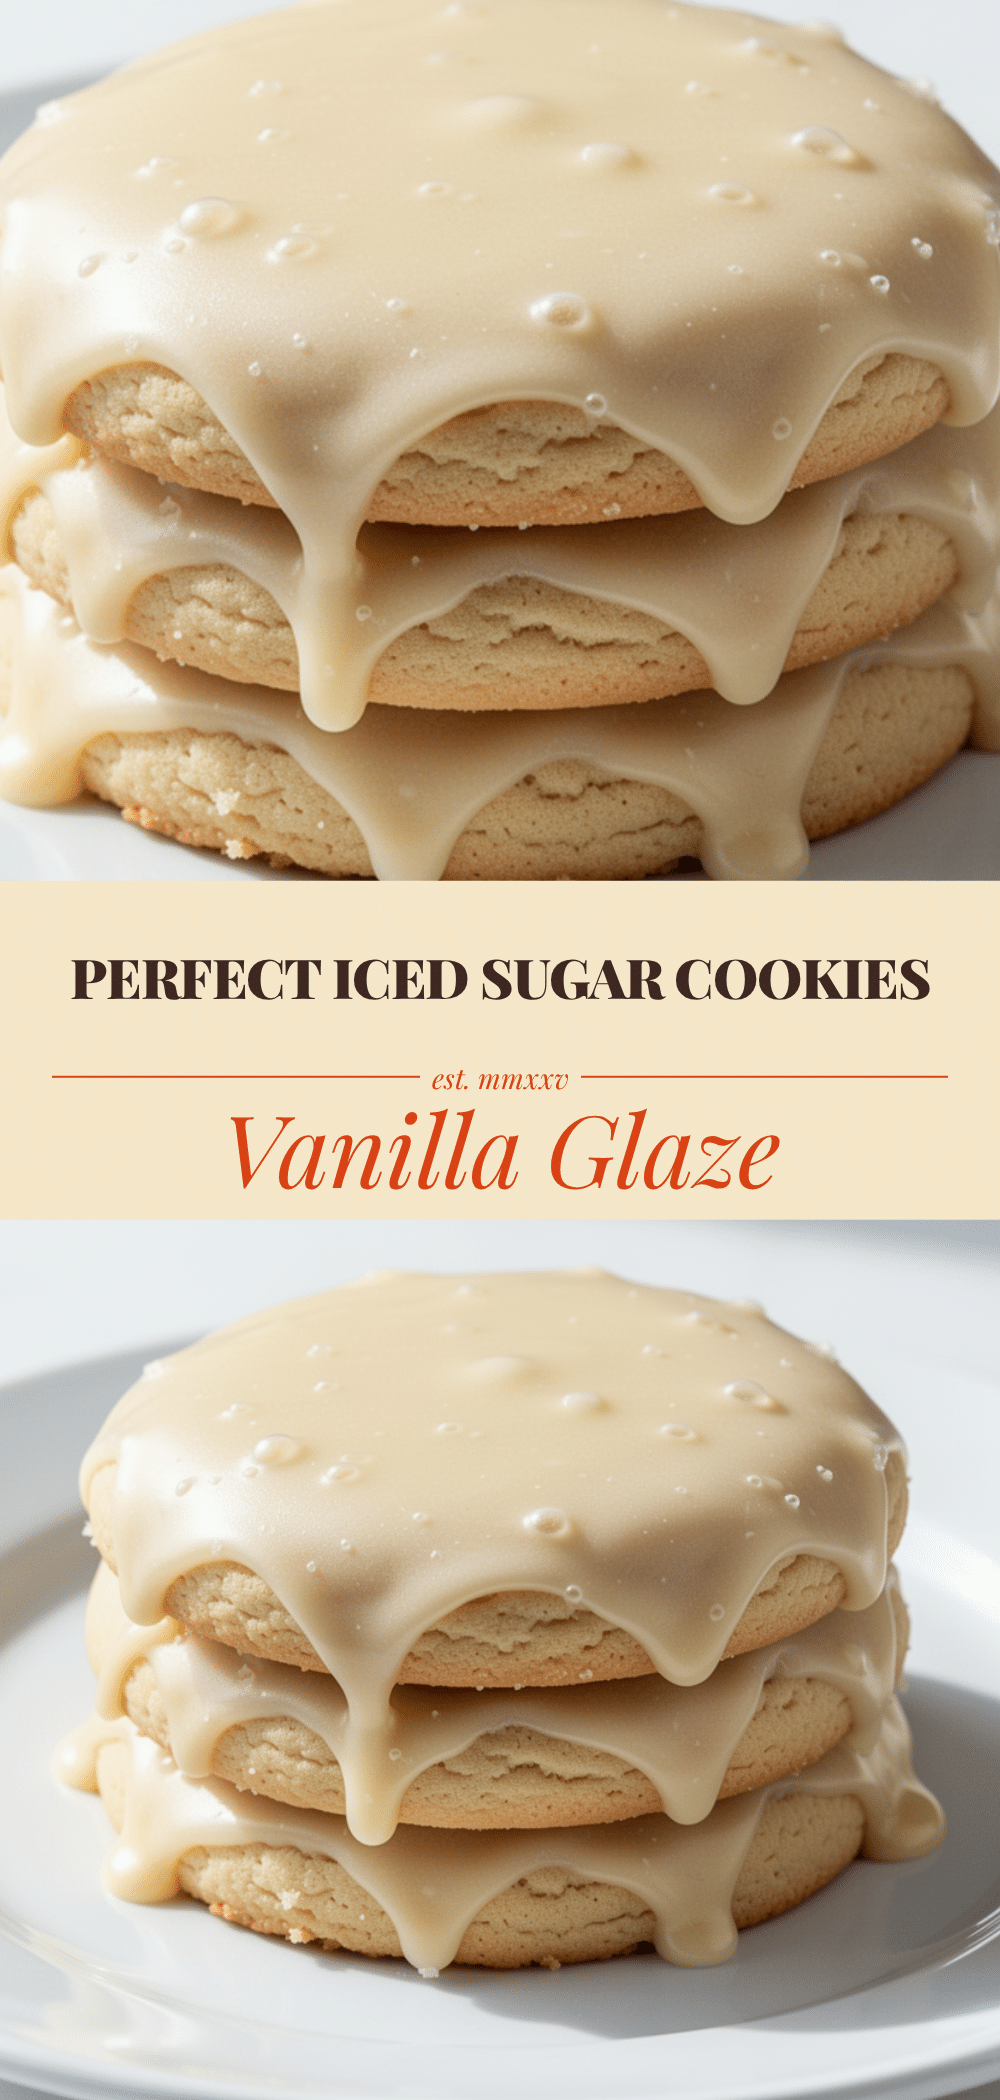
Iced Sugar Cookies: Best Classic Holiday Dessert
- Total Time: 4 hours
- Yield: Approximately 24 cookies 1x
Description
These classic holiday sugar cookies feature a soft center and crisp edges, holding their shape perfectly under layers of homemade royal icing. They are make-ahead friendly and customizable for any festive occasion.
Ingredients
- 1 cup (226g) unsalted butter, softened to room temperature
- 1 ½ cups (300g) granulated sugar
- 1 cup (120g) confectioners’ sugar
- 2 large eggs, room temperature
- 2 teaspoons vanilla extract
- 3 ½ cups (440g) all-purpose flour
- 2 tablespoons cornstarch
- 1 teaspoon baking powder
- ½ teaspoon salt
- 3 cups (360g) confectioners’ sugar, sifted (for icing)
- 3 tablespoons meringue powder
- 4–5 tablespoons warm water (for icing)
- 1 teaspoon vanilla extract (for icing)
- Gel food coloring
Instructions
- Cream the softened butter, granulated sugar, and confectioners’ sugar on medium-high speed for 3-4 minutes until light and fluffy. Scrape down the sides of the bowl.
- Add eggs one at a time, mixing on low until combined. Add vanilla extract and mix for another 30 seconds.
- Whisk together flour, cornstarch, baking powder, and salt in a separate bowl. Slowly add dry ingredients to the wet mixture on low speed, mixing only until just combined.
- Divide dough in half, flatten into discs, wrap in plastic wrap, and refrigerate for at least 2 hours or overnight.
- Preheat oven to 350°F (175°C). Roll dough on a lightly floured surface to ¼-inch thickness. Cut into shapes and place on parchment-lined baking sheets 1 inch apart.
- Bake for 8-10 minutes until edges are lightly golden but centers look soft. Cool on the pan for 5 minutes, then transfer to a wire rack to cool completely.
- Sift confectioners’ sugar into a bowl. Add meringue powder and mix on low. Gradually add warm water and vanilla, then beat on high speed for 5-7 minutes until stiff peaks form.
- Divide icing into bowls and add gel food coloring. Cover with plastic wrap touching the surface.
- Pipe an outline on the cookie using a small tip. Let set for a minute. Thin a small amount of icing with water to honey consistency and flood the center. Tap to release bubbles.
- Add details while base icing is wet. Let cookies dry uncovered for 4-6 hours or overnight until hard.
Notes
Ensure butter is softened but not melted to prevent spreading. Chill dough thoroughly before rolling to maintain shape. Use gel food coloring for vibrant colors without thinning the icing. Cookies must be 100% cool before icing to prevent melting. Store in an airtight container for up to 2 weeks.
- Prep Time: 30 minutes
- Cook Time: 10 minutes
- Category: Dessert
- Cuisine: American
Nutrition
- Serving Size: 1 cookie (approx. 2-
- Calories: 120
- Sugar: 14
- Sodium: 85
- Fat: 4
- Saturated Fat: 2.5
- Carbohydrates: 22
- Fiber: 0.5
- Protein: 1
Keywords: iced sugar cookies, holiday dessert, royal icing, classic sugar cookies, Christmas cookies, make-ahead dessert


