It was 6:45 PM on a rainy Tuesday, and I was staring into the abyss of my fridge. You know that look. It’s half-empty, covered in takeout menus, and smells faintly of leftover takeout. My husband had just walked in, exhausted from work, and my kids were already in “hangry” mode. The usual “what’s for dinner” tension was thick enough to cut with a knife. I didn’t have time to marinate anything. I didn’t have the energy to stir-fry. And I definitely didn’t want to order overpriced delivery.
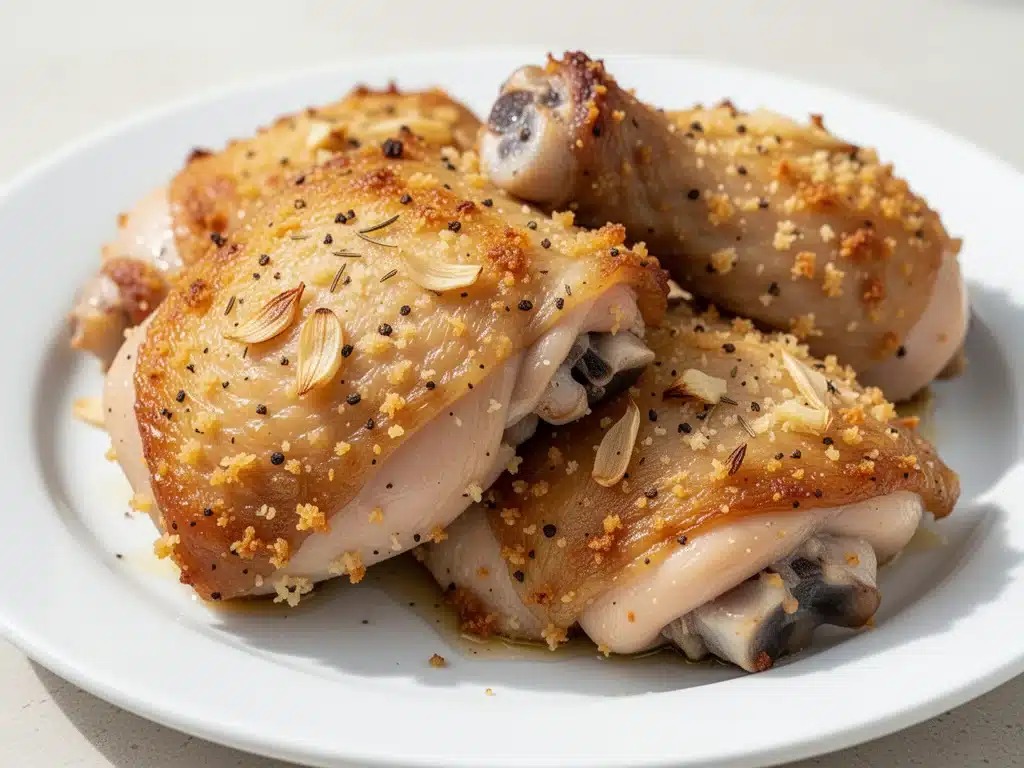
That’s when I remembered I had a bag of chicken thighs in the freezer and a jar of parmesan cheese gathering dust in the back of the pantry. I threw them together, aiming for something fast, flavorful, and crispy without the deep-fry guilt. I expected mediocrity. What I got was the best chicken dinner we’d had in months. The skin was shatteringly crisp, the meat was juicy, and the garlic-parmesan coating was so good my youngest actually asked for seconds. (Yes, really.)
Since that rainy Tuesday, this recipe for Crispy Baked Chicken Thighs has become my absolute go-to. I’ve made it at least twenty times in the last six months, tweaking the garlic amount and testing different oven temperatures until I nailed the perfect balance of crunch and tenderness. It’s a 30 Min Garlic Parmesan Dinner that actually delivers on both promises. It’s not just quick; it’s reliable. It’s the kind of meal that makes you feel like a gourmet chef even when you’re running on three hours of sleep.
Here’s the thing about chicken thighs—they’re forgiving. Unlike chicken breasts, which turn into dry rubber if you look at them wrong, thighs stay juicy even when you’re rushing. Pair that with a crispy, garlic-infused parmesan crust, and you’ve got a dish that’s humble yet impressive. I’ve served this to picky eaters, foodie friends, and my own skeptical mother-in-law. Everyone comes back for more. If you’re tired of the same old chicken routine, this is your sign to try it.
Why You’ll Love This 30 Min Garlic Parmesan Dinner
There are a dozen reasons I keep coming back to this dish, but let’s be real: it’s the convenience and the flavor that keep me hooked. This isn’t just another chicken recipe; it’s a lifesaver. Here’s why it works so well:
- Actually Crispy Skin — Most baked chicken recipes leave the skin rubbery. Not this one. By baking the thighs on a rack over a sheet pan, the air circulates underneath, and the parmesan crust bakes into a crunchy, golden shell. It’s the closest you’ll get to fried chicken without the oil mess.
- Zero Marinating Time — I know you love a good 4-hour marinade, but sometimes you just need dinner *now*. This recipe relies on a dry rub and a quick toss in parmesan. You can have it in the oven in 10 minutes flat. No waiting, no planning, just cooking.
- Garlic Lover’s Dream — I don’t skimp on the garlic. Fresh minced garlic + garlic powder creates a double-layer of flavor that penetrates the crust. It’s savory, aromatic, and smells amazing while it bakes. My kids think it’s “fancy restaurant garlic.”
- One Pan Cleanup — Seriously. Line your baking sheet with parchment paper, toss the chicken, bake, and you’re done. No pots to scrub, no pans to soak. Just a quick wipe-down. This is crucial for weeknights when I’m already mentally drained.
- Meal Prep Friendly — These thighs reheat beautifully. I often make a double batch on Sunday and portion them out for lunches. They stay moist and crispy (if you store them properly) for up to three days. Perfect for busy workdays.
- Family-Approved — My husband, who claims he’s “just hungry” and eats everything in sight, asks me to make this weekly. My daughter, who usually picks off the crust, now licks her fingers. That’s the ultimate seal of approval.
This is my answer to “what’s for dinner” when I’m tired, broke, and don’t want takeout. It’s comforting, satisfying, and makes everyone happy. Plus, it’s cheaper than ordering out and tastes way better. I’ve tried dozens of chicken thigh recipes, and this one just *works*. Every. Single. Time.
Ingredients You’ll Need
Here’s the best part: you probably have most of this already. This 30 Min Garlic Parmesan Dinner relies on simple, pantry-staple ingredients. I’m particular about a few things, so pay attention to the details.
For the Chicken:
Chicken thighs (2 pounds / 900g) — Boneless, skin-on thighs are non-negotiable for crispiness. Boneless, skinless will work, but the skin provides that essential fat and texture. I buy them in the big family packs and freeze what I don’t use immediately.
Olive oil (2 tablespoons / 30ml) — Just enough to help the spices stick and promote browning. You can use avocado oil if you prefer, but olive oil adds a nice subtle fruitiness.
For the Garlic Parmesan Crust:
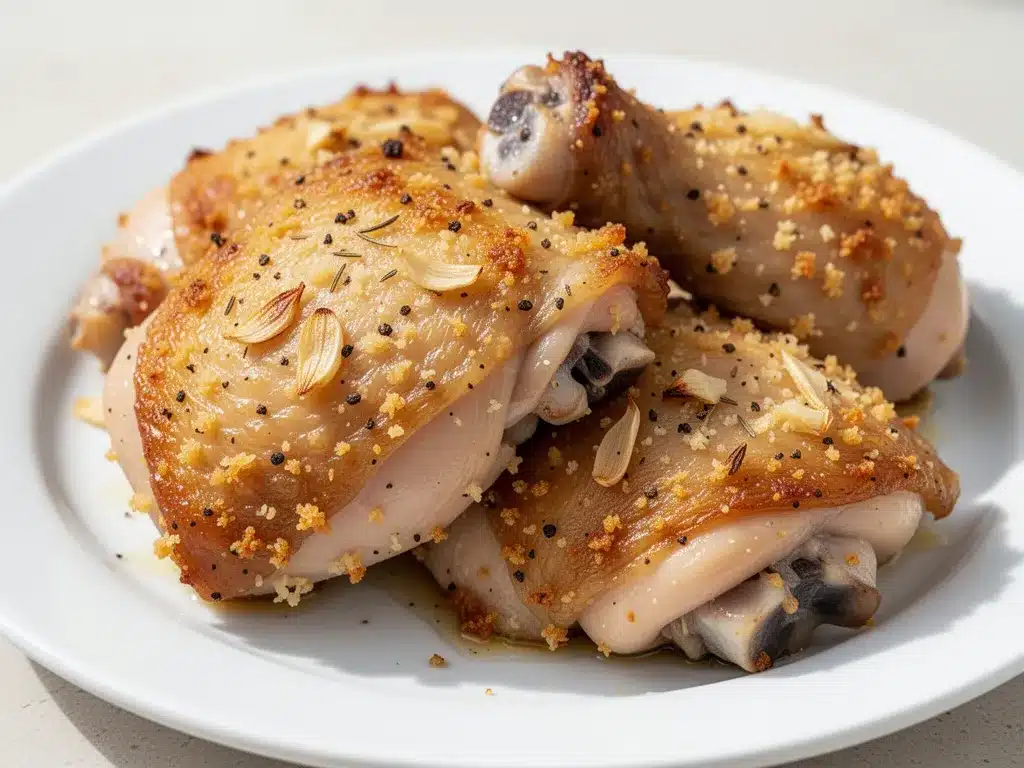
Grated Parmesan cheese (1 cup / 100g) — Buy the block and grate it yourself. Pre-grated cheese has anti-caking agents that prevent it from melting and crisping properly. It makes a huge difference. I use a fine grater for this.
All-purpose flour (½ cup / 60g) — This is the secret weapon. A light dusting of flour helps the parmesan adhere to the chicken and creates a crispy exterior. Don’t skip it, even if you’re watching carbs (see variations below).
Garlic powder (1 teaspoon / 5g) — For that concentrated garlic flavor that penetrates the crust.
Fresh garlic (4 cloves, minced / about 2 tablespoons) — Yes, fresh garlic too. It adds a sharp, aromatic punch that powder alone can’t achieve. Mince it finely so it doesn’t burn.
Dried Italian seasoning (1 teaspoon / 2g) — Or use a mix of dried basil, oregano, and thyme. It adds herbal notes that balance the richness of the cheese.
Salt and black pepper (1 teaspoon each / to taste) — Generous seasoning is key. Chicken thighs are flavorful, but they need salt to pop.
Red pepper flakes (½ teaspoon / optional) — For a little heat. I add this because my family likes a kick, but you can skip it if you’re serving kids or spice-sensitive guests.
For Serving:
Fresh parsley (2 tablespoons, chopped) — For garnish. It adds color and freshness. Don’t skip the green!
Lemon wedges — A squeeze of lemon brightens up the rich, cheesy flavor. It’s like a palate cleanser.
Garlic bread or crusty baguette — To soak up any extra juices and cheese bits. Obviously.
Steamed broccoli or green beans — A simple veggie side balances the meal. I usually steam them in the microwave while the chicken bakes.
Equipment Needed
You don’t need fancy equipment for this. Here’s what I actually use in my kitchen:
Baking sheet — I use a standard half-sheet pan (13×18 inches). Make sure it’s big enough to fit the chicken in a single layer with a little space between pieces. Crowding leads to steaming, not crisping.
Wire rack — This is the game-changer. Placing a wire rack on your baking sheet allows air to circulate under the chicken, ensuring the skin crisps evenly on all sides. I use a stainless steel rack that fits my pan perfectly. If you don’t have one, you can bake directly on the sheet, but the bottom might not get as crispy.
Small mixing bowls — One for the flour mixture, one for the cheese mixture. I use two shallow bowls so I can dredge the chicken easily.
Parchment paper — Line your baking sheet for easy cleanup. It also prevents the cheese from sticking and burning. I don’t even bother oiling the parchment.
Sharp knife and cutting board — For trimming excess fat and mincing garlic. Keep your knife sharp; it makes prep faster and safer.
Measuring cups and spoons — Standard stuff. I use metal spoons for accuracy.
Instant-read thermometer — Not strictly necessary, but I love knowing my chicken is cooked perfectly to 165°F (74°C). It takes the guesswork out.
How to Make It: Step-by-Step
Alright, let’s make this! I’m walking you through exactly how I do it, including the little tricks I’ve picked up over time. It’s simple, but the details matter.
Step 1: Prep Your Oven and Pan (5 minutes)
Preheat your oven to 400°F (200°C). This high heat is crucial for crisping the skin and browning the parmesan. While the oven heats, line your baking sheet with parchment paper and place the wire rack on top. This setup ensures even cooking and easy cleanup.
Step 2: Dry the Chicken (2 minutes)
Pat the chicken thighs dry with paper towels. This step is non-negotiable. Moisture is the enemy of crispiness. If the skin is wet, it will steam instead of crisp. I do this quickly but thoroughly, making sure there’s no visible water on the surface.
Step 3: Make the Dredge (3 minutes)
In a shallow bowl, mix the flour, garlic powder, Italian seasoning, salt, and pepper. In another shallow bowl, combine the grated parmesan cheese and red pepper flakes (if using). You want these mixtures ready to go before you touch the chicken.
Step 4: Coat the Chicken (5 minutes)
Drizzle the olive oil over the chicken thighs and toss them to coat evenly. Then, dredge each thigh in the flour mixture, shaking off any excess. Press it gently so it adheres. Next, press the chicken into the parmesan mixture, coating all sides. I like to press the cheese firmly into the skin so it doesn’t fall off during baking. Place the coated thighs on the wire rack, skin-side up.
Step 5: Bake Until Crispy (20-25 minutes)
Place the baking sheet in the preheated oven. Bake for 20-25 minutes, or until the chicken reaches an internal temperature of 165°F (74°C) and the parmesan crust is golden brown and crispy. I rotate the pan halfway through to ensure even browning. If you want extra crispiness, you can broil for the last 1-2 minutes, but watch it closely—it burns fast!
Step 6: Rest and Serve (5 minutes)
Remove the chicken from the oven and let it rest for 5 minutes. This allows the juices to redistribute, keeping the meat tender. Sprinkle with fresh parsley and serve immediately with lemon wedges. The crust will stay crispy for about 10 minutes, so eat it while it’s hot!
Total Time: About 30 minutes (10 minutes prep, 20 minutes cooking)
Expert Tips & Tricks
Here’s everything I’ve learned from making this dozens of times. These tips will save you from my mistakes.
Don’t Skip the Wire Rack
I know it’s an extra dish to wash, but it’s worth it. Without the rack, the bottom of the chicken sits in its own juices and gets soggy. The rack elevates the chicken, allowing hot air to circulate and crisp the skin. If you absolutely must skip it, flip the chicken halfway through, but the results won’t be as good.
Grate Your Own Parmesan
Pre-grated parmesan contains cellulose to prevent clumping, which stops it from melting and crisping properly. Block parmesan melts smoothly and creates that beautiful, crunchy crust. It takes 2 minutes to grate, and the difference is night and day.
Use Fresh Garlic, Not Jarred
Jarred garlic has a metallic, overly sharp taste that doesn’t mellow out like fresh garlic. Fresh minced garlic adds a sweet, aromatic flavor that complements the cheese perfectly. If you’re short on time, use pre-peeled garlic cloves from the produce section, but mince them yourself.
Don’t Overcrowd the Pan
If you pack the chicken too tightly, the steam from one piece will affect the others, leading to soggy skin. Leave a little space between each thigh. If you’re cooking for a crowd, use two pans or cook in batches.
Check the Temperature
Oven temperatures vary. Use an instant-read thermometer to ensure your chicken is cooked to 165°F (74°C). Overcooked chicken is dry and tough. Undercooked chicken is a health hazard. Find the sweet spot.
Rest the Chicken
Letting the chicken rest for 5 minutes after baking allows the juices to redistribute. If you cut into it immediately, the juices run out, and the meat becomes dry. Patience pays off.
Variations & Substitutions
Once you’ve nailed the basic version, here’s how you can mix it up. I’ve tried all of these.
Spicy Version
Add 1 teaspoon of cayenne pepper or chili powder to the flour mixture. Increase the red pepper flakes to 1 teaspoon. Perfect for those who like a kick.
Herb-Crusted
Swap the Italian seasoning for a mix of dried rosemary, thyme, and sage. Add 1 tablespoon of fresh chopped herbs to the parmesan mixture for a more rustic flavor.
Gluten-Free
Replace the all-purpose flour with almond flour or a gluten-free 1:1 baking flour. Almond flour adds a nutty flavor and extra crispiness. I’ve used both, and almond flour works beautifully.
Lighter Version
Use half the amount of parmesan and mix it with breadcrumbs. Or, use chicken breasts instead of thighs for fewer calories, but be careful not to overcook them.
Veggie Side Ideas
Roasted asparagus, steamed broccoli, or a simple green salad with balsamic vinaigrette all pair well. I often roast vegetables on the same sheet pan (below the rack) to save time.
Serving & Storage
How to Serve:
I usually serve this straight from the oven, garnished with fresh parsley and lemon wedges. It looks rustic and appetizing. Pair it with garlic bread, mashed potatoes, or roasted vegetables. It’s a complete meal in itself.
Storage:
Store leftovers in an airtight container in the refrigerator for up to 3 days. The chicken will stay moist, but the crust may soften. To restore crispiness, reheat in the oven or toaster oven at 375°F (190°C) for 10 minutes. Avoid the microwave, as it makes the skin rubbery.
Freezing:
Yes, you can freeze these! Bake the chicken, let it cool completely, and store it in a freezer-safe bag or container for up to 3 months. Thaw in the refrigerator overnight and reheat in the oven to crisp up the crust.
Nutrition Information
I’m not a nutritionist, but here’s the breakdown if you’re tracking. This is per serving (based on 4 servings):
- Calories: 450
- Protein: 35g
- Carbs: 12g
- Fat: 30g
- Fiber: 1g
- Sugar: 1g
- Sodium: 600mg
These chicken thighs are high in protein and relatively low in carbs, making them a great option for low-carb or keto diets (if you skip the flour). The parmesan adds calcium and flavor, but it does add some sodium. Use low-sodium broth if you’re watching your salt intake.
Final Thoughts
So that’s my go-to Crispy Baked Chicken Thighs! I’ve probably talked your ear off at this point, but when you make a recipe this often, you have a lot to say about it. This 30 Min Garlic Parmesan Dinner has saved weeknight dinners more times than I can count. It’s my answer to “what’s for dinner” when I’m tired, don’t want takeout, and still want something that tastes really good.
Make it yours! Try different herbs, add more garlic, or serve it with your favorite side dishes. The best recipes are the ones you adapt to your family’s tastes. If you make this, drop a comment and let me know what you think! I love hearing how recipes turn out in your kitchen. And if something doesn’t work, tell me that too—I’m here to help troubleshoot.
Happy cooking! And I hope your kitchen smells half as good as mine does right now.
Frequently Asked Questions
Can I use chicken breasts instead of thighs?
You can, but the cooking time will be shorter. Chicken breasts cook faster and can dry out easily. Reduce the baking time to 15-18 minutes and check the temperature frequently. Thighs are juicier and more forgiving, so I prefer them, but breasts work if you’re careful.
Why is my chicken skin not crispy?
Usually, this means the skin was wet when you started, or the oven wasn’t hot enough. Pat the skin dry thoroughly and make sure your oven is fully preheated to 400°F. Also, using a wire rack is crucial for air circulation. If you baked it directly on the pan, the bottom may not have crisped.
Can I make this ahead of time?
You can prep the chicken and coat it up to 24 hours in advance. Store it covered in the fridge, then bake when you’re ready. This is great for meal prep. Just remember to bake it straight from the fridge, which might add 2-3 minutes to the cooking time.
What’s the best way to reheat leftovers?
Reheat in the oven or toaster oven at 375°F (190°C) for 10-15 minutes. This restores the crispiness. Avoid the microwave, as it makes the skin soggy. If you must use the microwave, do it in short bursts and finish with a quick broil if you have one.
Can I freeze the uncooked chicken?
Yes, you can freeze the coated chicken before baking. Place the coated thighs on a baking sheet and freeze until solid, then transfer to a freezer bag. Bake from frozen, adding 5-10 minutes to the cooking time. This is a great option for busy weeks.
Pin This Recipe!
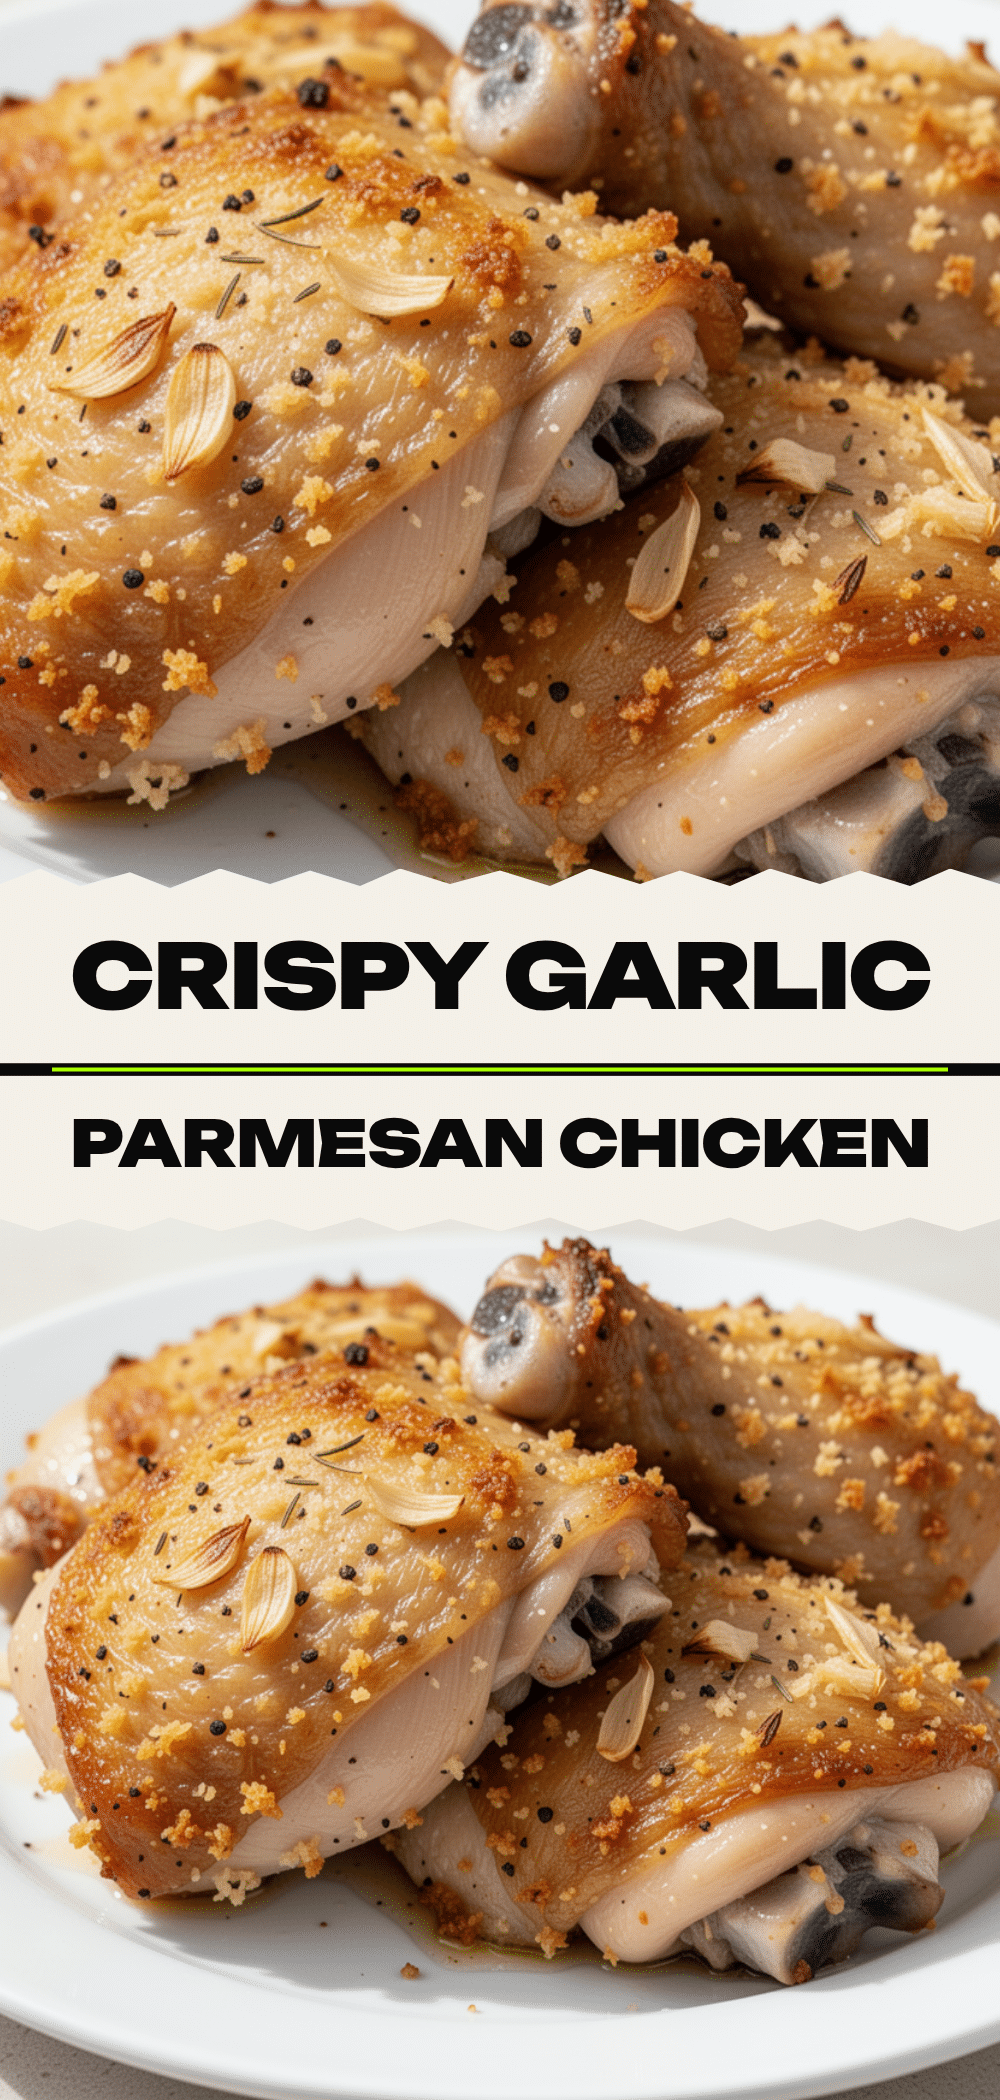

Crispy Baked Chicken Thighs: 30 Min Garlic Parmesan Dinner
- Total Time: 30 minutes
- Yield: 4 servings 1x
Description
A quick, reliable weeknight dinner featuring boneless, skin-on chicken thighs coated in a crispy garlic and parmesan crust. Baked on a wire rack for maximum crunch without deep frying.
Ingredients
- 2 pounds boneless, skin-on chicken thighs
- 2 tablespoons olive oil
- 1 cup grated parmesan cheese (from a block)
- 1/2 cup all-purpose flour
- 1 teaspoon garlic powder
- 4 cloves fresh garlic, minced
- 1 teaspoon dried Italian seasoning
- 1 teaspoon salt
- 1 teaspoon black pepper
- 1/2 teaspoon red pepper flakes (optional)
- 2 tablespoons fresh parsley, chopped (for garnish)
- Lemon wedges (for serving)
Instructions
- Preheat oven to 400°F (200°C). Line a baking sheet with parchment paper and place a wire rack on top.
- Pat chicken thighs dry thoroughly with paper towels to ensure crispiness.
- In a shallow bowl, mix flour, garlic powder, Italian seasoning, salt, and pepper.
- In another shallow bowl, combine grated parmesan cheese and red pepper flakes.
- Drizzle olive oil over chicken thighs and toss to coat evenly.
- Dredge each thigh in the flour mixture, shaking off excess, then press firmly into the parmesan mixture to coat all sides.
- Place coated thighs skin-side up on the wire rack.
- Bake for 20-25 minutes, rotating the pan halfway through, until internal temperature reaches 165°F (74°C) and crust is golden brown.
- Optional: Broil for 1-2 minutes for extra crispiness, watching closely to prevent burning.
- Remove from oven and let rest for 5 minutes before serving with fresh parsley and lemon wedges.
Notes
Do not skip the wire rack; it allows air circulation for crispy skin. Grate your own parmesan as pre-grated cheese contains anti-caking agents that prevent proper crisping. Ensure chicken is patted dry before coating. Do not overcrowd the pan. Rest the chicken for 5 minutes after baking to retain juices.
- Prep Time: 10 minutes
- Cook Time: 20 minutes
- Category: Main Course
- Cuisine: American
Nutrition
- Serving Size: 1 chicken thigh per
- Calories: 450
- Sugar: 1
- Sodium: 600
- Fat: 30
- Saturated Fat: 10
- Carbohydrates: 12
- Fiber: 1
- Protein: 35
Keywords: chicken thighs, garlic parmesan, crispy chicken, baked chicken, quick dinner, weeknight meals, keto friendly, gluten free option


