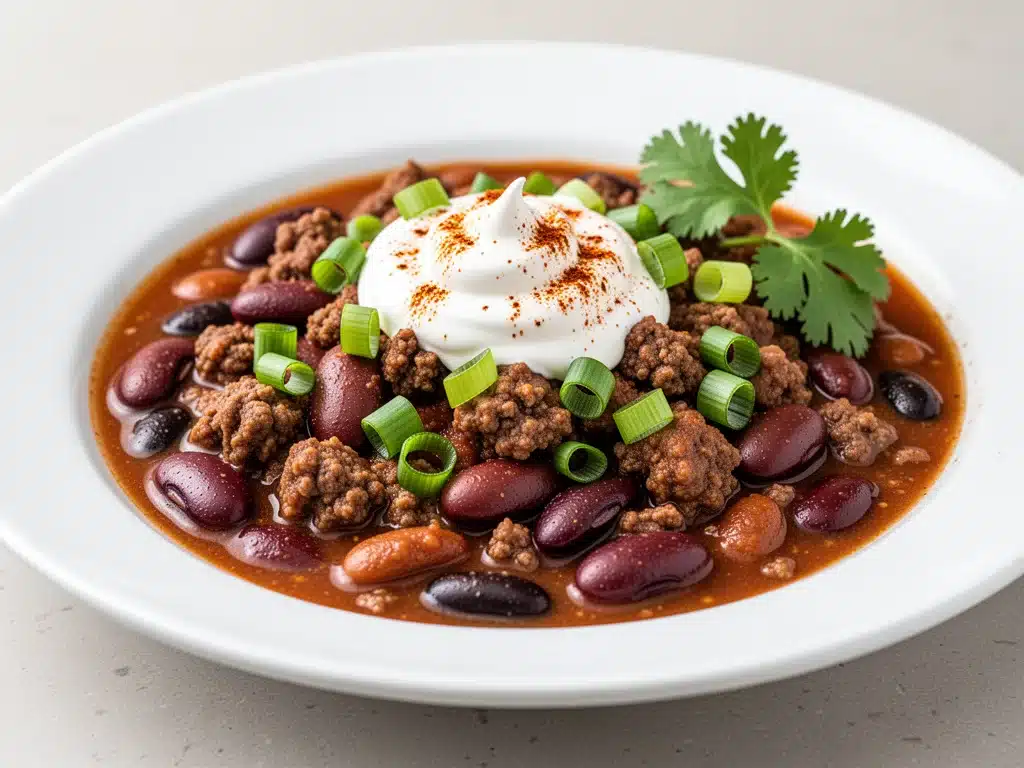
I still remember the exact moment I decided that store-bought chili powder was a lie. It was February, the kind of February that feels like it’s going to last forever. We’d had three feet of snow, the power flickered for six hours, and I was standing in my kitchen, staring at a can of generic chili mix that tasted like cardboard and regret. My kids were bored. My husband was grumpy. And I was done with the idea of “dinner” involving anything that came in a box.
So I did what I always do when I’m frustrated: I opened the pantry, grabbed the ground beef, the kidney beans, the canned tomatoes, and the spices that were actually sitting on the shelf. I threw it all into the pot. I didn’t measure much. I just cooked it until it smelled like comfort. When I tasted it, I stopped. It wasn’t just “good.” It was smoky, rich, deeply savory, and exactly what a freezing cold night demands.
That was ten years ago. Since then, I’ve made this classic beef and bean chili at least once a month, rain or shine. It’s become the anchor of our winter meal rotation. It’s the dish I make when I need to feed a crowd, when I’m meal-prepping for the week, or when I just need something warm to hug me from the inside out. And honestly? It’s easier than making a sandwich.
This isn’t a complex, gourmet chili that requires twelve different types of peppers and three hours of stirring. It’s honest food. It’s the kind of chili that tastes better the next day (because the flavors have time to marry), and it freezes beautifully if you’re making a big batch. If you’ve been searching for a reliable, smoky, hearty dinner that actually tastes like it was made with care, you’re in the right place.
Why You’ll Love This Smoky Comfort Dinner
Look, I get it. You’re tired. You have a million things to do, and the last thing you want to do is spend hours over a hot stove. This recipe is my answer to “what’s for dinner?” when I have zero energy but high standards for flavor. Here’s why this classic beef and bean chili has earned a permanent spot in my kitchen:
- It’s a One-Pot Wonder — Seriously. One pot, one spoon, and almost zero cleanup. I’ve made this on nights when I was too exhausted to even think about washing a second pan. The smell alone makes the mess worth it.
- Smoky Flavor Without the Work — You don’t need to roast peppers or buy expensive imported chilies. A combination of smoked paprika, cumin, and a touch of chipotle gives it that deep, campfire-like smokiness that makes people ask, “Did you make this yourself?” (Spoiler: Yes, I did.)
- Freezer-Friendly AF — I make a double batch every time I cook this. Half goes into the fridge for immediate dinner, and half goes into the freezer. Three months later, when I’m having a lazy Sunday, I pull it out, thaw it, and it tastes just as good as day one. It’s my ultimate meal prep hack.
- Customizable for Everyone — My daughter likes it mild with extra cheese. My husband likes it spicy with extra beans. I like it thick and rich. This recipe bends to fit your family’s cravings without falling apart. Add veggies, add meat, leave it all out. It still works.
- Stupid Simple Ingredients — You probably have 80% of this in your pantry right now. Ground beef, onions, garlic, canned tomatoes, beans, and spices. That’s it. No weird sauces you’ve never heard of. No trip to a specialty store.
This is the kind of recipe that takes the stress out of cooking. It’s forgiving, it’s filling, and it makes your house smell like a cozy cabin in the woods. Once you make it, you’ll understand why I call it a “comfort dinner.” It’s not just food; it’s a hug in a bowl.
Ingredients You’ll Need
Here’s the best part: this classic beef and bean chili relies on pantry staples and common freezer items. I’m not asking you to hunt down obscure ingredients. Here’s what you need, and why each one matters.
For the Base:
Ground beef (1.5 pounds / 680g) — I use 80/20 lean-to-fat ratio. The fat adds flavor and richness. If you’re using lean beef, you might need a splash more oil. Don’t use extra lean; it gets dry.
Yellow onion (1 large, diced / about 300g) — Sweetness and depth. I dice it fine so it melts into the sauce. If you’re sensitive to onion, you can mince it super finely or use onion powder, but fresh is best.
Garlic (4 cloves, minced / about 2 tablespoons) — Fresh garlic is non-negotiable here. Jarred garlic has a metallic taste that clashes with the smoky spices. Take the extra 30 seconds to mince it yourself.
Tomato sauce (15 ounces / 425g) — This is the liquid base. I use plain tomato sauce, not crushed tomatoes, for a smoother texture. If you prefer chunkier chili, use crushed tomatoes or diced tomatoes with their juices.
Tomato paste (2 tablespoons) — This concentrates the tomato flavor. It’s the secret to getting that deep, rich red color and savory taste. Don’t skip it.
For the Smoky Flavor:
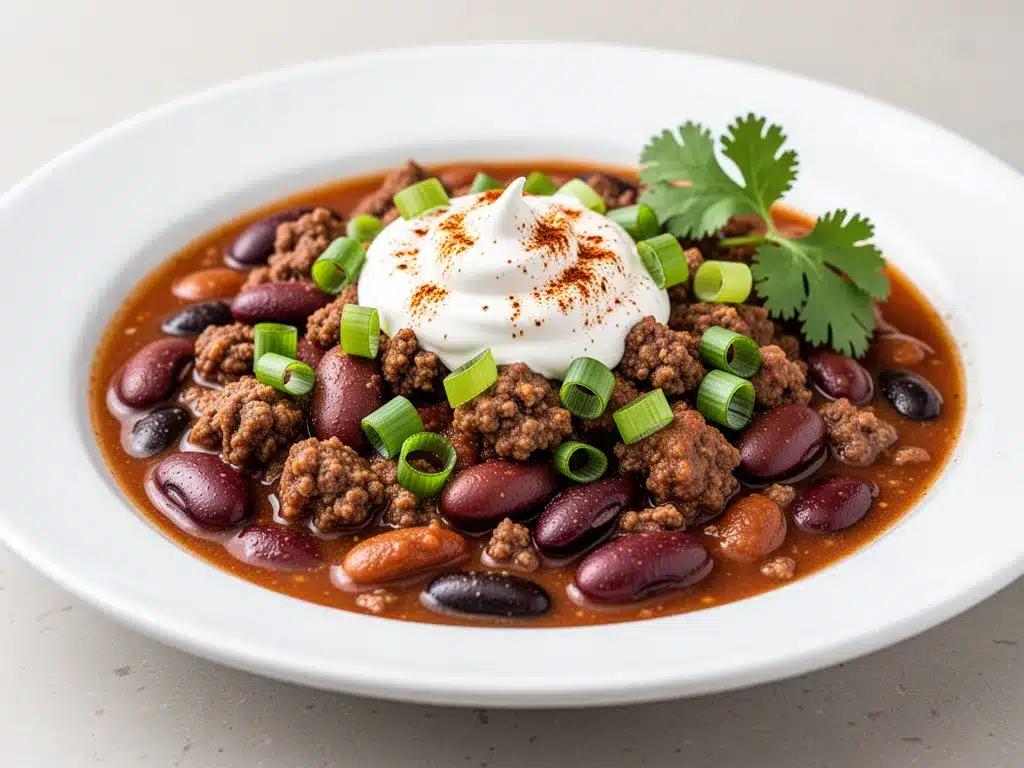
Ground cumin (1 tablespoon) — The backbone of chili flavor. Toast it in the pan for 30 seconds before adding liquid to wake up the oils. It makes a huge difference.
Smoked paprika (1 teaspoon) — This is where the smokiness comes from. Regular paprika is sweet; smoked paprika is, well, smoky. It mimics the taste of slow-cooking over an open fire.
Chipotle peppers in adobo sauce (1-2 tablespoons, minced) — This is optional but recommended. I love the heat and the smoky depth. If you can’t find canned chipotles, use ½ teaspoon of chipotle powder. It’s not quite the same, but it works.
Chili powder (2 tablespoons) — Yes, the blend, not just pure chilies. It adds complexity with its mix of garlic, oregano, and cumin. Use a good quality brand; cheap chili powder tastes dusty.
For the Heartiness:
Kidney beans (15 ounces / 425g, drained and rinsed) — The classic chili bean. They hold their shape and add protein. If you prefer black beans or pinto beans, go for it. I’ve used all three, and kidney beans are my favorite for texture.
Beef broth (1 cup / 240ml) — Adds savory depth and liquid. Use low-sodium so you can control the saltiness. Vegetable broth works if you’re swapping the beef for a meatless version.
Salt and black pepper — To taste. I usually start with 1 teaspoon salt and ½ teaspoon pepper, then adjust at the end.
Optional Add-ins:
- Corn (1 cup frozen or canned) — Adds sweetness and crunch. I throw it in during the last 10 minutes.
- Diced bell pepper (1 red or green) — Adds color and mild sweetness. Sauté with the onions.
- Dark chocolate (1 square, chopped) — Sounds weird, right? But a small square of dark chocolate melts in and adds richness and depth. It’s not chocolatey; it’s just… better. Trust me.
Equipment Needed
You don’t need fancy gadgets for this. Here’s what I actually use:
Large Dutch oven or heavy-bottomed pot — I use a 6-quart Dutch oven. It needs to hold 4-6 servings comfortably and distribute heat evenly. A regular pot works too, but thick bottoms prevent burning.
Large skillet — If you’re browning the beef in a separate pan, use a 12-inch skillet. I usually brown the beef in the Dutch oven itself to save on cleanup, but if your pot is small, use a skillet.
Wooden spoon — For stirring. Silicone works too. Don’t use metal if you have a non-stick surface.
Can opener — Basic, but essential. I keep a good one near my stove so I don’t have to dig it out of a drawer.
Measuring spoons — For the spices. I’m not super precise, but having them helps keep the balance right.
Knife and cutting board — For dicing onions and mincing garlic. Sharp knives make this faster and safer.
Ladle — For serving. Or just use a big spoon. I’m not fancy.
How to Make It: Step-by-Step
Alright, let’s make this classic beef and bean chili. I’m walking you through exactly how I do it, including the little tricks I’ve picked up over the years.
Step 1: Prep Your Ingredients (5 minutes)
Before you turn on the stove, dice your onion, mince your garlic, and drain your beans. I know it seems like extra work, but it makes the actual cooking way less stressful. Once you start browning the beef, things move fast. Have everything ready to go.
Step 2: Brown the Beef (8-10 minutes)
Heat your Dutch oven or large pot over medium-high heat. Add a splash of oil if your beef is lean. Add the ground beef, breaking it up with a wooden spoon. Cook until browned, about 8 minutes. Don’t overcrowd the pan—if you’re making a double batch, brown in batches. Drain excess fat if you want it less greasy, but leave some for flavor.
Step 3: Sauté the Aromatics (3-4 minutes)
Push the beef to the side (or remove it if you browned it separately). Add the diced onion to the pot. Cook for 3-4 minutes until soft and translucent. Add the minced garlic and cook for 1 minute, stirring constantly. The garlic should smell fragrant, not brown. Browned garlic tastes bitter.
Step 4: Bloom the Spices (1-2 minutes)
This is the secret step. Add the cumin, smoked paprika, chili powder, and salt to the pot. Stir it into the beef and onions for 1 minute. You’ll smell the spices release their oils. This “blooming” step wakes up the flavors and makes your chili taste deeper and more complex. Don’t skip it.
Step 5: Build the Sauce (2 minutes)
Stir in the tomato paste and cook for 1 minute to caramelize it slightly. Then add the tomato sauce, beef broth, and chipotle peppers (if using). Stir well to combine. The mixture should look like a rich, red soup. Taste it now. Does it need more salt? More pepper? Adjust before it simmers.
Step 6: Simmer (30-45 minutes)
Reduce the heat to medium-low. Let the chili simmer uncovered for 30-45 minutes. Stir occasionally. This is where the magic happens. The flavors meld, the sauce thickens, and the beef gets tender. If it looks too thick, add a splash of water or broth. If it’s too thin, let it simmer longer. I usually simmer it for 45 minutes for maximum flavor.
Step 7: Add the Beans (5 minutes)
Add the drained kidney beans during the last 10 minutes of simmering. This prevents them from getting mushy. Stir them in and let them heat through. If you’re adding corn or other veggies, add them now too.
Step 8: Final Adjustments and Serve
Taste one more time. Adjust salt and pepper if needed. If you’re using dark chocolate, stir it in now until melted. Serve hot with your favorite toppings. I love it with shredded cheddar cheese, sour cream, and chopped cilantro.
Total Time: About 1 hour (15 minutes active, 45 minutes simmering)
Expert Tips & Tricks
Here’s everything I’ve learned from making this dozens of times. These tips will save you from my mistakes.
- Bloom Your Spices — I can’t stress this enough. Cooking the spices in the fat before adding liquid releases their essential oils. It’s the difference between “okay” chili and “amazing” chili. Just 60 seconds makes a world of difference.
- Don’t Rush the Simmer — You can make this in 30 minutes, but 45 minutes is better. The longer it simmers, the better it tastes. If you’re in a hurry, use a pressure cooker for 15 minutes, but stovetop is best for flavor.
- Use Low-Sodium Broth — Canned tomatoes and beans already have salt. If you use high-sodium broth, your chili will be too salty. Control the salt with low-sodium broth and add more at the end if needed.
- Let It Rest — Chili tastes better the next day. If you can, make it a day ahead. The flavors have time to settle and deepen. Reheat gently on the stove.
- Balance the Heat — If your chili is too spicy, add a splash of cream or a pinch of sugar. If it’s too bland, add more salt or acid (like a squeeze of lime).
Variations & Substitutions
Once you’ve nailed the basic version, here’s how you can mix it up. I’ve tried all of these.
Turkey Chili — Swap ground beef for ground turkey. It’s leaner and lighter. Add a tablespoon of olive oil to compensate for the lack of fat.
Vegetarian Chili — Skip the beef. Use 2 cans of mixed beans (kidney, black, pinto) and 1 cup of chopped mushrooms for umami. Use vegetable broth instead of beef broth.
Slow Cooker Chili — Brown the beef and onions in a skillet, then transfer everything to a slow cooker. Cook on low for 6-8 hours or high for 3-4 hours. Stir in beans in the last hour.
Instant Pot Chili — Brown beef on sauté mode, add all ingredients, and pressure cook on high for 15 minutes. Natural release for 10 minutes. Fast and delicious.
Gluten-Free — This recipe is naturally gluten-free, but check your spice blends and broth to ensure no hidden gluten.
Serving & Storage
How to Serve: I usually serve this straight from the pot. It looks rustic and stays warm. Top with shredded cheddar, sour cream, diced avocado, chopped cilantro, or crushed tortilla chips. It’s great with cornbread or over baked potatoes.
Refrigerator: Store in an airtight container for up to 5 days. It actually tastes better on day 2 and 3.
Freezer: This freezes beautifully for up to 3 months. Cool completely, portion into containers or freezer bags, and freeze. Thaw in the fridge overnight before reheating.
Reheating: Reheat on the stove over medium-low heat, stirring occasionally. Add a splash of water or broth if it’s too thick. Microwave works too, but stir frequently to avoid hot spots.
Nutrition Information
I’m not a nutritionist, but here’s the breakdown if you’re tracking. Per serving (based on 6 servings):
| Nutrient | Amount |
|---|---|
| Calories | 380 |
| Protein | 25g |
| Carbs | 28g |
| Fiber | 8g |
| Fat | 18g |
| Sodium | 650mg |
Look, this is comfort food with beef and beans. It’s not a diet recipe. But it’s way better than takeout, costs less, and I know exactly what’s in it. When I want to make it lighter, I use lean turkey and less cheese. But usually? I just eat a reasonable portion and enjoy it.
Final Thoughts
So that’s my go-to classic beef and bean chili! I’ve probably talked your ear off at this point, but when you make a recipe this often, you have a lot to say about it.
This has saved weeknight dinners more times than I can count. It’s my answer to “what’s for dinner” when I’m tired, don’t want takeout, and still want something that tastes really good. My kids are happy, my husband’s happy, and I’m happy because I’m not stressed about cooking.
Make it yours! Try different add-ins, swap in your favorite vegetables, adjust the spice level. The best recipes are the ones you adapt to your family’s tastes.
If you make this, drop a comment and let me know what you think! I love hearing how recipes turn out in your kitchen. And if something doesn’t work, tell me that too—I’m here to help troubleshoot.
Happy cooking! And I hope your kitchen smells half as good as mine does right now.
Frequently Asked Questions
Can I use ground turkey instead of beef?
Yes! Ground turkey works great and makes the chili lighter. Just add a tablespoon of olive oil when browning, since turkey is leaner. You might need a bit more salt and pepper to compensate.
Why is my chili too thin?
It needs more simmering time. Let it cook uncovered for another 15-20 minutes to reduce the liquid. You can also add a tablespoon of tomato paste or a few mashed beans to thicken it.
Can I make this ahead of time?
Absolutely. This chili tastes even better the next day. Make it, let it cool, and store it in the fridge for up to 5 days or freeze for up to 3 months.
Is this chili spicy?
It’s moderately spicy. The chipotle peppers add heat, but you can control it by using 1 tablespoon for mild or 2-3 tablespoons for medium-hot. Remove the seeds from the chipotles to reduce heat.
Can I use black beans instead of kidney beans?
Yes! Black beans or pinto beans work just as well. Kidney beans are traditional, but any bean will work. Just make sure to drain and rinse them.
How do I reheat frozen chili?
Thaw it in the fridge overnight. Then reheat it gently on the stove over medium-low heat, stirring occasionally. Add a splash of water or broth if it’s too thick.
Pin This Recipe!
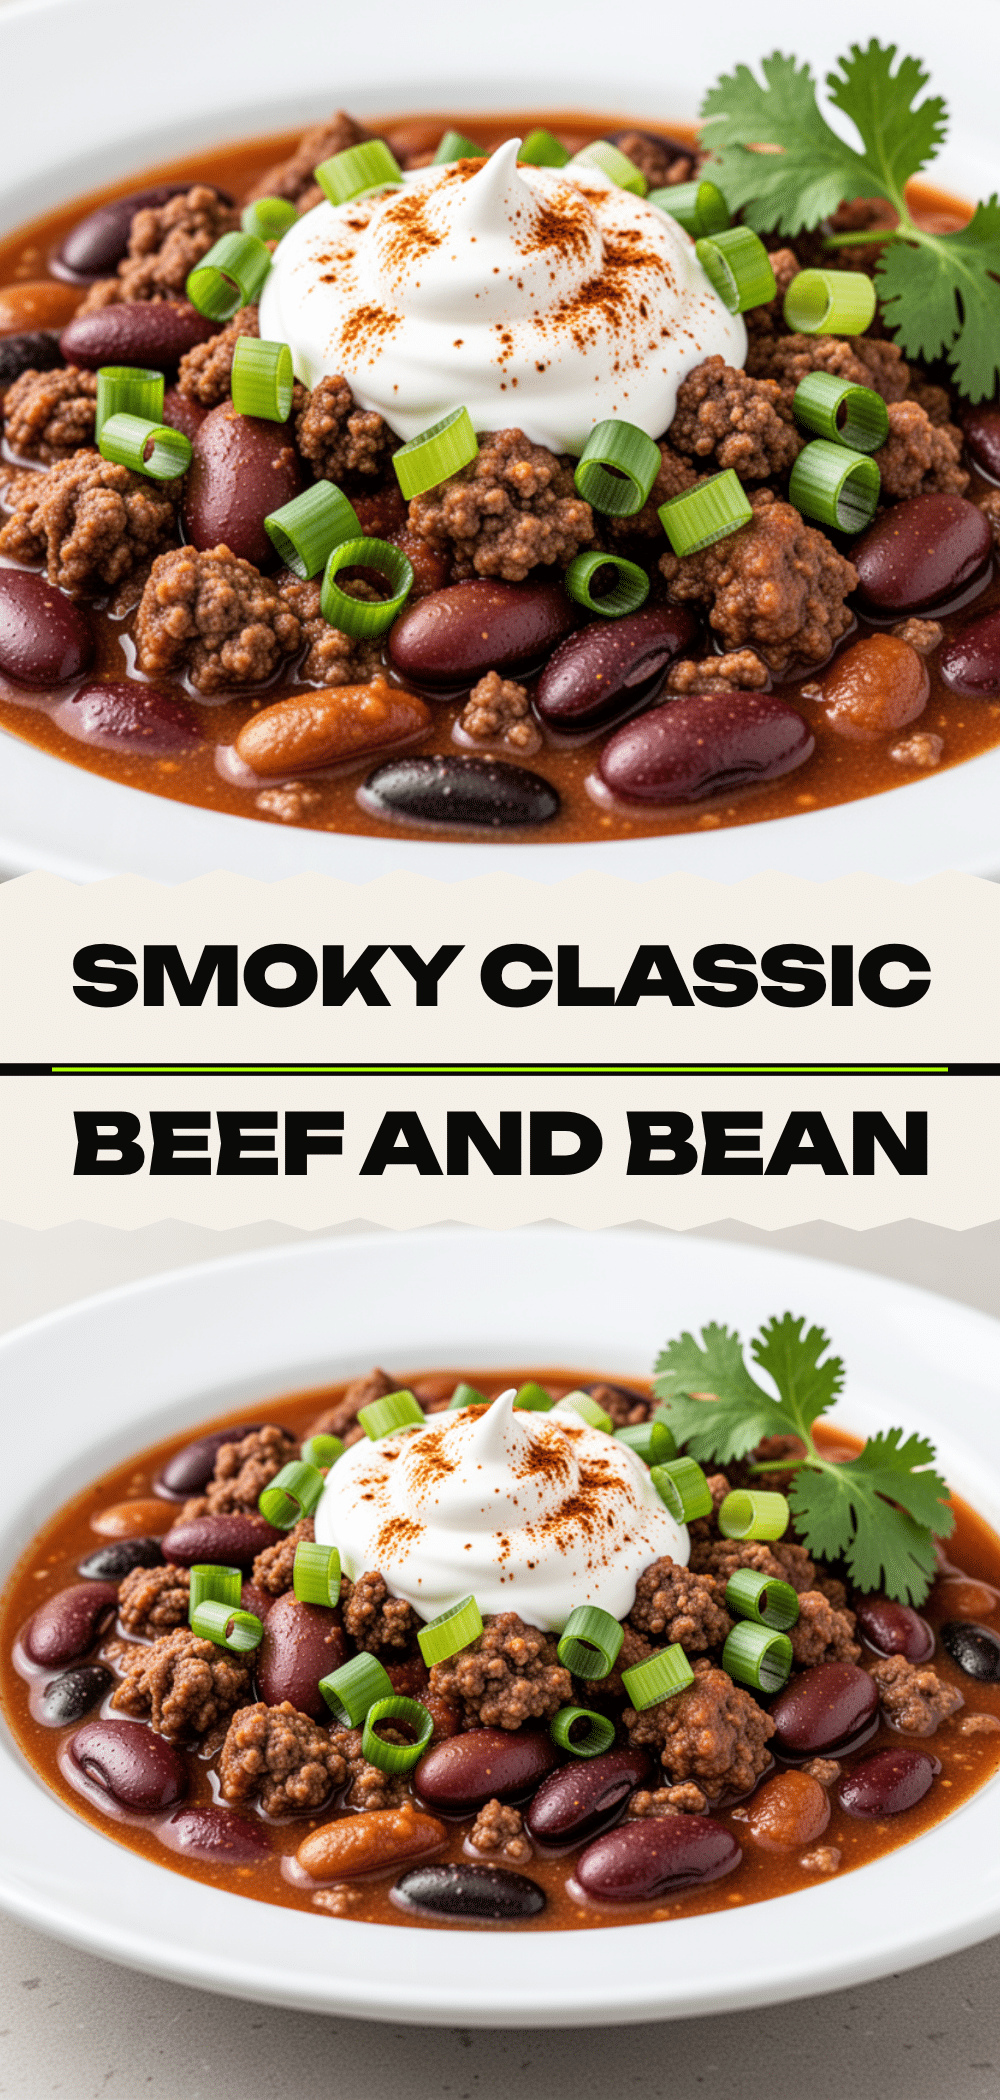

Classic Beef and Bean Chili: Easy Smoky Dinner
- Total Time: 1 hour
- Yield: 6 servings 1x
Description
A hearty, one-pot smoky beef and bean chili that is easy to make, freezer-friendly, and perfect for cold nights. This recipe uses simple pantry staples to create a rich, comforting dinner.
Ingredients
- 1.5 pounds ground beef (80/20 lean-to-fat ratio)
- 1 large yellow onion, diced
- 4 cloves garlic, minced
- 15 ounces tomato sauce
- 2 tablespoons tomato paste
- 1 tablespoon ground cumin
- 1 teaspoon smoked paprika
- 1–2 tablespoons chipotle peppers in adobo sauce, minced
- 2 tablespoons chili powder
- 15 ounces kidney beans, drained and rinsed
- 1 cup beef broth (low-sodium)
- Salt and black pepper to taste
- Optional: 1 cup corn, 1 diced bell pepper, 1 square dark chocolate
Instructions
- Prep ingredients by dicing the onion, mincing the garlic, and draining the beans.
- Heat a large Dutch oven or heavy-bottomed pot over medium-high heat. Add ground beef and brown for 8-10 minutes, breaking it up with a spoon. Drain excess fat if desired.
- Push beef to the side or remove if browned separately. Add diced onion and cook for 3-4 minutes until soft. Add garlic and cook for 1 minute until fragrant.
- Add cumin, smoked paprika, chili powder, and salt to the pot. Stir into the beef and onions for 1 minute to bloom the spices.
- Stir in tomato paste and cook for 1 minute. Add tomato sauce, beef broth, and chipotle peppers. Stir to combine and taste for seasoning adjustments.
- Reduce heat to medium-low and simmer uncovered for 30-45 minutes, stirring occasionally, until the sauce thickens and flavors meld.
- Add kidney beans during the last 10 minutes of simmering to prevent them from getting mushy. Add optional corn or veggies now if using.
- Taste and adjust salt and pepper. Stir in dark chocolate if using until melted. Serve hot with toppings like cheese, sour cream, or cilantro.
Notes
Bloom the spices in the fat before adding liquid to release essential oils. Let the chili simmer for at least 45 minutes for best flavor. It tastes even better the next day. Can be frozen for up to 3 months. For a vegetarian version, swap beef for extra beans and mushrooms, and use vegetable broth.
- Prep Time: 15 minutes
- Cook Time: 45 minutes
- Category: Main Course
- Cuisine: American
Nutrition
- Serving Size: 1 bowl
- Calories: 380
- Sodium: 650
- Fat: 18
- Carbohydrates: 28
- Fiber: 8
- Protein: 25
Keywords: beef chili, bean chili, smoky chili, one pot dinner, comfort food, freezer friendly, easy dinner, ground beef recipe


