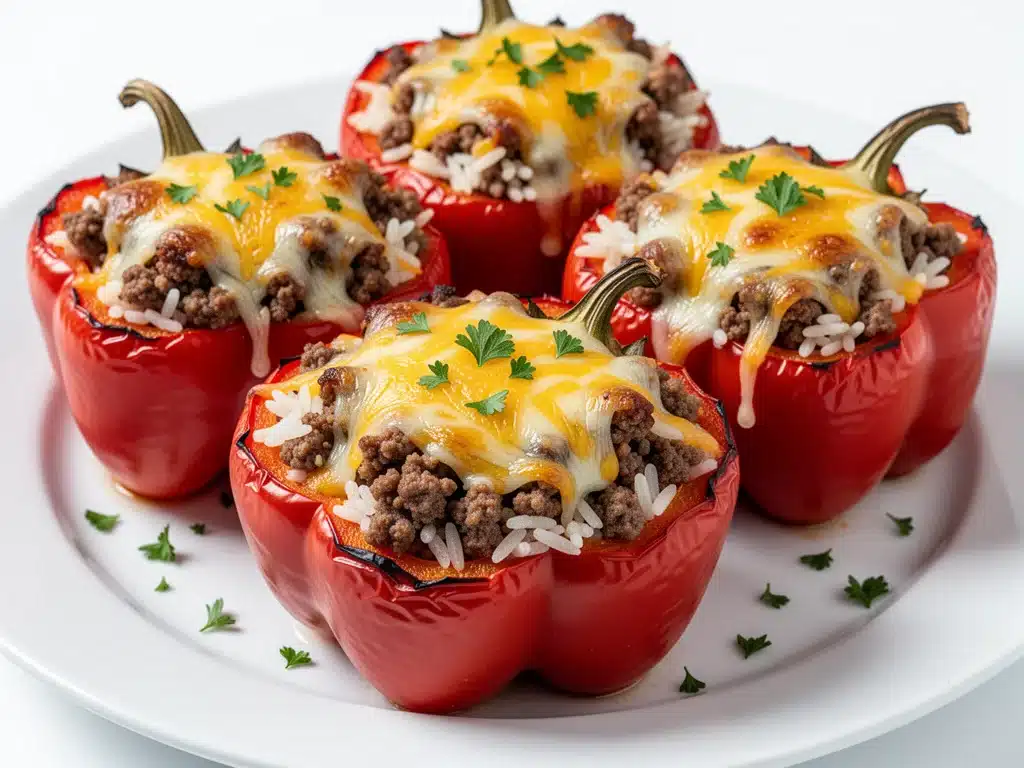
Last Tuesday, I was staring into the open refrigerator, the light humming softly, while my three kids argued over who got the last slice of pizza crust. It was 6:45 PM. I was exhausted. The kind of exhausted where your brain feels like static noise. We had zero groceries coming in for three days, and the only thing that smelled remotely like dinner was the leftover takeout container in the trash.
I had four bell peppers sitting in the crisper drawer. They were starting to get a little soft, the kind of limp peppers you usually ignore until they turn into compost. But then I remembered I had a pound of ground beef in the freezer and a bag of shredded cheese that had been there since Christmas. I thought, “Okay, stuffed peppers. Classic. Easy. Right?”
Wrong.
My first attempt was a disaster. I threw everything in a pot, dumped it into the peppers, and baked it for 45 minutes. When I pulled them out, the peppers were mushy, the rice was undercooked, and the cheese had formed a rubbery skin on top. My oldest kid poked it with a fork and said, “Mom, this looks like a hat.” I almost cried. I almost ordered pizza.
But then I remembered my aunt’s trick. She used to make these when I was a kid, and they were the only reason I ate green vegetables without complaining. I tweaked the method. I pre-cooked the rice separately so it was fluffy. I browned the beef properly so it wasn’t gray and sad. I added a splash of lime juice and cumin to wake up the flavors. And I finished it under the broiler for that crispy, golden cheese crust that makes everyone in the house stop talking and start chewing.
I brought them to the table. Silence. Then, fork bites. Then, seconds. My husband, who usually complains that “healthy food is boring,” asked for the recipe. That’s when I knew I had cracked the code.
These Cheesy Ground Beef Stuffed Bell Peppers have now become our Tuesday night staple. They’re colorful, they’re packed with protein, and best of all, they use up whatever veggies are hiding in the fridge. I’ve made them at least twenty times since that Tuesday, testing different rice types, cheese blends, and spice levels until I landed on the perfect balance. It’s comfort food that secretly sneaks in a serving of vegetables. And yes, my kids still eat them without asking what’s wrong with them.
Why You’ll Love This Recipe
Look, I know what you’re thinking. Stuffed peppers can be a pain. They take forever to prep, and sometimes the results are dry or bland. But this version? It’s different. It’s the one that actually works on a busy weeknight when you have zero energy but still want to feed your family something homemade.
Here’s why this specific recipe has earned a permanent spot in our rotation:
- One-Pan Efficiency (Mostly) — Sure, you need a pot for rice, but the stuffing and baking happen in one go. Cleanup is minimal because you’re not juggling ten different pans. I can handle this after a long day at work.
- The “Hidden Veggie” Factor — I sneak in diced bell peppers, onions, and sometimes even zucchini into the meat mixture. My picky eaters don’t notice. They just think it’s a really good taco burger with a crunchy shell. It’s a win-win.
- Meal Prep Friendly — These reheat beautifully. I often make a double batch on Sunday. By Wednesday, I’m grateful I didn’t have to cook again. They taste just as good cold (okay, maybe not cold, but definitely reheated) as they do fresh.
- Customizable for Picky Palates — Hate cumin? Swap it for chili powder. Love jalapeños? Throw them in. My daughter likes it mild, my husband likes it spicy. I make one batch of filling and split it, seasoning each half differently. No more cooking two separate dinners.
- Budget-Friendly — Ground beef, rice, and peppers are cheap. You can feed a family of four for under $12 if you buy the peppers on sale. That’s less than the cost of delivery fees.
This isn’t just dinner; it’s a lifesaver. It’s warm, it’s cheesy, and it makes your kitchen smell like home. Real talk? It’s the closest thing I’ve found to “restaurant quality” without the restaurant price tag.
Ingredients You’ll Need
Here’s the best part: you probably have most of this already. I’m not asking for anything exotic. This is pantry-friendly, fridge-clearing cooking. I’m particular about three things here, though, so pay attention to those.
For the Filling
Ground beef (1 pound / 450g) — I use 80/20 fat content. It keeps the mixture juicy. If you use lean beef, you might need a splash of olive oil. Don’t skimp on quality here; bad beef ruins the whole dish.
Yellow onion (1 medium, finely diced / about 150g) — This is your flavor base. Sweet onions work, but yellow gives that savory depth I love. White onions are too sharp for this.
Garlic (4 cloves, minced / about 2 tablespoons) — Fresh only. No jarred garlic. I know it’s more work, but jarred garlic has a metallic taste that clashes with the cheese. Fresh garlic smells amazing while it cooks.
Long-grain white rice (1 cup uncooked / about 185g) — I prefer white rice because it stays fluffy. Brown rice takes too long to cook and gets mushy inside the pepper. Use the package instructions to cook it fully before mixing.
Black beans (1 can, 15oz / drained and rinsed) — This adds bulk and fiber. It makes the beef go further and adds a nice texture. If you’re skipping beans, just add a bit more rice or corn.
Corn kernels (1 cup / frozen or canned) — Sweet corn balances the savory meat. Frozen corn works great; just thaw it first. It’s a kid favorite.
Chili powder (1 tablespoon) — This is the main spice. Use a good quality blend. If you like heat, add a teaspoon of cayenne or use a spicy chili powder.
Cumin (1 teaspoon) — Adds that earthy, taco-like flavor. Don’t skip it; it’s what makes it taste like a Mexican-inspired dish rather than just seasoned meat.
Chicken broth (½ cup / 120ml) — I use this to deglaze the pan and add moisture to the filling. Low-sodium is best so you can control the salt.
For the Peppers and Topping
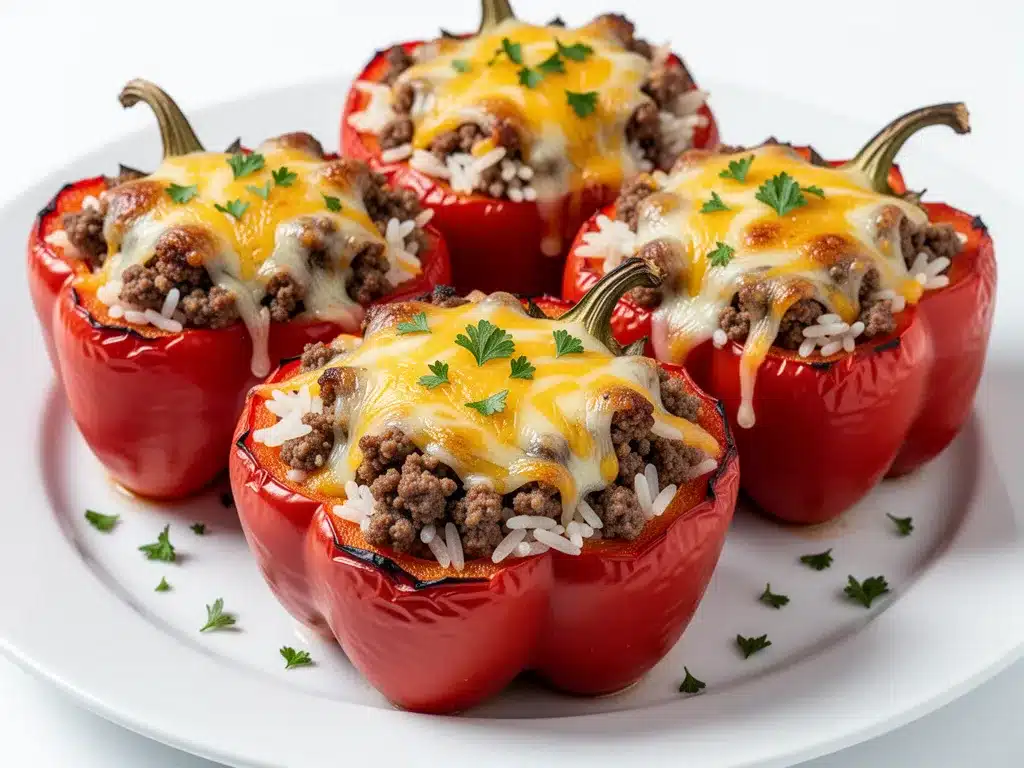
Bell peppers (4 large, any color) — I use a mix of red, yellow, and orange for color. Red peppers are sweeter and softer, which is nice. Green peppers are more bitter and firmer. Pick what you like!
Shredded Mexican blend cheese (2 cups / 200g) — I buy pre-shredded for convenience, but block cheese melts better. If you use block, grate it yourself. The anti-caking agents in pre-shredded can make the sauce grainy.
Salsa (½ cup / 120g) — I use a medium salsa for moisture and flavor. If you like it chunky, chop it up a bit so it distributes evenly.
Sour cream and cilantro (for serving) — Optional, but highly recommended. A dollop of cool sour cream cuts through the richness of the cheese.
Equipment Needed
You don’t need fancy gadgets for this. Here’s what I actually use in my kitchen:
Large skillet — I use a 12-inch cast iron skillet. It holds heat well and browns the beef nicely. Stainless steel works too, but cast iron is my go-to for ground meat.
Medium saucepan — For cooking the rice. Any size that holds 1 cup of dry rice plus water is fine.
Baking dish — I use a 9×13 inch baking dish. It fits all four peppers snugly. If your dish is too big, the peppers might tip over. If it’s too small, they won’t fit. Measure first!
Small knife — For slicing the tops off the peppers. A sharp paring knife is best for this delicate work.
Spoons and spatula — For stirring the filling and transferring it to the peppers.
Aluminum foil — Optional, but I like to loosely cover the peppers for the first half of baking to keep them moist.
How to Make It: Step-by-Step
Alright, let’s make this! I’m walking you through exactly how I do it, including the little tricks I’ve picked up over the years.
Step 1: Prep the Peppers (5 minutes)
Preheat your oven to 375°F (190°C). Wash the bell peppers and pat them dry. Using a small knife, carefully slice off the top ½ inch of each pepper. Remove the seeds and white membranes inside. Be gentle—you don’t want to tear the sides. If the peppers are wobbly and can’t stand up, slice a tiny bit off the bottom so they sit flat. Trust me, this saves you from messy cheese spills later.
Step 2: Cook the Rice (15 minutes)
While you prep the peppers, get the rice going. Rinse 1 cup of long-grain white rice under cold water until the water runs clear. This removes excess starch and prevents mushy rice. Combine the rice with 2 cups of water and a pinch of salt in your saucepan. Bring to a boil, then reduce heat to low, cover, and simmer for 15-18 minutes. Fluff with a fork and set aside.
Step 3: Brown the Beef (8 minutes)
Heat your large skillet over medium-high heat. Add the ground beef. Break it up with a wooden spoon as it cooks. You want it browned and crumbly, not in big chunks. Drain any excess fat if there’s a lot of it. Add the diced onion and cook for 2-3 minutes until soft. Add the minced garlic and cook for 1 minute until fragrant. Don’t burn the garlic!
Step 4: Build the Filling (5 minutes)
Add the chili powder, cumin, black beans, corn, and chicken broth to the skillet. Stir well and let it simmer for 2-3 minutes so the flavors meld. Remove from heat. Stir in the cooked rice and half of the salsa. Taste and adjust seasoning. Add salt and pepper if needed. This is your filling. It should be moist but not soupy.
Step 5: Stuff the Peppers (5 minutes)
Place the hollowed-out peppers upright in your baking dish. Use a spoon to pack the filling tightly into each pepper. Don’t be shy—pack it down. Top each pepper generously with the shredded cheese. Drizzle the remaining salsa over the top if you like extra moisture.
Step 6: Bake (30 minutes)
Cover the dish with aluminum foil. Bake for 20 minutes. Then, remove the foil and bake for another 10-15 minutes, or until the peppers are tender and the cheese is bubbly and golden brown. If you want extra crispiness, broil for the last 2 minutes, but watch it closely so the cheese doesn’t burn.
Step 7: Serve
Let the peppers cool for 5 minutes before serving. They’ll be very hot inside! Top with sour cream and fresh cilantro. Serve with a side of rice or beans if you want a fuller meal.
Expert Tips & Tricks
Here’s everything I’ve learned from making these dozens of times. These tips will save you from my mistakes.
- Pack Them Tight — The biggest mistake people make is not packing the filling in. If it’s loose, it falls out when you cut into the pepper. Pack it down firmly with the back of a spoon.
- Don’t Skip the Rice Rinse — Unrinsed rice makes the filling gummy. Rinse it until the water is clear. It takes 30 seconds but makes a huge difference in texture.
- Use a Baking Dish, Not a Sheet Pan — If you bake them on a sheet pan, the filling can spill over and burn on the bottom. A baking dish with sides contains the mess and helps the peppers steam slightly, keeping them tender.
- Broil for Color — The cheese will melt in the oven, but it won’t get golden without the broiler. Turn it on for the last 2 minutes for that restaurant-style finish.
- Make Ahead — You can stuff the peppers up to 24 hours ahead. Cover and refrigerate. When you’re ready to bake, just add 5-10 minutes to the baking time since they’re cold.
Common Mistakes:
- Peppers are too hard: Bake for an extra 10 minutes, or microwave them for 2 minutes before stuffing to soften them slightly.
- Filling is dry: Add a splash more broth or salsa to the mixture before stuffing.
- Peppers are mushy: Don’t overbake. Check them at 30 minutes total. They should be tender-crisp, not falling apart.
Variations & Substitutions
Once you’ve nailed the basic version, here’s how you can mix it up. I’ve tried all of these.
- Turkey Version — Swap ground beef for ground turkey. It’s leaner, so add a tablespoon of olive oil to the pan. Season with extra cumin and paprika.
- Vegetarian — Skip the beef. Use 2 cans of black beans and 1 cup of quinoa instead of rice. Add diced mushrooms for umami flavor.
- Spicy Kick — Add diced jalapeños to the filling. Use a hot salsa. Sprinkle with crushed red pepper flakes before baking.
- Tex-Mex Style — Add a can of diced tomatoes and green chilies to the filling. Use taco seasoning instead of chili powder and cumin.
- Gluten-Free — This recipe is naturally gluten-free, just ensure your salsa and broth are certified GF.
- Dairy-Free — Skip the cheese or use a dairy-free shreds. Top with avocado slices instead of sour cream.
Serving & Storage
How to Serve: I serve these straight from the baking dish. They look rustic and inviting. Pair them with a simple green salad, cornbread, or rice and beans. A squeeze of lime juice right before eating brightens everything up.
Storage: Store leftovers in an airtight container in the fridge for up to 4 days. The peppers will soften further, but they’re still delicious.
Reheating: Microwave individual peppers for 1-2 minutes, or bake at 350°F for 15 minutes to re-crisp the cheese. Add a splash of water if the filling looks dry.
Freezing: You can freeze the cooked peppers, but the texture of the peppers may become softer upon thawing. I recommend freezing the filling separately and baking fresh peppers when needed.
Nutrition Information
I’m not a nutritionist, but here’s the breakdown if you’re tracking. Per serving (based on 4 servings):
- Calories: 450
- Protein: 28g
- Carbs: 42g
- Fiber: 6g
- Fat: 18g
- Sodium: 650mg
It’s a solid meal with good protein and fiber. If you’re watching calories, use lean beef and less cheese. But honestly? This is comfort food. Enjoy it!
Final Thoughts
So that’s my go-to Cheesy Ground Beef Stuffed Bell Peppers! I know I’ve talked a lot about this recipe, but when you make a dish this often, you have a lot to say about it. It’s saved me on nights when I’m too tired to think, and it’s gotten my kids to eat vegetables without a single complaint. That’s a win in my book.
Make it yours! Try different peppers, swap the cheese, add your favorite veggies. The best recipes are the ones you adapt to your family’s tastes. If you make this, drop a comment and let me know what you think! I love hearing how recipes turn out in your kitchen.
Happy cooking! And I hope your kitchen smells half as good as mine does right now.
Frequently Asked Questions
Can I use brown rice instead of white rice?
You can, but brown rice takes longer to cook and has a chewier texture. If you use it, cook it fully before mixing, and you might need to add a splash more broth to the filling since brown rice absorbs more liquid. I prefer white rice for this recipe because it stays fluffy.
Why are my peppers still hard after baking?
They probably need more time. Check them at 30 minutes, and if they’re still firm, bake for another 10-15 minutes. You can also microwave them for 2-3 minutes before stuffing to soften them up. Different pepper sizes and varieties cook at different rates.
Can I make these ahead of time?
Yes! Stuff the peppers and cover them tightly with plastic wrap or foil. Refrigerate for up to 24 hours. When you’re ready to cook, just pop them in the oven. You may need to add 5-10 minutes to the baking time since they start cold.
What kind of cheese is best?
I love Mexican blend cheese because it melts well and has great flavor. Cheddar, Monterey Jack, or even mozzarella work well too. Just avoid hard cheeses like Parmesan for the topping—they don’t melt the same way.
Can I freeze the stuffed peppers?
I recommend freezing the filling separately. The peppers can become watery or mushy when frozen and reheated. If you do freeze them, thaw them in the fridge overnight before reheating.
Pin This Recipe!
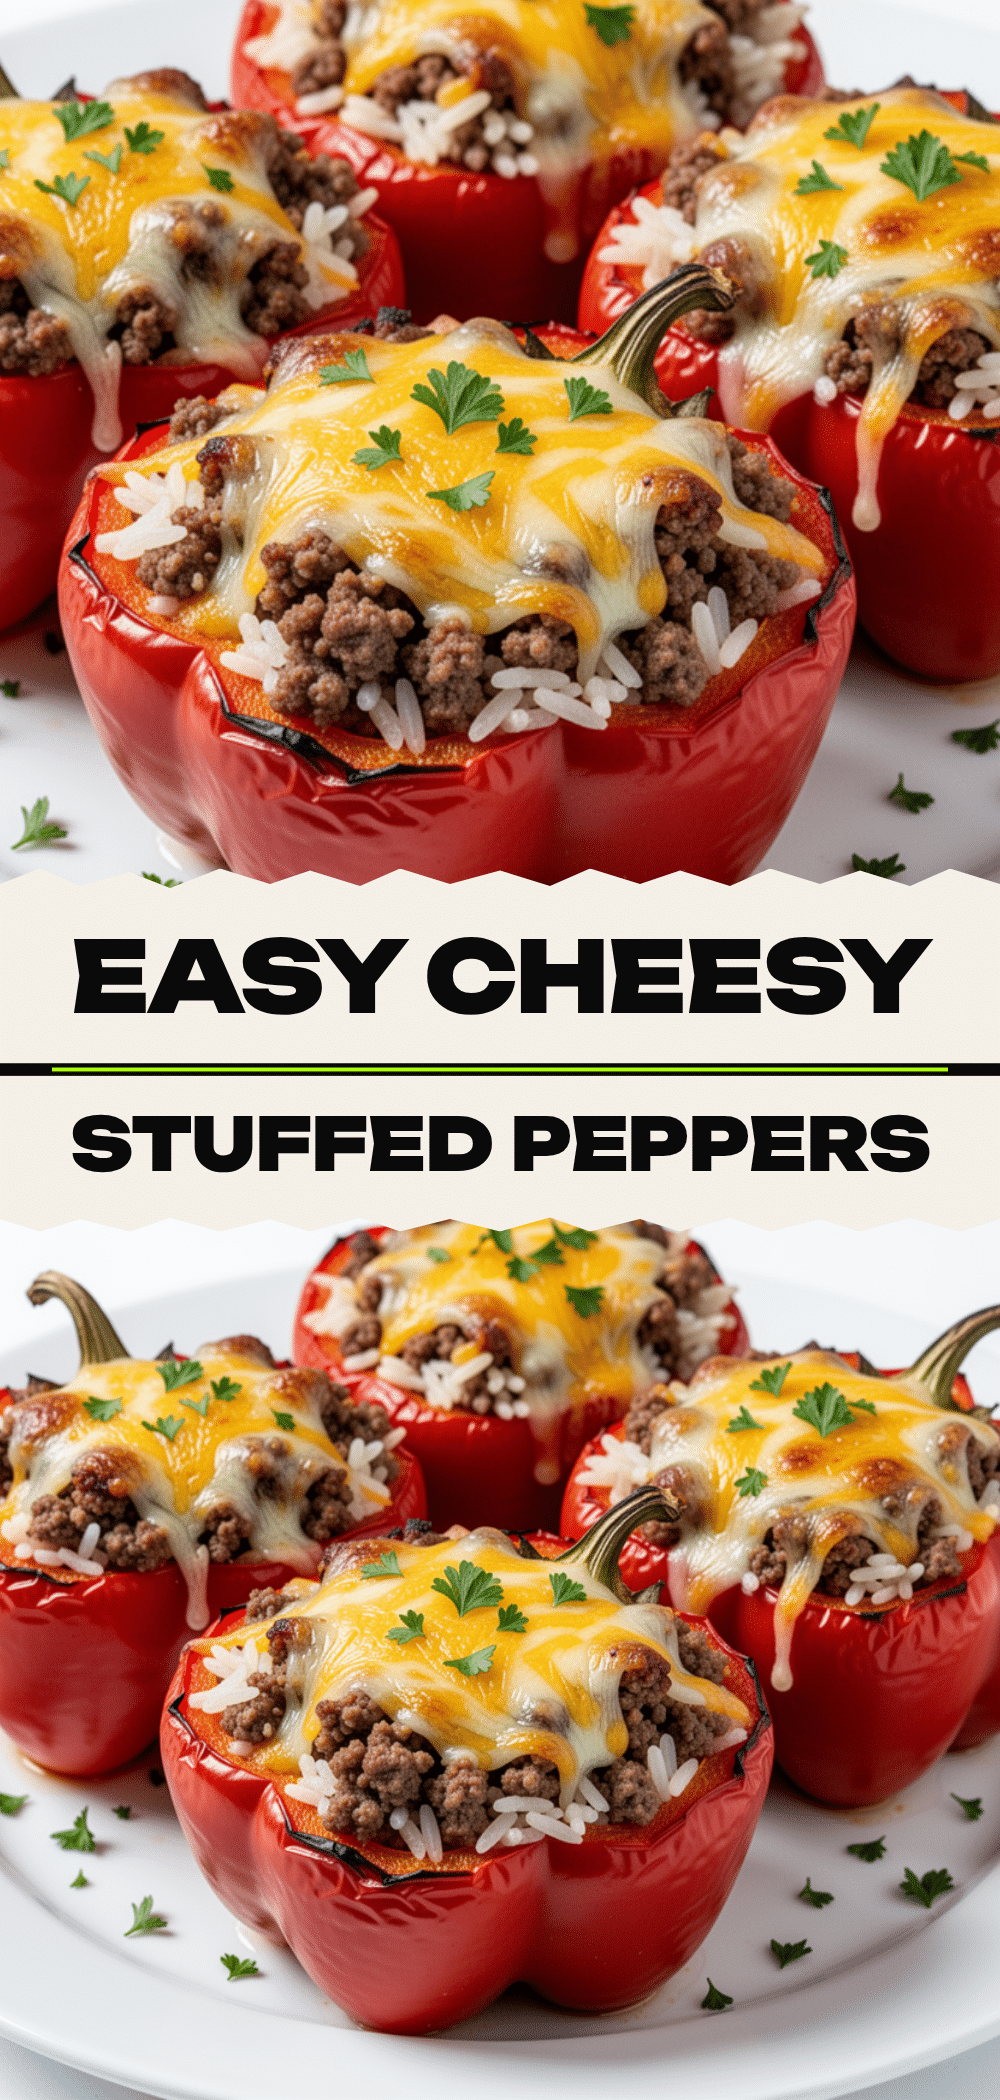
Cheesy Ground Beef Stuffed Bell Peppers: Easy 30-Minute Dinner
- Total Time: 50 minutes
- Yield: 4 servings 1x
Description
A family-friendly, one-pan style dinner featuring bell peppers stuffed with a savory mixture of ground beef, rice, black beans, corn, and cheese. This recipe is customizable, budget-friendly, and perfect for busy weeknights.
Ingredients
- 1 pound ground beef (80/20 fat content)
- 1 medium yellow onion, finely diced
- 4 cloves garlic, minced
- 1 cup long-grain white rice (uncooked)
- 1 can (15oz) black beans, drained and rinsed
- 1 cup corn kernels (frozen or canned)
- 1 tablespoon chili powder
- 1 teaspoon cumin
- 1/2 cup chicken broth (low-sodium)
- 4 large bell peppers (any color)
- 2 cups shredded Mexican blend cheese
- 1/2 cup salsa
- Sour cream and fresh cilantro (for serving, optional)
Instructions
- Preheat oven to 375°F (190°C).
- Wash bell peppers and pat dry. Slice off the top 1/2 inch and remove seeds and membranes. If needed, slice a tiny bit off the bottom to make them stand flat.
- Rinse rice under cold water until clear. Combine with 2 cups water and a pinch of salt in a saucepan. Bring to a boil, reduce heat to low, cover, and simmer for 15-18 minutes. Fluff with a fork and set aside.
- Heat a large skillet over medium-high heat. Add ground beef and break it up, cooking until browned and crumbly. Drain excess fat if necessary.
- Add diced onion to the skillet and cook for 2-3 minutes until soft. Add minced garlic and cook for 1 minute until fragrant.
- Stir in chili powder, cumin, black beans, corn, and chicken broth. Simmer for 2-3 minutes to meld flavors.
- Remove from heat and stir in cooked rice and half of the salsa. Taste and adjust seasoning with salt and pepper if needed.
- Place hollowed peppers upright in a 9×13 inch baking dish. Pack the filling tightly into each pepper.
- Top each pepper generously with shredded cheese and drizzle with remaining salsa.
- Cover the dish with aluminum foil and bake for 20 minutes.
- Remove foil and bake for another 10-15 minutes until peppers are tender and cheese is bubbly and golden. For extra crispiness, broil for the last 2 minutes.
- Let cool for 5 minutes before serving. Top with sour cream and cilantro if desired.
Notes
Pack the filling tightly to prevent it from falling out when cutting. Rinse rice thoroughly to prevent gumminess. Peppers can be prepped up to 24 hours ahead and refrigerated. If using lean beef, add a splash of olive oil. For a vegetarian version, substitute beef with extra black beans and quinoa.
- Prep Time: 20 minutes
- Cook Time: 30 minutes
- Category: Main Course
- Cuisine: Mexican
Nutrition
- Serving Size: 1 stuffed pepper
- Calories: 450
- Sugar: 6
- Sodium: 650
- Fat: 18
- Saturated Fat: 7
- Carbohydrates: 42
- Fiber: 6
- Protein: 28
Keywords: stuffed peppers, ground beef recipe, easy dinner, family meals, meal prep, comfort food, cheesy peppers, weeknight dinner


