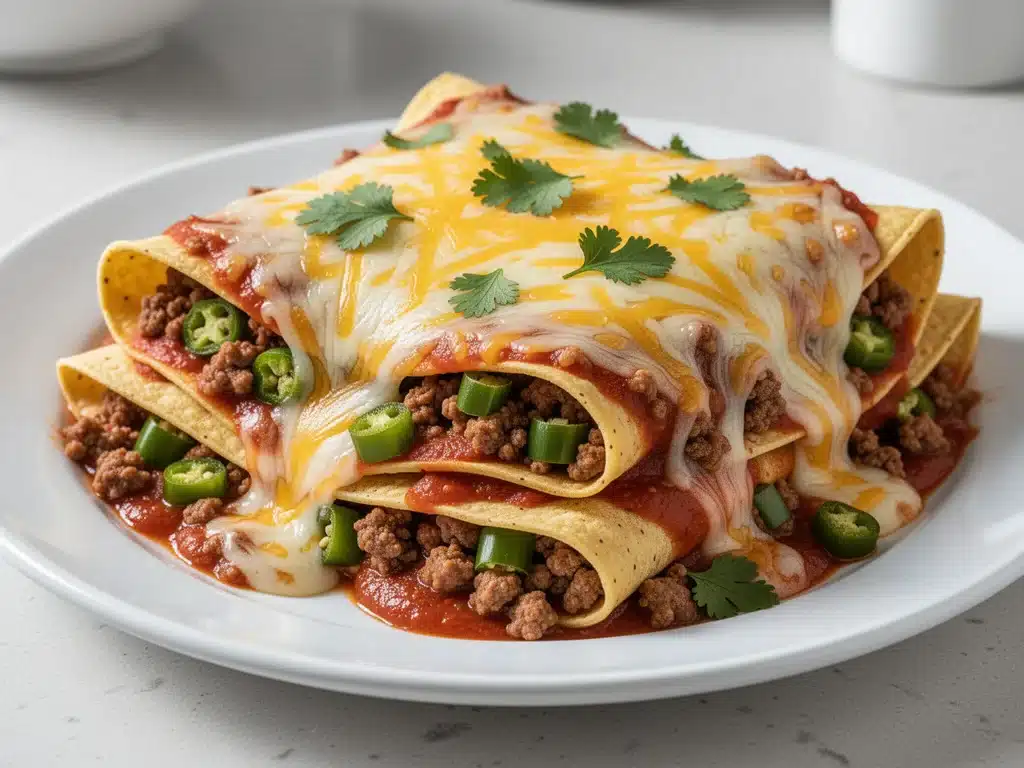
I have a confession to make. I used to be the person who spent forty minutes assembling enchiladas, rolling them tight, wrestling with sauce-covered fingers, and then praying the bottom didn’t burn while the top stayed cold. I loved enchiladas, but I hated the process. It was a weekend project, not a Tuesday night dinner. And let’s be honest, Tuesdays are for things that just work.
Then came that rainy October evening. I was exhausted, my toddler was in a mood, and I had ground beef thawing on the counter. I didn’t want to roll anything. I just wanted flavor. So, I did something that felt slightly sacrilegious to my Mexican-food-loving soul: I crumbled the tortillas, layered the meat, dumped the cheese, and threw it in a dish. I called it a “lazy enchilada” and braced myself for disappointment.
What I got instead was cheesy beef enchilada casserole. It was better than the rolled version. Why? Because every bite had the perfect ratio of crispy tortilla edge, juicy seasoned beef, and molten cheese. It was easier to eat, easier to clean up, and honestly? It tasted like comfort food at its finest. My family devoured it so fast there were no leftovers, which is rare for this house. That night, cheesy beef enchilada casserole went from a “hack” to a permanent fixture in our weekly rotation.
If you’re tired of the enchilada assembly line but craving those same bold, smoky, cheesy flavors, this is your answer. It’s a 30-minute dinner that looks like you planned for hours but actually comes together while you’re folding laundry or helping with homework. I’ve tested this version at least a dozen times, tweaking the cheese blend and sauce ratios until it was undeniable. This isn’t just an easier recipe; it’s a better one.
Why You’ll Love This Recipe
There are a lot of casserole recipes out there. Some are dry, some are bland, and some require ingredients you have to drive to three different stores to find. This cheesy beef enchilada casserole is different. It hits that sweet spot between quick weeknight survival and genuine culinary satisfaction. Here’s why it keeps coming back to my stove:
- Zero Rolling Required — Seriously, if you can crumble a tortilla, you can make this. I’ve made this while holding a baby. It’s that simple. No sticky fingers, no messy assembly, just layers of goodness.
- Under 30 Minutes — From thawed ground beef to hot, bubbly casserole, it takes about 30 minutes. The active time is maybe 15 minutes. The rest is just simmering and baking. This is my go-to when I get home at 6:30 PM and want to eat by 7:15.
- Pantry Staples — You probably have half of this already. Canned enchilada sauce, ground beef, tortillas, and cheese. I keep a jar of sauce in the back of the pantry specifically for these nights when I need dinner to just work.
- Leftover Gold — This actually tastes better the next day. The flavors meld together overnight, and the texture becomes even richer. I deliberately make extra for lunch on Wednesday. It reheats beautifully in the microwave or toaster oven.
- Kid-Approved — My picky eater, who usually turns his nose up at “mystery casseroles,” asks for seconds. The cheese pull is real, and the beef is seasoned just right—not too spicy, but flavorful enough to keep it interesting.
So basically, this is the meal that saves weeknights. It’s reliable, delicious, and doesn’t require a degree in culinary arts to execute. It’s my answer to “what’s for dinner?” when I have zero energy but high standards.
Ingredients You’ll Need
Here’s the best part: this looks like a long list, but most of it is stuff you already have. I’m particular about a few things here, especially the cheese and the sauce, so pay attention to those details.
For the Filling
Ground beef (1 pound / 450g) — I use 80/20 lean-to-fat ratio. It keeps the casserole juicy. If you use 93/7, you might want to add a splash of olive oil so it doesn’t dry out. Brown it well; you want those little crispy bits.
Yellow onion (1 medium, diced / about 150g) — Sweetness balances the spice. I use yellow because they caramelize nicely. If you only have white onions, use half the amount; they’re sharper.
Garlic (3 cloves, minced / about 1 tablespoon) — Fresh garlic is non-negotiable here. Jarred garlic has a metallic aftertaste that clashes with the smoky enchilada sauce. Take the extra 30 seconds to mince it yourself.
Enchilada seasoning (1 packet / about 2 tablespoons) — Or make your own! I usually just use the packet for speed, but if you have time, mix chili powder, cumin, paprika, and oregano. The packet gives that consistent, familiar taste everyone loves.
Black beans (1 can / 15oz, drained and rinsed) — Adds fiber and makes it more filling. I use low-sodium cans and rinse them thoroughly in a mesh strainer. Don’t skip the rinse; it removes that slimy canning liquid.
Corn kernels (1 cup / frozen or canned) — Sweet corn pops against the savory beef. Frozen works great, just thaw it first. It adds texture and color that makes the dish look less like a brown sludge.
For the Layers
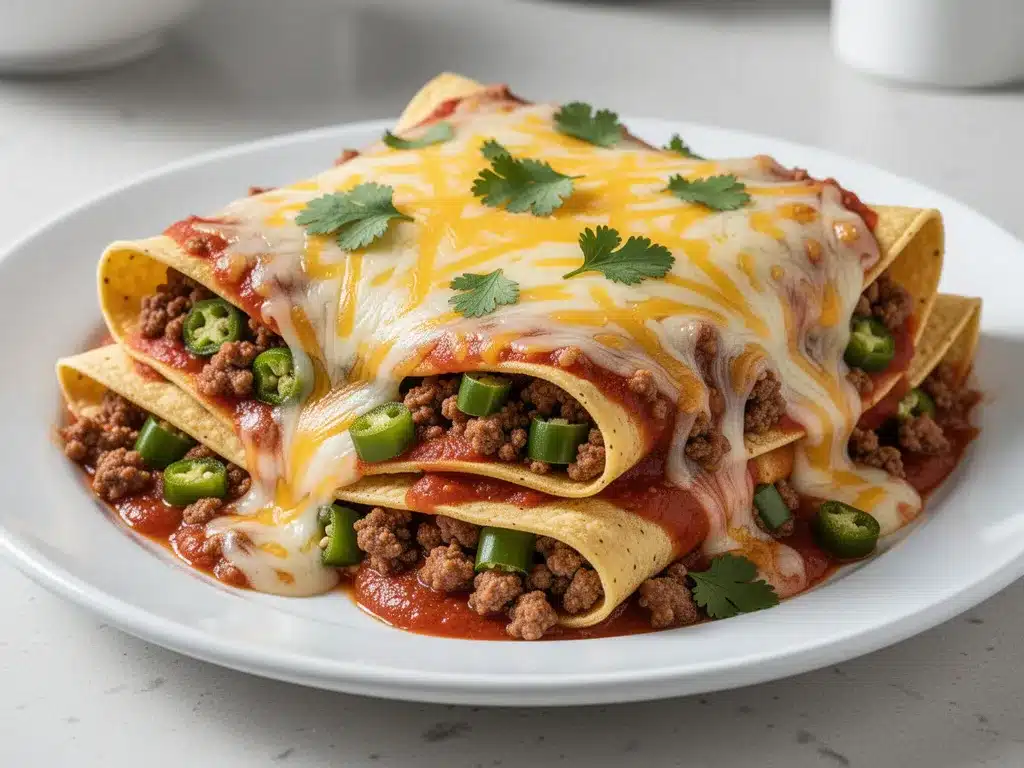
Flour tortillas (8-10 large / 12-inch) — These are your base. I use flour because they’re softer and easier to crumble than corn. Corn tortillas get gritty when crumbled. Look for fresh ones at the store if you can; they’re more pliable.
Enchilada sauce (2 cups / 480ml) — I use a store-bought medium sauce for consistency, but homemade is amazing if you’re feeling fancy. Just make sure it’s not too watery. If it’s thin, simmer it down first.
For the Cheese
Shredded Mexican blend cheese (3 cups / 340g) — This is usually a mix of cheddar, Monterey Jack, queso quesadilla, and asadero. It melts beautifully. Pro tip: Buy the block and shred it yourself. Pre-shredded cheese has cellulose (anti-caking agent) that prevents it from melting smoothly. Your casserole will be clumpy and greasy if you use the bag stuff. It takes 2 minutes to shred, and it’s worth it.
Cheddar cheese (1 cup / 110g, shredded) — I add extra cheddar for that sharp, tangy kick. It cuts through the richness of the cream and beef.
Garnishes (Optional but Recommended)
Green onions (2 stalks, sliced) — Adds a fresh, crunchy bite on top. I sprinkle these on right before serving.
Sour cream (for serving) — A dollop on top cools down the spice and adds creaminess.
Fresh cilantro (handful, chopped) — Brightens up the whole dish. If you hate cilantro, skip it or use parsley, though it won’t be traditional.
Equipment Needed
You don’t need fancy gadgets for this. Here’s what I actually use in my kitchen:
- Large skillet (12-inch) — I use a cast-iron skillet or a heavy stainless steel pan. You need enough room to brown the beef and onions without steaming them. If your pan is too small, the beef boils in its own juices.
- 9×13 inch baking dish — Standard glass or ceramic dish works best. Glass lets you see the bottom browning. Avoid metal if you want even heating.
- Wooden spoon or spatula — For stirring the beef mixture. Silicone works too.
- Mesh strainer — For rinsing beans and corn. I keep one in the sink for quick rinsing.
- Box grater — For shredding the cheese block. I prefer a box grater over a food processor because it gives me more control over the shred size.
Tool Tip: Don’t have a 9×13? You can use two 8×8 dishes, but you’ll need to adjust the baking time slightly—it’ll cook faster in smaller dishes. Just keep an eye on it.
How to Make It: Step-by-Step
Alright, let’s make this! I’m walking you through exactly how I do it, including the little tricks I’ve picked up over years of making this.
Step 1: Prep Your Ingredients (5 minutes)
Before you turn on the stove, get everything ready. Dice the onion, mince the garlic, drain the beans, and shred the cheese. I know it seems like extra work, but it makes the cooking process smooth. Once you start browning beef, things move fast. Have your tortillas within arm’s reach too.
Step 2: Brown the Beef (8-10 minutes)
Heat your large skillet over medium-high heat. Add the ground beef and diced onion. Break the beef up with your spoon as it cooks. You want it browned and crispy, not gray and steamed. This takes about 8-10 minutes. If there’s excess grease, drain it now, but leave about a tablespoon for flavor. Once the beef is browned, stir in the minced garlic and enchilada seasoning. Cook for 1 more minute until fragrant. Remove from heat.
Step 3: Mix in the Veggies (2 minutes)
Stir the drained black beans and corn into the beef mixture. Taste it! Does it need more salt? More cumin? Adjust now. This is your base. It should smell smoky and savory. Set it aside while you preheat the oven to 375°F (190°C).
Step 4: Layer the Casserole (5 minutes)
Take your 9×13 baking dish. Here’s the trick: Crumble the tortillas into rough, bite-sized pieces. Don’t make them too tiny, or they’ll turn to mush. Start with a layer of crumbled tortillas on the bottom (about one-third of the tortillas). Then, add half of the beef mixture. Sprinkle half of the cheese over the beef. Repeat the layers: tortillas, remaining beef, remaining cheese. Finish with a final layer of tortillas on top.
Step 5: Add the Sauce (2 minutes)
Pour the enchilada sauce evenly over the top layer of tortillas. Use a spoon to gently press the sauce down so it seeps into the cracks. You want the tortillas to absorb the sauce, not just sit on top. If you have any leftover cheese, sprinkle it on top now for that golden, bubbly crust.
Step 6: Bake (20 minutes)
Place the dish in the preheated oven. Bake for 20 minutes. You’ll know it’s done when the cheese is melted, bubbly, and slightly golden on the edges, and the sauce is simmering around the sides. If you want a crispier top, broil for the last 2 minutes, but watch it like a hawk—cheese burns fast.
Step 7: Rest and Serve (5 minutes)
Let the casserole rest for 5 minutes before cutting. This is crucial. If you cut it immediately, everything will slide apart. Resting lets it set. Garnish with green onions, sour cream, and cilantro. Serve hot.
Total Time: About 30 minutes (15 minutes active, 15 minutes mostly hands-off).
Expert Tips & Tricks
Here’s everything I’ve learned from making this dozens of times. These tips will save you from my mistakes.
Don’t Skip the Resting Time
I know you’re hungry. But if you cut into this casserole right out of the oven, it’s a mess. The layers haven’t set. Five minutes of waiting makes it sliceable and much more enjoyable. Use that time to grab plates or pour drinks.
Shred Your Own Cheese
I cannot stress this enough. Pre-shredded cheese contains potato starch to keep it from clumping. That starch stops it from melting properly. Your casserole will be greasy and lumpy. Grate your own block of Monterey Jack or Cheddar. It takes two minutes and makes a huge difference in texture.
Customize the Heat
Use mild sauce if you have kids or sensitive palates. Use hot sauce if you like a kick. I usually use medium, but if I’m feeling spicy, I add a diced jalapeño to the beef mixture in Step 2. Just remember, the sauce flavor will dominate, so don’t over-spice the beef.
The Tortilla Trick
Some people argue you should leave tortillas whole. I tried that. The edges get soggy, and the center stays dry. Crumbling them ensures every bite has sauce and cheese. It’s the only way to go for this recipe.
Common Mistakes
Mistake: Casserole is dry.
Fix: You didn’t use enough sauce, or you overcooked it. Enchilada sauce can be thick. If your sauce is very thick, add a splash of water or chicken broth before baking. Also, don’t bake longer than 20 minutes at 375°F.
Mistake: Cheese is browned but tortillas are cold.
Fix: Your oven runs hot. Cover the dish with foil for the first 15 minutes, then uncover to brown the cheese. This lets the inside heat through without burning the top.
Variations & Substitutions
Once you’ve nailed the basic version, here’s how you can mix it up. I’ve tried all of these.
Chicken Version
Swap ground beef for shredded rotisserie chicken. Sauté the onions and garlic, then add the chicken just to warm it through. It’s lighter and still delicious. I do this when I have leftover chicken in the fridge.
Vegetarian Option
Skip the beef. Use extra beans and corn. Add diced zucchini or bell peppers to the onion mixture. You’ll need a bit more sauce since vegetables release water. It’s hearty and satisfying.
Green Enchilada Casserole
Swap red enchilada sauce for green tomatillo sauce. Add chopped cilantro and a diced jalapeño to the filling. It’s tangier and fresher. Great for spring.
Dietary Modifications
Gluten-Free: Use corn tortillas instead of flour. Crumble them carefully—they’re more fragile. Everything else is naturally gluten-free (check your sauce label).
Lower-Carb: Skip the tortillas entirely. It becomes a “deconstructed enchilada” skillet. Add extra cheese and maybe some cauliflower rice for bulk. It’s not the same texture, but it’s tasty.
Serving & Storage
How to Serve:
I usually serve this straight from the baking dish at the dinner table. It looks rustic and stays warm. Pair it with a simple green salad with lime vinaigrette to cut the richness. Garlic bread is optional but recommended if you’re feeding a hungry crowd.
Storage:
Store leftovers in an airtight container in the fridge for up to 4 days. The sauce will thicken as it cools—this is normal. To reheat, add a splash of water or broth to loosen it up.
Reheating:
Microwave: Heat in 1-minute intervals, stirring between. Add a splash of water if it’s dry.
Oven: Cover with foil and bake at 350°F for 15-20 minutes until heated through. This method preserves texture better.
Freezing:
I don’t recommend freezing this before baking. The tortillas can get weirdly mushy when thawed and reheated. If you must, freeze the assembled unbaked casserole for up to 1 month. Thaw in the fridge overnight, then bake as directed, adding 10-15 minutes to the cooking time.
Nutrition Information
I’m not a nutritionist, but here’s the breakdown if you’re tracking. Keep in mind, this is comfort food, so it’s not a diet recipe.
Per Serving (based on 8 servings):
- Calories: 480
- Protein: 28g
- Carbs: 35g
- Fiber: 4g
- Sugar: 4g
- Fat: 26g
- Saturated Fat: 12g
- Cholesterol: 75mg
- Sodium: 680mg
What’s Good: Decent protein from beef and cheese. Fiber from beans and corn. It’s more filling than it looks.
What to Know: Higher in sodium due to the sauce and cheese. If you’re watching salt, use low-sodium beans and make your own sauce. But honestly? It’s worth it for the flavor.
Final Thoughts
So that’s my cheesy beef enchilada casserole! I’ve probably talked your ear off at this point, but when you make a recipe this often, you have a lot to say about it. This has saved weeknight dinners more times than I can count. It’s my answer to “what’s for dinner” when I’m tired, don’t want takeout, and still want something that tastes really good. My kids are happy, my husband’s happy, and I’m happy because I’m not stressed about cooking.
Make it yours! Try different add-ins, swap in your favorite vegetables, adjust the heat. The best recipes are the ones you adapt to your family’s tastes. If you make this, drop a comment and let me know what you think! I love hearing how recipes turn out in your kitchen. And if something doesn’t work, tell me that too—I’m here to help troubleshoot.
Happy cooking! And I hope your kitchen smells half as good as mine does right now.
Frequently Asked Questions
Can I use corn tortillas instead of flour?
You can, but they’re more brittle when crumbled. You’ll need to handle them gently so they don’t turn to dust. I recommend using flour tortillas for this specific recipe because they hold up better to the sauce and create a nicer texture. If you use corn, keep the crumbles slightly larger.
Why did my casserole turn out watery?
Usually, this happens if you didn’t drain the beans and corn thoroughly, or if your enchilada sauce was very thin. Make sure to rinse the canned veggies well. If your sauce is watery, simmer it in a pan for 5 minutes before pouring it over the casserole to reduce it.
Can I make this ahead of time?
Yes! Assemble the casserole up to 24 hours ahead. Cover it tightly with plastic wrap and refrigerate. When you’re ready to cook, take it out of the fridge 30 minutes before baking to take the chill off. You may need to add 5-10 minutes to the baking time since it’s starting cold.
How do I reheat leftovers without it getting dry?
Always add a splash of liquid when reheating. Whether you’re using the microwave or the oven, add a tablespoon of water, broth, or extra sauce to each serving. This creates steam and keeps the tortillas moist. Cover it tightly when reheating.
Can I double this recipe?
Absolutely. Double everything and use a 9×13 dish, or use two 8×8 dishes. If you double it in one 9×13, it might be very deep, so check for doneness a few minutes early. The baking time shouldn’t change much, but keep an eye on the cheese browning.
What kind of enchilada sauce should I use?
Any brand works, but I like Herdez or La Costeña. If you’re making your own, just ensure it’s not too spicy unless you want it to be. The sauce is the main flavor driver, so don’t skimp on quality. Avoid “green” sauce unless you’re doing the green variation.
Can I add other vegetables?
Definitely. Bell peppers, zucchini, or mushrooms all work great. Just make sure to sauté them before adding them to the casserole so they don’t release too much water during baking. Raw veggies can make the casserole soggy.
Pin This Recipe!
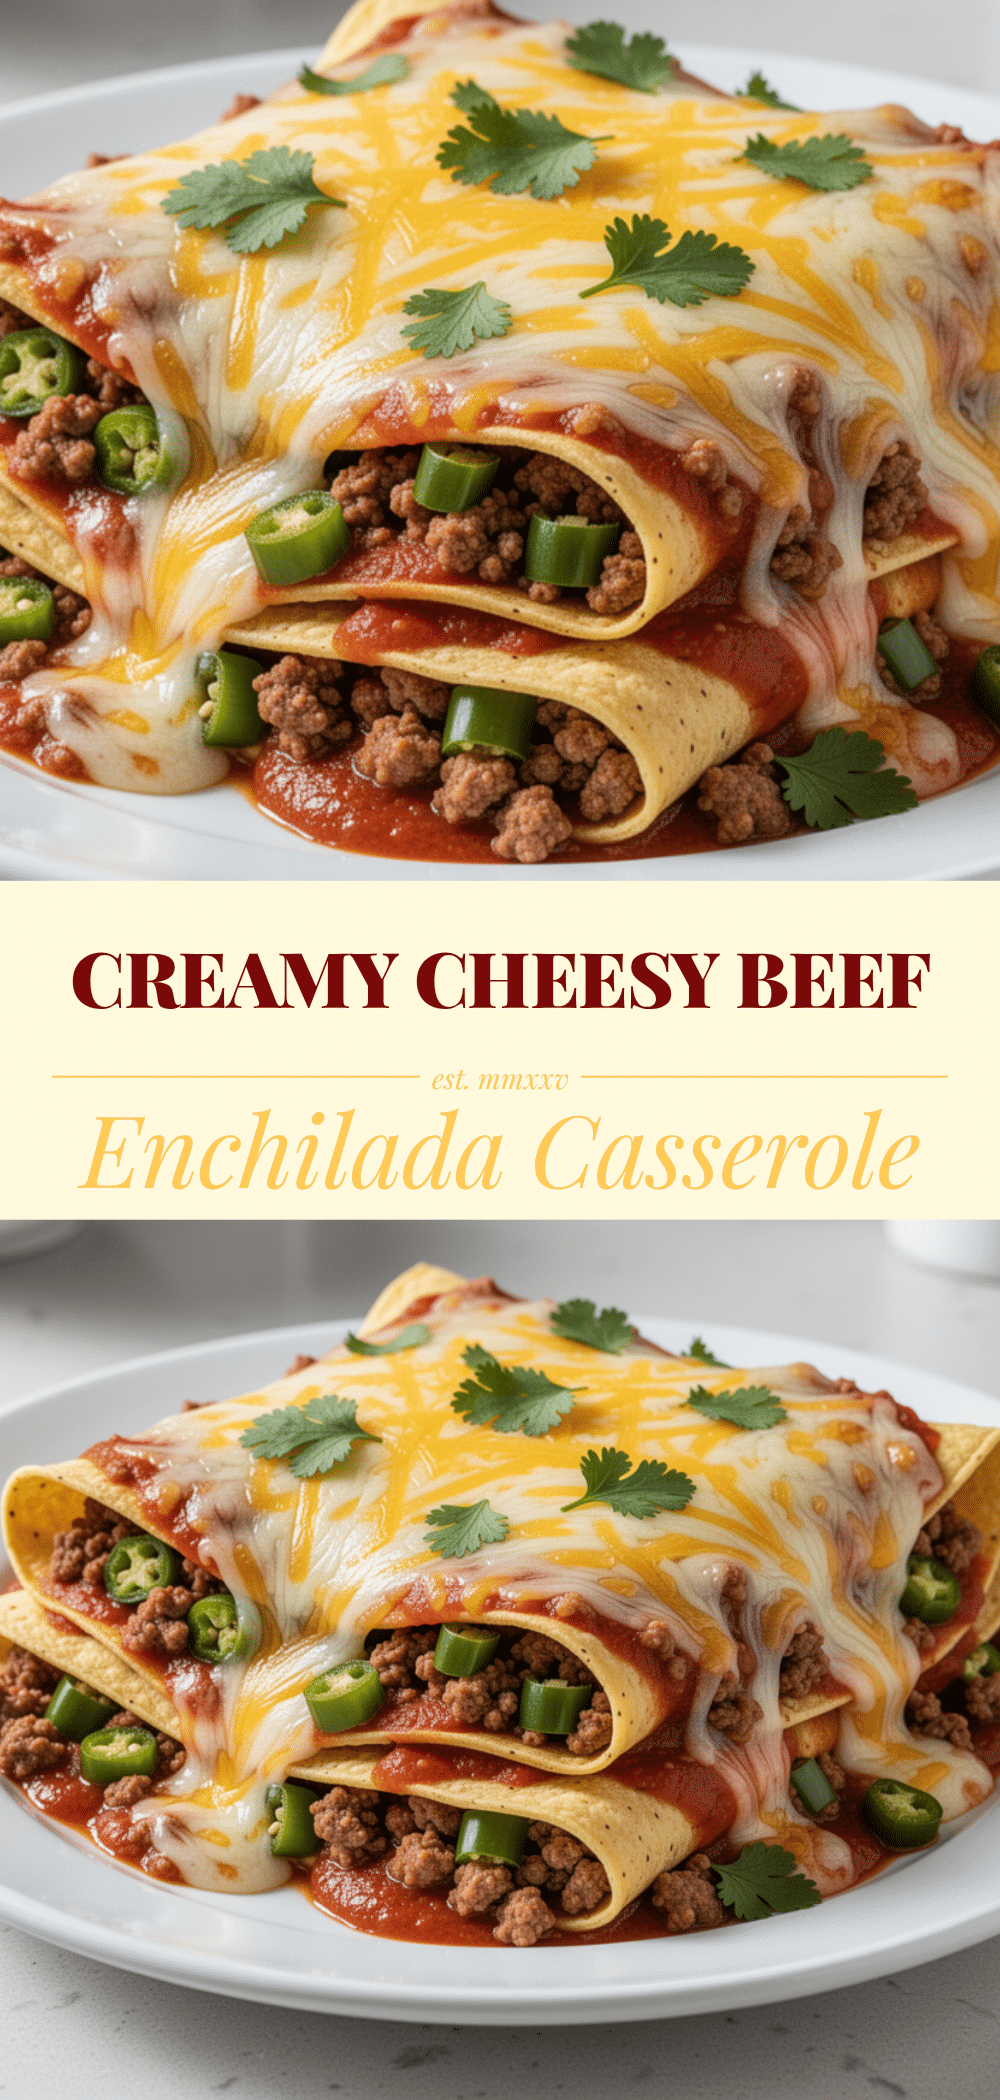
Cheesy Beef Enchilada Casserole: 30-Minute Dinner
- Total Time: 30 minutes
- Yield: 8 servings 1x
Description
A quick and easy weeknight dinner that skips the rolling process for a layered, cheesy, and flavorful casserole. Ready in 30 minutes with pantry staples.
Ingredients
- 1 pound ground beef (80/20 lean-to-fat ratio)
- 1 medium yellow onion, diced
- 3 cloves garlic, minced
- 1 packet enchilada seasoning (or 2 tablespoons homemade mix)
- 1 can (15oz) black beans, drained and rinsed
- 1 cup corn kernels (frozen or canned)
- 8–10 large flour tortillas
- 2 cups enchilada sauce
- 3 cups shredded Mexican blend cheese
- 1 cup shredded cheddar cheese
- 2 stalks green onions, sliced (for garnish)
- Sour cream (for serving)
- Fresh cilantro, chopped (for garnish)
Instructions
- Preheat oven to 375°F (190°C).
- In a large skillet over medium-high heat, brown the ground beef and diced onion for 8-10 minutes, breaking up the beef. Drain excess grease, leaving about 1 tablespoon.
- Stir in minced garlic and enchilada seasoning; cook for 1 minute until fragrant. Remove from heat.
- Mix in drained black beans and corn. Taste and adjust seasoning if needed.
- Crumble tortillas into rough, bite-sized pieces.
- In a 9×13 inch baking dish, layer one-third of the crumbled tortillas, half of the beef mixture, and half of the cheese.
- Repeat layers with remaining tortillas, beef, and cheese. Top with remaining tortillas.
- Pour enchilada sauce evenly over the top, pressing down gently to help it seep in. Sprinkle with remaining cheese if desired.
- Bake for 20 minutes until cheese is melted, bubbly, and slightly golden.
- Let rest for 5 minutes before cutting and serving with green onions, sour cream, and cilantro.
Notes
Shred your own cheese to ensure smooth melting. Let the casserole rest for 5 minutes before cutting to allow layers to set. For a gluten-free version, use corn tortillas. For a vegetarian option, skip the beef and add extra beans/veggies.
- Prep Time: 15 minutes
- Cook Time: 15 minutes
- Category: Main Course
- Cuisine: Mexican
Nutrition
- Serving Size: 1 slice
- Calories: 480
- Sugar: 4
- Sodium: 680
- Fat: 26
- Saturated Fat: 12
- Carbohydrates: 35
- Fiber: 4
- Protein: 28
Keywords: enchilada casserole, beef casserole, quick dinner, weeknight meals, cheesy casserole, easy recipes, family dinner


