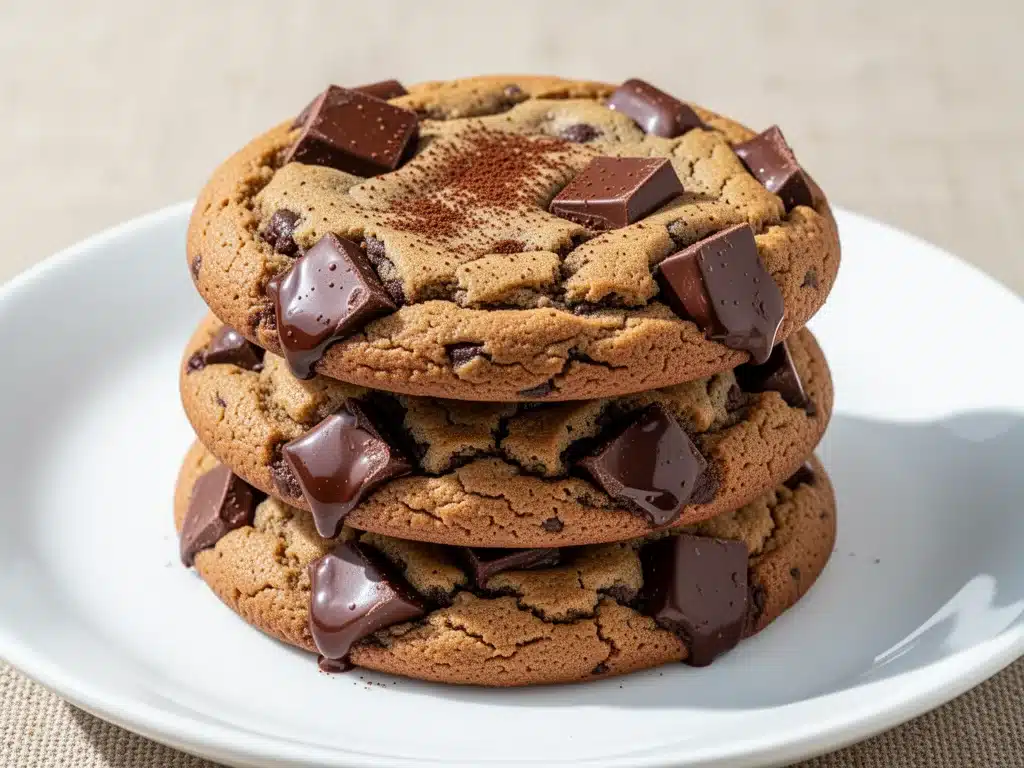
I still remember the first time I tried to make these cookies. It was a rainy Tuesday in November, the kind of day where the world feels gray and your energy is at an all-time low. I wanted comfort, but not in soup form. I wanted something rich, dark, and deeply chocolatey. I pulled out my usual cookie recipe—my oatmeal raisin go-to—and decided to “fix” it by adding cocoa powder. Big mistake. The result? Flat, cakey discs that tasted like sweet dirt. I threw them in the trash and ordered pizza.
Fast forward to last week. I was determined to nail the perfect double chocolate chunk cookie. Not the ones from the grocery store aisle, and not the ones from that fancy bakery downtown. I wanted the kind that has a crisp edge, a soft center, and pools of melted chocolate that make you close your eyes when you take the first bite. I spent three weekends testing different ratios of brown sugar to white sugar, swapping butter for shortening, and experimenting with baking soda vs. baking powder.
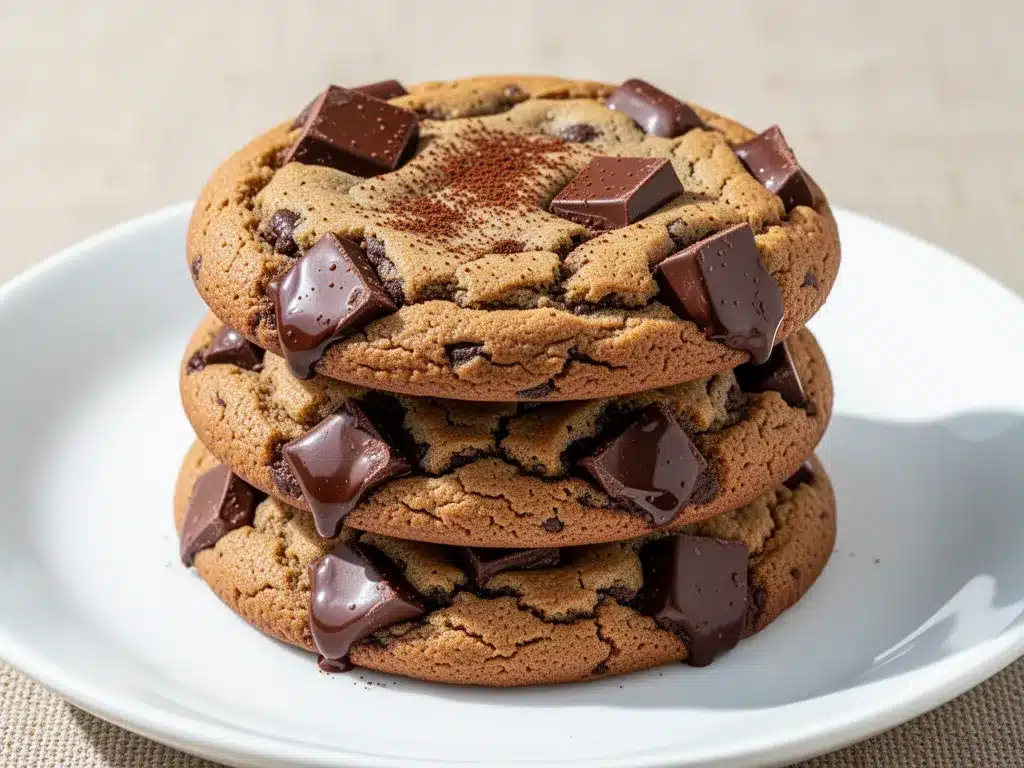
What I ended up with? These double chocolate chunk cookies. They are hands-down the best cookies I have ever baked. The texture is exactly what I was chasing: fudgy, chewy, and intensely chocolatey without being dry. My husband took one bite and actually stopped talking mid-sentence, which is the highest compliment he can give. My kids, who usually prefer vanilla, asked for the “dark ones” specifically. That’s how you know you’ve won.
I’ve made this recipe at least a dozen times since then, tweaking it slightly each time to perfect the balance. And now, I’m sharing the exact method with you. No fancy equipment, no hard-to-find ingredients, just simple steps that guarantee a batch of cookies so good you’ll be making them every weekend.
Why You’ll Love This Double Chocolate Chunk Cookie Recipe
Look, there are a million cookie recipes out there. So why this one? Here’s the honest truth about why these double chocolate chunk cookies have taken over our house.
They’re Actually Fudgy — Most chocolate cookie recipes turn out cakey or crisp all the way through. These have that perfect contrast: thin, lacy edges that crack when you bite them, giving way to a center that’s soft, dense, and almost brownie-like. I tested this by chilling the dough for different amounts of time, and 24 hours is the sweet spot for maximum fudginess.
Real Chocolate Chunks, Not Chips — I’m very particular about this. Chocolate chips are convenient, but they’re engineered to hold their shape. They don’t melt beautifully. By using high-quality baking bars chopped into chunks, you get irregular pools of chocolate that spread and meld with the dough. It’s a game-changer for texture and flavor intensity.
Simple Pantry Staples — You don’t need to run to the store for this. Flour, sugar, butter, eggs, cocoa powder, baking soda, salt. If you have these, you have everything you need. I keep the chocolate bars stocked specifically for this recipe, but the rest is basic baking stuff.
Make-Ahead Friendly — This is my secret weapon for busy weeks. I form the dough into balls, freeze them on a baking sheet, and then pop them into a ziplock bag. When I want fresh cookies on a Wednesday night, I just pull out a handful and bake them straight from the freezer. Takes an extra 2-3 minutes, but the result is identical to fresh dough.
Kid-Approved (Even the Picky Ones) — My daughter is a texture snob. She hates anything that’s too chewy or too cakey. These hit that perfect middle ground. Plus, the dark chocolate makes them feel like a “grown-up” treat, which makes them more exciting for her.
This recipe has completely replaced my go-to sugar cookies for holiday parties. They’re richer, more impressive, and honestly easier to manage because you’re not dealing with delicate royal icing. Just scoop, bake, and eat.
Ingredients You’ll Need for Fudgy Chocolate Cookies
Before we get to the mixing bowl, let’s talk about what’s going in. I’m not going to lie—this looks like a short list, but each ingredient plays a specific role in getting that fudgy texture. Don’t skip the details below.
The Dry Goods
All-Purpose Flour (2 ¼ cups / 280g) — This is your structure. I use all-purpose because cake flour makes them too tender (they fall apart), and bread flour makes them too chewy (like bread). All-purpose gives that perfect bite. Sift it if it’s been sitting in the cupboard for a while to avoid lumps.
Unsweetened Cocoa Powder (¾ cup / 65g) — This is non-negotiable. Do not use Dutch-process cocoa unless the recipe specifically says so. Natural cocoa powder is more acidic, which reacts with the baking soda to give you lift and that deep, dark chocolate flavor. Hershey’s is my go-to brand because it’s consistently dark and intense.
Baking Soda (1 teaspoon) — This helps the cookies spread and brown. It also reacts with the cocoa powder. Make sure it’s fresh! If your baking soda is older than 6 months, it might not work as well. Test it by dropping a little vinegar on it—if it doesn’t fizz, toss it.
Salt (1 teaspoon) — Salt is flavor enhancer #1. In chocolate cookies, it balances the sweetness and makes the chocolate taste more chocolatey. Use fine sea salt or table salt. If you use kosher salt, you might need a bit more because the grains are bigger.
The Wet Stuff
Unsalted Butter (1 cup / 2 sticks / 226g) — Room temperature is key. Not melted, not cold. Softened so you can easily press a finger into it. This adds richness and helps create that crisp edge. If you melt the butter, the cookies will spread too much and become greasy.
Brown Sugar (1 ½ cups / 300g, packed) — This is the secret to the fudgy center. Brown sugar contains molasses, which adds moisture and acidity. The more brown sugar you use, the chewier the cookie. I use light brown sugar, but dark brown works if you want a deeper, toffee-like flavor.
Granulated Sugar (½ cup / 100g) — This helps with the crisp edges. It’s the counterbalance to the brown sugar. If you use only brown sugar, the cookies will be too cakey. If you use only white sugar, they’ll be too crisp.
Eggs (2 large, room temperature) — Room temperature eggs emulsify better with the butter and sugars, creating a smoother dough. Cold eggs can cause the butter to seize up. Crack them into a small bowl first to check for freshness.
Vanilla Extract (2 teaspoons) — Pure vanilla, not imitation. It rounds out the chocolate flavor and adds that classic cookie aroma. I use McCormick or Nielsen-Massey. Don’t skimp here.
The Star of the Show
Semi-Sweet Chocolate Chunks (12 oz / 340g) — Again, buy bars. Ghirardelli 60% Cacao or Lindt 70% are my favorites. Chop them into irregular pieces. Some big chunks, some small. This ensures that every bite has a different amount of chocolate. If you buy pre-chopped chunks, they’re usually too uniform and don’t melt as nicely.
Optional: Sea Salt Flakes — For sprinkling on top after baking. This adds a nice crunch and elevates the flavor. I recommend Maldon sea salt flakes.
Equipment You’ll Need
You don’t need a fancy kitchen for this. Here’s what I actually use.
Large Mixing Bowl — A glass or ceramic bowl works best so you can see the texture of the dough. I use a 6-quart bowl.
Hand Mixer or Stand Mixer — A hand mixer is fine for this recipe because the dough is thick. If you use a stand mixer, use the paddle attachment on low speed to avoid flying flour.
Wooden Spoon or Spatula — For folding in the chocolate chunks. A wooden spoon feels nice and sturdy for this task.
Baking Sheets — I use half-sheet pans (18×13 inches). Light-colored aluminum pans are best because they don’t conduct heat as aggressively as dark pans, which can burn the bottoms.
Parchment Paper — Line your baking sheets. This prevents sticking and makes cleanup a breeze. I don’t grease the parchment; the butter in the dough is enough.
Cooling Rack — Essential for stopping the cooking process. If you leave them on the hot pan, they’ll keep cooking and become dry.
Sharp Knife — For chopping the chocolate bars. A chef’s knife works great. Be careful with your fingers!
Cookie Scoop — I use a 2-tablespoon scoop. This ensures uniform size so they bake evenly. If you don’t have one, use a tablespoon, but be consistent.
How to Make Double Chocolate Chunk Cookies: Step-by-Step
Alright, let’s get baking! I’m walking you through the process, including the little tricks that make the difference between good cookies and great ones.
Step 1: Prep Your Dry Ingredients (5 minutes)
In a medium bowl, whisk together the flour, cocoa powder, baking soda, and salt. Whisking is important here because it distributes the baking soda evenly. If you just dump it in, you might get a bite with a mouthful of baking soda (trust me, it tastes like soap). Set this aside.
Step 2: Cream the Butter and Sugars (3-4 minutes)
In a large bowl, beat the softened butter, brown sugar, and granulated sugar together on medium speed until light and fluffy. This should take about 3 minutes. You’re looking for a pale, creamy texture. This step incorporates air, which helps the cookies rise. Don’t rush this! If the butter is too cold, it won’t cream properly. If it’s too warm, the cookies will spread too much.
Step 3: Add Eggs and Vanilla (2 minutes)
Add the eggs one at a time, beating well after each addition. Then add the vanilla extract. Scrape down the sides of the bowl with a spatula to make sure everything is incorporated. The mixture should look smooth and glossy.
Step 4: Combine Wet and Dry (2 minutes)
Reduce the mixer speed to low. Gradually add the flour mixture to the butter mixture. Mix just until the flour disappears. Overmixing at this stage develops gluten, which makes the cookies tough. You want them tender. The dough will be thick and stiff.
Step 5: Fold in the Chocolate (2 minutes)
Switch to a wooden spoon or spatula. Fold in the chopped chocolate chunks. Be gentle. You want to distribute them evenly without crushing them. Save a few chunks to press onto the tops of the cookies before baking—it makes them look professional.
Step 6: Chill the Dough (At Least 30 minutes, ideally 24 hours)
This is the step most people skip, but it’s crucial. Cover the bowl with plastic wrap and refrigerate for at least 30 minutes. If you have time, chill it for 24 hours. Chilling solidifies the butter, which prevents the cookies from spreading too much in the oven. It also allows the flour to hydrate, resulting in a deeper, richer flavor. If you bake the dough immediately, you’ll get flat, greasy cookies.
Step 7: Scoop and Bake (10-12 minutes)
Preheat your oven to 350°F (175°C). Line two baking sheets with parchment paper. Scoop the dough into balls (about 2 tablespoons each) and place them on the baking sheets, spacing them about 2 inches apart. They will spread. Bake for 10-12 minutes. The cookies are done when the edges are set and crisp, but the centers still look soft and slightly underbaked. They will firm up as they cool.
Step 8: Cool and Serve
Let the cookies cool on the baking sheet for 5 minutes. Then transfer them to a wire rack to cool completely. This stops the cooking process. Sprinkle with sea salt flakes if you’re using them. Eat them warm for the fudgiest experience, or store them for later.
Expert Tips & Tricks for Perfect Cookies
Here’s everything I’ve learned from making these cookies dozens of times. These tips will save you from my mistakes.
Chill the Dough — I cannot stress this enough. If you skip chilling, your cookies will spread into flat disks. Chilling is the secret to thick, fudgy cookies. If you’re in a hurry, freeze the dough balls for 15 minutes.
Don’t Overbake — This is the most common mistake. Chocolate cookies continue to cook on the hot pan after you take them out of the oven. Pull them when they look slightly underdone. The centers should still be soft. If you bake them until they look firm, they’ll be dry and crumbly.
Use High-Quality Chocolate — Since chocolate is the star, don’t use cheap baking chocolate. Ghirardelli, Lindt, or Guittard are all excellent. The flavor difference is noticeable.
Measure Flour Correctly — Spoon the flour into the measuring cup and level it off. Don’t scoop directly from the bag, which packs the flour down and leads to dry cookies. Too much flour = dry, cakey cookies.
Room Temperature Ingredients — Cold eggs and butter don’t mix well. Take them out of the fridge an hour before you start baking. It makes a smoother dough.
Variations & Substitutions
Once you’ve nailed the basic version, here’s how you can mix it up. I’ve tried all of these.
Chocolate Chip Twist — Use half chocolate chunks and half chocolate chips. This gives you both the melted pools and the classic chip texture.
White Chocolate Chunk — Swap some of the semi-sweet chunks for white chocolate. The contrast is amazing. I use Ghirardelli white chocolate chips.
Mint Chocolate — Add 1 teaspoon of peppermint extract to the dough and use dark chocolate chunks. It tastes like a mint chocolate bar.
Gluten-Free — Use a 1:1 gluten-free flour blend. The texture is slightly different but still good. I’ve used Bob’s Red Mill and it works well.
Vegan — Use vegan butter (like Miyoko’s) and a flax egg (1 tablespoon ground flaxseed mixed with 3 tablespoons water, let sit for 5 minutes). Use vegan chocolate chunks. The texture will be slightly more cakey but still delicious.
Serving & Storage
How to Serve: I usually serve these warm, right out of the oven, with a cold glass of milk. They’re also great for gift-giving. Stack them in a tin with parchment paper between layers. They last for about a week in an airtight container at room temperature.
Storage: Store in an airtight container at room temperature for up to 5 days. To keep them soft, add a slice of bread to the container. The cookies will absorb the moisture from the bread.
Freezing: You can freeze the baked cookies for up to 3 months. Let them thaw at room temperature. You can also freeze the dough balls for up to 3 months. Bake from frozen, adding 1-2 minutes to the bake time.
Nutrition Information
I’m not a nutritionist, but here’s the breakdown if you’re tracking. Per cookie (makes about 24 cookies):
Calories: 180
Protein: 2g
Carbs: 22g
Fat: 10g
Sugar: 14g
Look, these are cookies. They’re not a health food. But they’re better than store-bought cookies because you control the ingredients. When I make them, I use less sugar and high-quality chocolate, which makes a difference. Enjoy them in moderation, and you’ll be happy.
Final Thoughts
So that’s my go-to double chocolate chunk cookie recipe! I’ve talked your ear off, but when you love a recipe this much, you have a lot to say about it. These cookies have saved my dessert table at parties, kept me sane during stressful weeks, and made my kids think I’m a genius baker. Make them. Bake them. Eat them. And then make more.
Frequently Asked Questions
Can I use Dutch-process cocoa?
You can, but the recipe needs to be adjusted. Dutch-process cocoa is neutralized and won’t react with the baking soda. You’d need to add baking powder to get the right lift. For this recipe, stick with natural cocoa powder for the best results.
Why did my cookies spread too much?
This usually happens if the butter was too warm or if you didn’t chill the dough. Make sure your butter is softened, not melted. And definitely chill the dough for at least 30 minutes.
Can I double the recipe?
Yes, but use a larger mixing bowl. The dough is thick, so you need space to mix it properly. Be careful not to overmix when doubling.
How do I know when the cookies are done?
Look for crisp edges and soft centers. They will look slightly underbaked in the middle. They’ll firm up as they cool on the pan.
Can I use milk chocolate chunks?
You can, but they’re sweeter. I prefer semi-sweet or dark chocolate for balance. If you use milk chocolate, reduce the granulated sugar by 2 tablespoons.
Pin This Recipe!
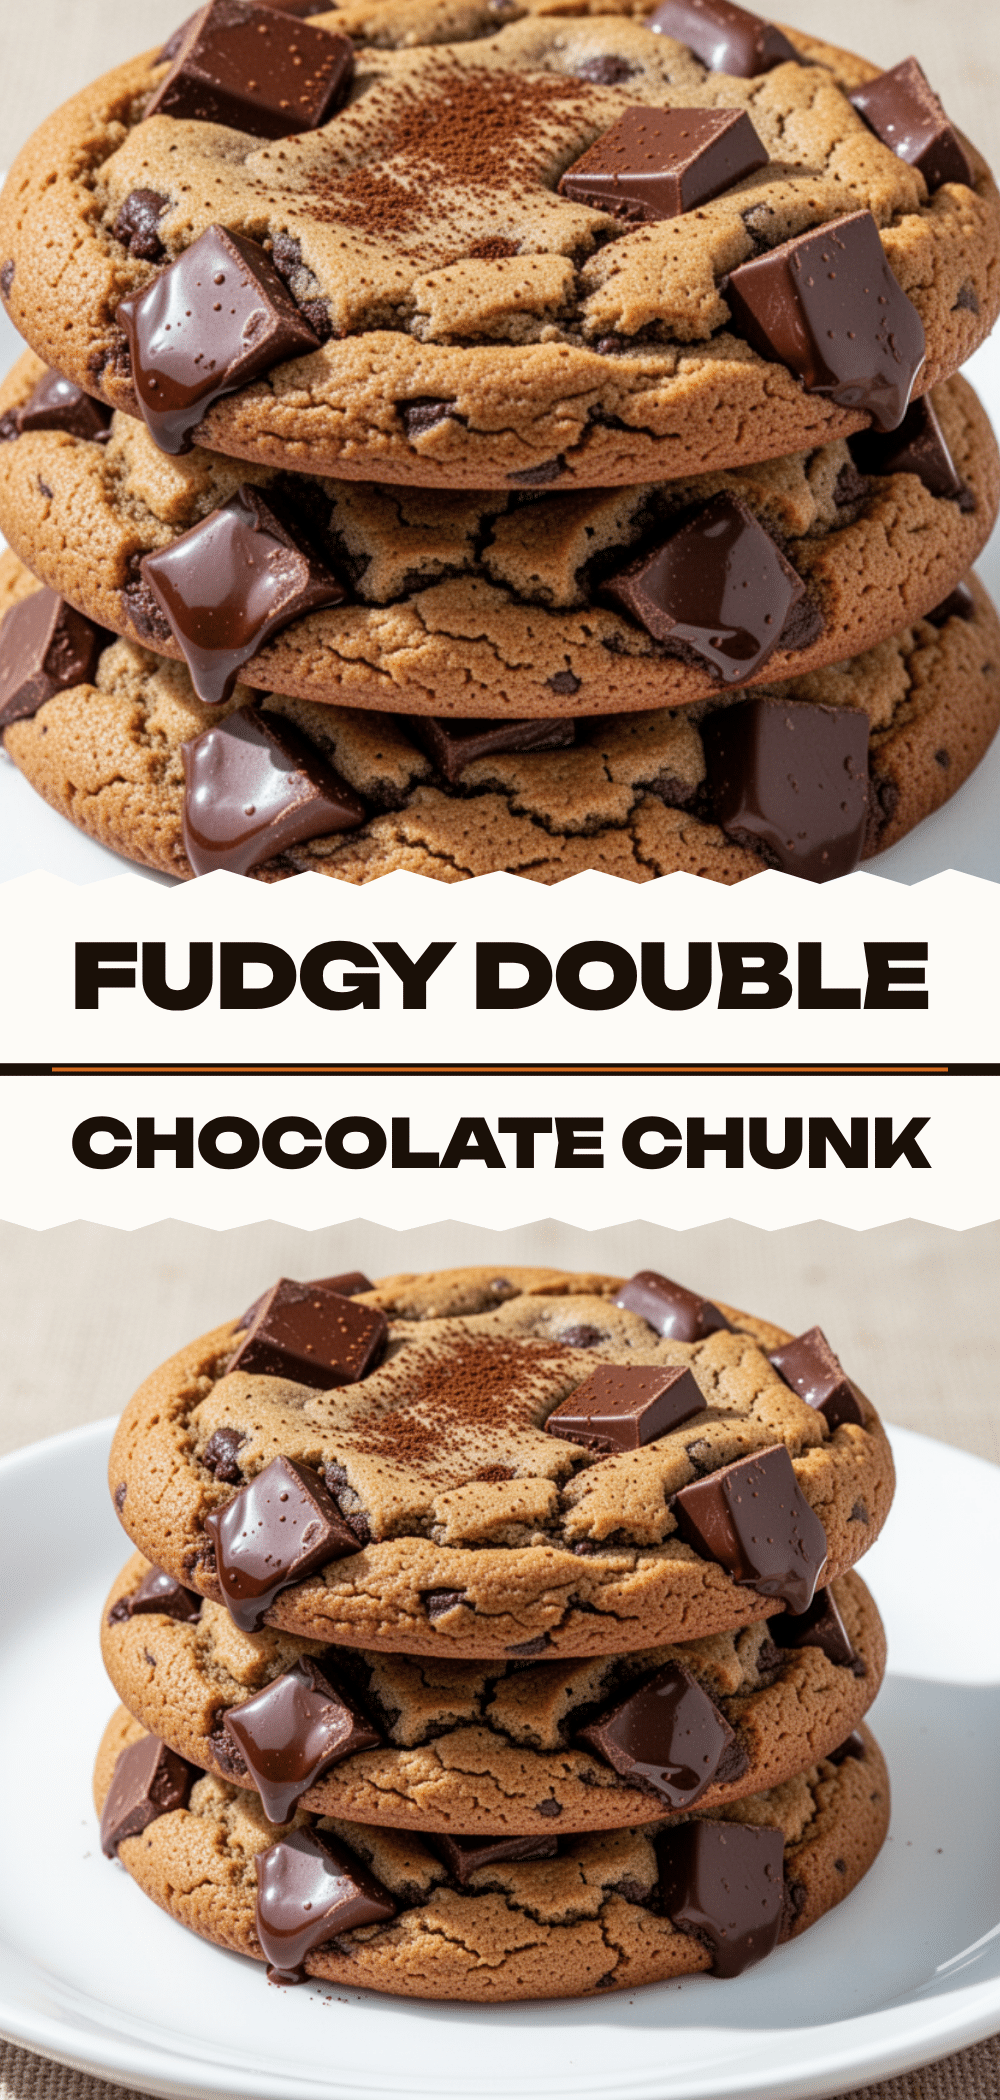
Double Chocolate Chunk Cookies: 5-Step Fudgy Dessert
- Total Time: 30 minutes
- Yield: 24 cookies 1x
Description
These double chocolate chunk cookies feature crisp edges, a soft fudgy center, and pools of melted high-quality chocolate. Made with simple pantry staples and a crucial chilling step for the perfect texture.
Ingredients
- 2 ¼ cups (280g) All-Purpose Flour
- ¾ cup (65g) Unsweetened Cocoa Powder (natural)
- 1 teaspoon Baking Soda
- 1 teaspoon Salt (fine sea salt or table salt)
- 1 cup (2 sticks / 226g) Unsalted Butter, room temperature
- 1 ½ cups (300g) Brown Sugar, packed
- ½ cup (100g) Granulated Sugar
- 2 large Eggs, room temperature
- 2 teaspoons Vanilla Extract
- 12 oz (340g) Semi-Sweet Chocolate Bars, chopped into chunks
- Sea Salt Flakes (optional, for topping)
Instructions
- Preheat oven to 350°F (175°C). Line two baking sheets with parchment paper.
- In a medium bowl, whisk together the flour, cocoa powder, baking soda, and salt. Set aside.
- In a large bowl, beat the softened butter, brown sugar, and granulated sugar on medium speed until light and fluffy (about 3 minutes).
- Add eggs one at a time, beating well after each addition. Mix in vanilla extract. Scrape down the sides of the bowl.
- Reduce mixer speed to low. Gradually add the dry ingredients to the wet ingredients. Mix just until the flour disappears.
- Switch to a wooden spoon or spatula and fold in the chopped chocolate chunks. Reserve a few chunks for topping.
- Cover the bowl and chill the dough in the refrigerator for at least 30 minutes (ideally 24 hours for maximum fudginess).
- Scoop dough into 2-tablespoon balls and place on baking sheets, spacing them 2 inches apart.
- Bake for 10-12 minutes, or until edges are set and crisp but centers still look soft.
- Let cookies cool on the baking sheet for 5 minutes, then transfer to a wire rack to cool completely. Sprinkle with sea salt flakes if desired.
Notes
Chilling the dough is crucial to prevent spreading and ensure a fudgy texture. Do not overbake; cookies will firm up as they cool. For best results, use natural cocoa powder and high-quality chocolate bars chopped into irregular chunks. Store in an airtight container with a slice of bread to maintain softness.
- Prep Time: 20 minutes
- Cook Time: 10-12 minutes
- Category: Dessert
- Cuisine: American
Nutrition
- Serving Size: 1 cookie
- Calories: 180
- Sugar: 14
- Sodium: 150
- Fat: 10
- Saturated Fat: 6
- Carbohydrates: 22
- Fiber: 1
- Protein: 2
Keywords: double chocolate chunk cookies, fudgy cookies, chocolate dessert, homemade cookies, baking recipe, easy cookies


