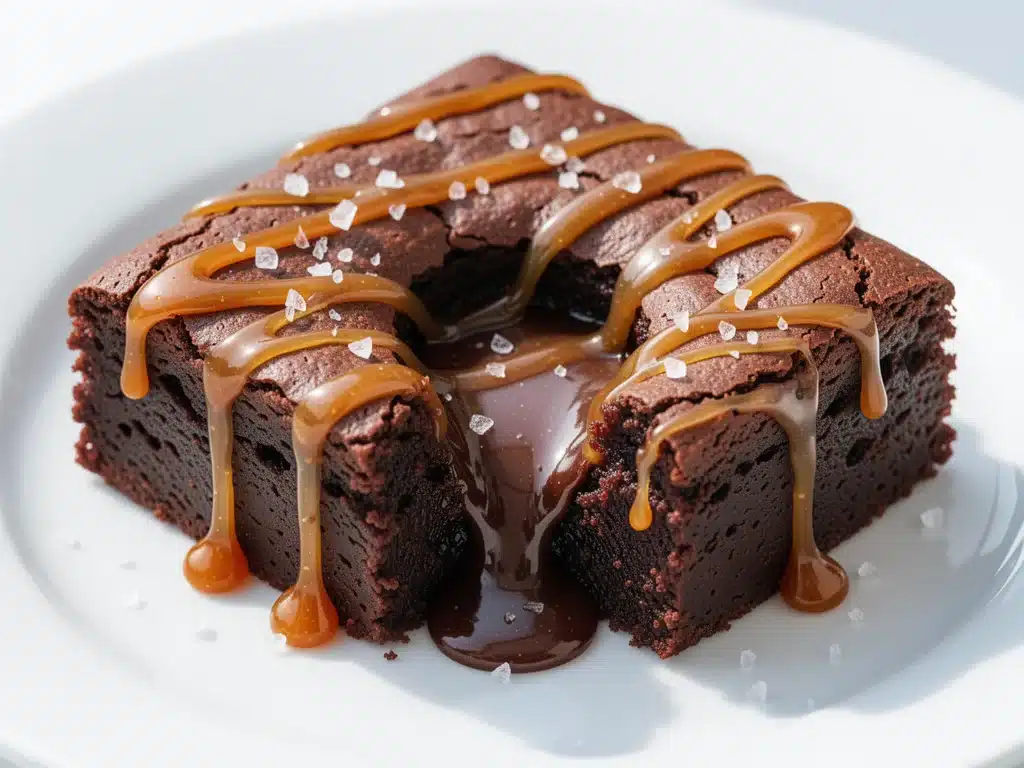
There was a winter Saturday about three years ago when I decided that store-bought brownies were an insult to chocolate. I had just come home from a long shift, my feet hurt, and the only thing standing between me and emotional stability was a square of dense, fudgy chocolate. But I wanted more. I wanted that sweet-salty crunch that makes your brain short-circuit. So I raided my pantry, grabbed the last of the heavy cream, and decided to make brownies from scratch with a homemade caramel swirl. What I pulled out of the oven wasn’t just brownies. It was a revelation. I ate one while they were still warm, burning the roof of my mouth, and realized I had finally cracked the code.
Since then, I’ve made these salted caramel brownies dozens of times. I’ve tested them for holiday parties, for my husband’s birthday, and for those Tuesday nights when I just need to feel like an adult who knows what she’s doing. Every single time, the result is the same: a deep, dark, fudgy chocolate base that cracks beautifully on top, studded with ribbons of gooey, buttery caramel and finished with a sprinkle of flaky sea salt. They are rich. They are indulgent. And honestly? They are easier than you think.
The secret isn’t fancy equipment or expensive ingredients. It’s patience. It’s letting the caramel cool just enough so it doesn’t melt into the batter immediately, and it’s trusting that the contrast between the bitter chocolate and the sweet caramel is exactly what your taste buds are craving. If you’ve been looking for the best fudgy chocolate dessert to impress friends or just to treat yourself, stop scrolling. You’ve found it.
Why You’ll Love This Salted Caramel Brownie Recipe
I know, I know—you’ve probably seen a hundred brownie recipes online. But this one sticks with you. Here’s why these salted caramel brownies have taken over my kitchen (and my heart):
- Actually Fudgy, Not Cakey — This isn’t one of those dry, crumbly brownies that taste like cardboard. This recipe uses a higher ratio of chocolate and butter, plus a touch of brown sugar, to create a dense, moist crumb that melts in your mouth. It’s the kind of fudgy texture that makes you close your eyes when you take a bite.
- Homemade Caramel That’s Worth the Effort — Most people skip the caramel because it sounds hard. But I’ve streamlined the process. It takes about 10 minutes, and the result is a silky, buttery swirl that isn’t overly sweet. It adds a sophisticated depth that store-bought caramel sauce just can’t match.
- The Salt Factor — Don’t skip the flaky sea salt. It’s not just for looks. The salt cuts through the richness of the chocolate and caramel, balancing the sweetness and making every bite more complex. It’s the difference between a dessert and a masterpiece.
- Perfect for Meal Prep — These brownies actually taste better the next day. The flavors meld together overnight, and the caramel softens just a bit more. I make a batch on Sunday, and they last all week in the fridge. They’re perfect for lunchboxes, after-school snacks, or late-night cravings.
- Impressive but Easy — When I bring these to a gathering, people always ask for the recipe. They assume it’s from a fancy bakery because of the layered look. But the truth? It’s just chocolate, sugar, butter, and eggs. You can do this.
This is my go-to dessert when I want to feel like a pro baker without the stress. It’s reliable, delicious, and always a crowd-pleaser.
Ingredients You’ll Need
Here’s the best part: you probably have most of this already in your pantry. I’m particular about a few things here, but nothing exotic. Let’s break it down so you know exactly what you’re getting into.
For the Brownies
Dark Chocolate (8 ounces / 225g) — I use semi-sweet or bittersweet chocolate with at least 60% cocoa. Chop it yourself if you can’t find chips. Chopped chocolate melts more evenly and gives you those beautiful shiny cracks on top. Brands like Guittard or Ghirardelli work well.
Unsalted Butter (½ cup / 115g) — This adds richness. If you use salted butter, reduce the added salt in the recipe. I prefer unsalted so I can control the sodium level, especially since we’re adding salted caramel later.
Granulated Sugar (1 cup / 200g) — This provides the crisp, crackly top. Don’t skip it or reduce it too much, or you’ll lose that texture. White sugar creates that signature sheen.
Brown Sugar (1 cup / 200g) — This is the secret to the fudgy texture. It adds moisture and a hint of molasses flavor. Pack it tightly when you measure.
Eggs (3 large) — Room temperature eggs mix better into the batter. I take them out of the fridge 30 minutes before I start. If you’re in a rush, you can warm them in a bowl of warm water for a few minutes.
Vanilla Extract (2 teaspoons) — Use real vanilla, not imitation. It makes a huge difference in the flavor profile. I use Nielsen-Massey or Bourbon vanilla for the best taste.
All-Purpose Flour (¾ cup / 95g) — Don’t over-measure this! Spoon it into the measuring cup and level it off. Too much flour turns your fudgy brownies into cakey bricks.
Cocoa Powder (2 tablespoons / 10g) — I use unsweetened Dutch-process cocoa for a deeper, darker chocolate flavor. It’s not strictly necessary, but it elevates the chocolate taste.
Salt (½ teaspoon) — Just enough to enhance the chocolate flavor. Since we’re using unsalted butter, this is important.
For the Salted Caramel Swirl
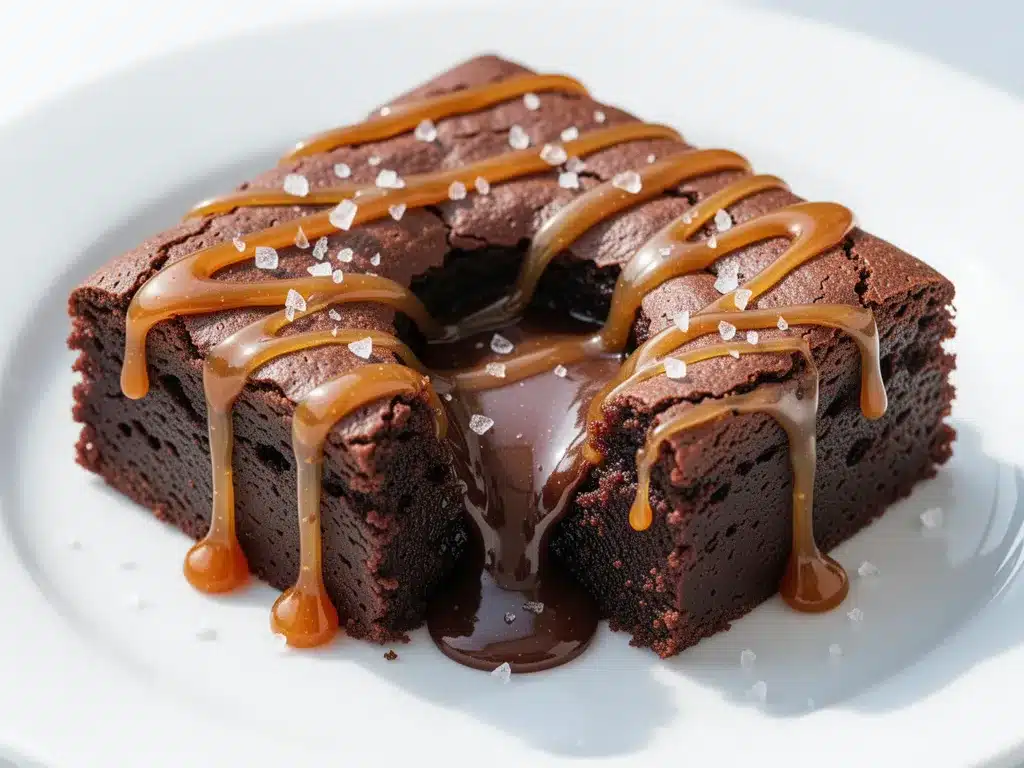
Heavy Cream (½ cup / 120ml) — Full-fat only. Low-fat cream won’t give you that silky texture. Warm it slightly before adding to the sugar.
Granulated Sugar (1 cup / 200g) — This is for the caramel base. Be careful not to burn it. Medium heat is your friend.
Unsalted Butter (¼ cup / 55g) — Adds richness and stops the cooking process once it’s incorporated.
Flaky Sea Salt (1 teaspoon) — Maldon salt is my favorite because the flakes dissolve slowly and add a nice crunch. Regular table salt works, but flaky is better for the topping.
Optional Add-ins
Chocolate Chips (½ cup) — I sometimes add semi-sweet chocolate chips for extra gooeyness. It’s optional, but if you love chocolate, go for it.
Pecans or Walnuts (½ cup) — If you like crunch, toast some nuts and fold them in. But honestly? These are so good on their own that I rarely add nuts.
Equipment Needed
You don’t need fancy gadgets for this. Here’s what I actually use:
8×8 Inch Baking Pan — Line it with parchment paper, leaving an overhang on the sides. This is crucial for lifting the brownies out once they’re done. Grease the parchment lightly.
Medium Saucepan — For making the caramel. I use a stainless steel saucepan because I can see the color change clearly. Light-colored pans are better for watching sugar melt.
Mixing Bowls — Two medium bowls. One for the chocolate/butter mixture, one for the eggs/sugar.
Whisk — A sturdy wire whisk is best for beating the eggs and sugar until they’re glossy.
Spatula — A silicone spatula for folding in the flour. You need to be gentle to keep the brownies fudgy.
Knife or Kitchen Shears — For chopping the chocolate. If you don’t have a sharp knife, use kitchen shears to snip the chocolate into small pieces. It’s surprisingly effective.
Paring Knife — For slicing the brownies into neat squares. Dip the knife in hot water between cuts for clean edges.
How to Make It: Step-by-Step
Alright, let’s make this! I’m walking you through exactly how I do it, including the little tricks I’ve picked up over the years.
Step 1: Prep Your Pan and Oven (5 minutes)
Preheat your oven to 350°F (175°C). Line your 8×8 inch baking pan with parchment paper. Leave a 2-inch overhang on the long sides so you can lift the brownies out later. This makes cleanup a breeze and helps you get perfect squares.
Step 2: Melt the Chocolate and Butter (5 minutes)
Chop your chocolate into small pieces. Place it in a microwave-safe bowl along with the butter. Microwave in 30-second intervals, stirring between each, until smooth. If you prefer the stovetop, use a double boiler. The goal is melted, glossy chocolate, not scrambled eggs. Set aside to cool slightly.
Step 3: Whisk the Eggs and Sugars (3 minutes)
In a large bowl, whisk the eggs, granulated sugar, and brown sugar vigorously for about 2 minutes. You want the mixture to become pale and glossy. This step incorporates air and helps create that crackly top. It’s worth the elbow grease.
Step 4: Combine Wet Ingredients (2 minutes)
Pour the melted chocolate and butter mixture into the egg mixture. Stir gently with a spatula until combined. Add the vanilla extract. The batter will look thick and shiny. Don’t worry if it looks a bit dense—that’s exactly what we want.
Step 5: Add Dry Ingredients (2 minutes)
Sift the flour, cocoa powder, and salt over the batter. Gently fold them in using your spatula. Stop as soon as you no longer see streaks of flour. Overmixing develops gluten, which makes brownies cakey. We want fudgy, so be gentle.
Step 6: Make the Caramel (10 minutes)
In a medium saucepan, combine the sugar and 2 tablespoons of water. Cook over medium heat without stirring. Swirl the pan occasionally. The sugar will melt and turn amber. Once it’s a deep golden color, carefully add the warm heavy cream (it will bubble up, so be cautious). Stir constantly until smooth. Remove from heat and whisk in the butter and salt. Let it cool for 5 minutes so it thickens slightly. This prevents it from sinking to the bottom of the brownies.
Step 7: Assemble and Bake (30-35 minutes)
Pour half the brownie batter into the prepared pan. Spread it evenly. Dollop spoonfuls of the caramel over the batter. Don’t spread it out completely—leave it in blobs. Pour the remaining batter on top and gently swirl it with a knife to create a marbled effect. Bake for 30-35 minutes. The center should be slightly soft but not jiggly. A toothpick inserted should come out with moist crumbs, not wet batter.
Step 8: Cool and Cut (1 hour)
Let the brownies cool in the pan for at least 30 minutes. Then, use the parchment overhang to lift them out. Let them cool completely on a wire rack. This step is hard, but cutting warm brownies makes them mushy. Once cool, sprinkle with flaky sea salt. Slice into squares.
Expert Tips & Tricks
Here’s everything I’ve learned from making these dozens of times. These tips will save you from my mistakes.
Don’t Overbake — Brownies continue to cook as they cool. If you wait until a toothpick comes out clean, they’ll be dry. Pull them out when the toothpick has moist crumbs. They should look set on the edges but slightly soft in the center.
Cool Your Caramel — If you pour hot caramel onto the batter, it will melt and sink. Let it cool for 5-10 minutes until it’s the consistency of honey. This helps it stay in distinct ribbons.
Use Good Chocolate — Since chocolate is the main ingredient, use what you’d eat on its own. Cheap chocolate chips with lots of additives can make the brownies waxy. Invest in a good bar of baking chocolate.
Room Temperature Eggs — Cold eggs can seize the chocolate mixture, making it grainy. Room temperature eggs blend seamlessly for a smooth batter.
The Crackly Top Secret — The key to that shiny, crackly top is beating the eggs and sugar thoroughly. Don’t rush this step. It should take at least 2 minutes of vigorous whisking.
Storage is Key — Store brownies in an airtight container at room temperature for up to 3 days. In the fridge for up to a week. Bring to room temperature before serving for the best texture.
Variations & Substitutions
Once you’ve nailed the basic version, here’s how you can mix it up. I’ve tried all of these.
White Chocolate Caramel — Swap the dark chocolate for white chocolate and use white chocolate chips in the batter. It’s sweeter and more delicate.
Double Chocolate — Add ½ cup of chocolate chips to the batter for extra gooeyness. Perfect for serious chocolate lovers.
Gluten-Free — Use a 1:1 gluten-free flour blend. The texture might be slightly denser, but it still works well. I’ve used Bob’s Red Mill with great results.
Vegan Version — Use vegan butter and chocolate. Replace eggs with flax eggs (3 tablespoons ground flaxseed mixed with 9 tablespoons water). The caramel can be made with coconut cream. It’s surprisingly good, though the texture is different.
Nutty Brownies — Fold in ½ cup of toasted pecans or walnuts for crunch. The buttery nuts pair beautifully with the caramel.
Espresso Kick — Add 1 teaspoon of instant espresso powder to the dry ingredients. It enhances the chocolate flavor without making it taste like coffee.
Serving & Storage
How to Serve: I usually serve these with a glass of cold milk or a cup of strong coffee. The bitterness of the coffee cuts through the sweetness perfectly. For a fancy touch, add a dollop of whipped cream and a drizzle of extra caramel.
Side Dishes: These are rich enough to stand alone, but a simple green salad or some fresh berries can balance the meal if you’re serving them as part of dinner.
Refrigerator: Store in an airtight container for up to 4 days. They actually taste better the next day as the flavors meld.
Freezing: Yes, you can freeze them! Wrap individual squares in plastic wrap and place them in a freezer-safe bag. They’ll last for 3 months. Thaw at room temperature for 30 minutes before eating.
Pro Tip: If you’re making these ahead for a party, bake them the day before. They’re easier to cut when cool, and the flavors have time to develop.
Nutrition Information
I’m not a nutritionist, but here’s the breakdown if you’re tracking. Keep in mind that these are rich, indulgent brownies, so portion control is key.
Per serving (based on 16 brownies):
– Calories: 280
– Protein: 3g
– Carbs: 38g
– Fiber: 2g
– Sugar: 28g
– Fat: 14g
– Saturated Fat: 8g
– Cholesterol: 45mg
– Sodium: 120mg
These brownies are high in sugar and fat, which is expected for a dessert this rich. But they’re also satisfying, so a small square often does the trick. If you’re watching your sugar, try cutting them into smaller pieces.
Final Thoughts
So that’s my go-to salted caramel brownie recipe! I’ve probably talked your ear off at this point, but when you make a recipe this often, you have a lot to say about it. These brownies have saved my social life. They’ve been the star of potlucks, the highlight of date nights, and the reason my kids ask me to bake on weekends.
This is my answer to “what dessert should I make?” when I want something impressive but manageable. My family is happy, my friends are impressed, and I’m happy because I’m not stressed about cooking. They’re fudgy, they’re salty, they’re sweet, and they’re perfect.
Make it yours! Try different chocolates, add nuts, or change up the salt. The best recipes are the ones you adapt to your tastes. If you make this, drop a comment and let me know what you think! I love hearing how recipes turn out in your kitchen. And if something doesn’t work, tell me that too—I’m here to help troubleshoot.
Happy baking! And I hope your kitchen smells half as good as mine does right now.
Frequently Asked Questions
Can I use milk chocolate instead of dark chocolate?
You can, but the brownies will be sweeter and less intense. I recommend sticking with semi-sweet or bittersweet chocolate for the best balance with the caramel. If you use milk chocolate, reduce the granulated sugar in the recipe by ¼ cup to avoid it being too sweet.
Why did my caramel separate?
Usually, this happens if the cream was too cold or the heat was too high. Always warm your cream before adding it to the melted sugar. And add it slowly, stirring constantly. If it does separate, you can try whisking in a tablespoon of warm water to bring it back together.
Can I make these gluten-free?
Yes! Use a 1:1 gluten-free flour blend. The texture might be slightly denser, but it still works well. I’ve used Bob’s Red Mill with great results. Just make sure your baking powder and chocolate are certified gluten-free if you have celiac disease.
How do I get those crackly tops?
The secret is beating the eggs and sugar thoroughly. Don’t just mix them—whisk them vigorously for 2 minutes until the mixture is pale and glossy. This incorporates air and creates the signature shiny, crackly crust.
Can I double this recipe?
Absolutely! Double everything and use a 9×13 inch baking pan. The baking time will increase by about 5-10 minutes. Keep an eye on them after 35 minutes. The toothpick test still applies.
Why are my brownies cakey instead of fudgy?
This usually means you added too much flour or overmixed the batter. Measure your flour carefully (spoon and level), and stop mixing as soon as the flour is incorporated. Also, using cake flour instead of all-purpose flour can lead to a cakey texture.
Can I freeze the caramel sauce?
Yes, you can make the caramel ahead of time and store it in the fridge for up to a week. Reheat it gently in the microwave or on the stove before using. It will thicken in the fridge, so add a splash of cream to loosen it up.
Pin This Recipe!
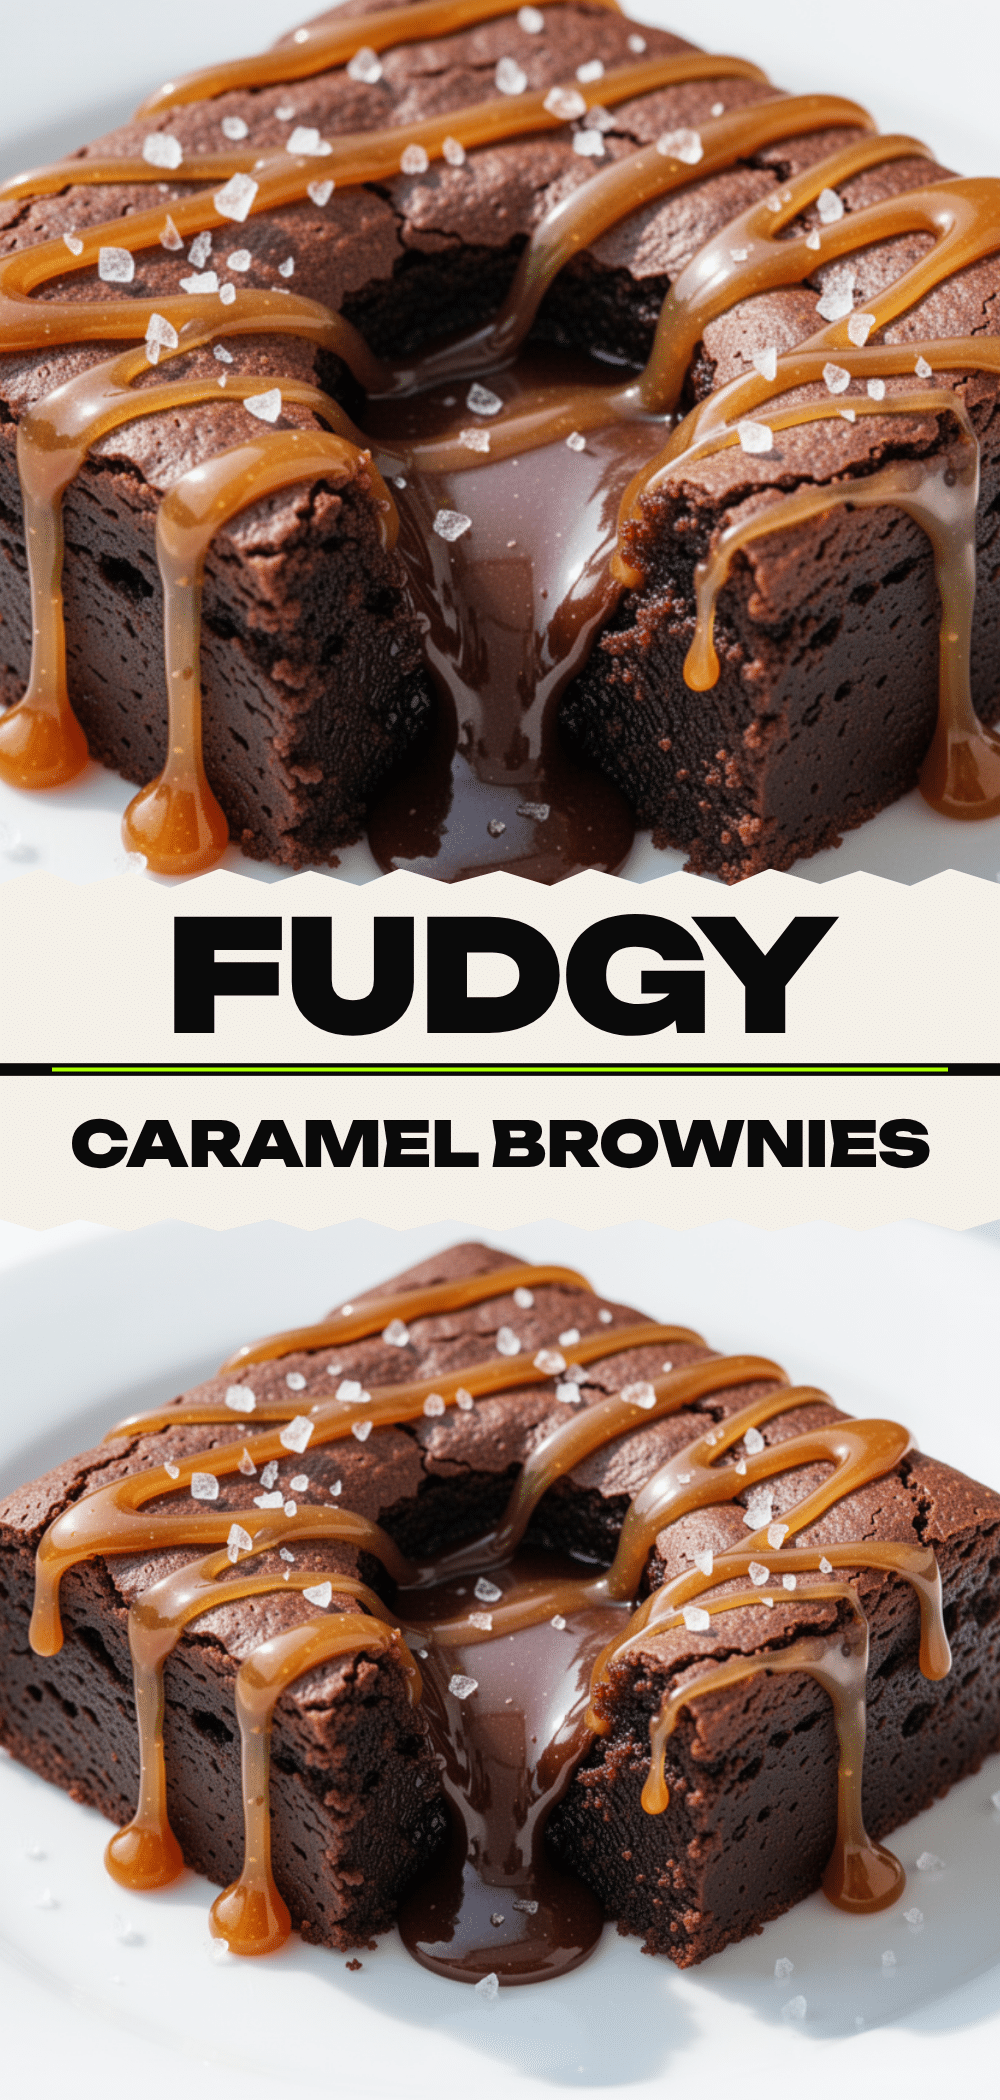
Salted Caramel Brownies: 7 Best Fudgy Recipe
- Total Time: 55 minutes
- Yield: 16 servings 1x
Description
Rich, fudgy chocolate brownies with a homemade salted caramel swirl and flaky sea salt topping. This recipe delivers a dense, moist texture with a crackly top, balancing bitter chocolate with sweet, buttery caramel.
Ingredients
- 8 ounces (225g) dark chocolate (semi-sweet or bittersweet, at least 60% cocoa), chopped
- ½ cup (115g) unsalted butter
- 1 cup (200g) granulated sugar
- 1 cup (200g) brown sugar, packed
- 3 large eggs, room temperature
- 2 teaspoons vanilla extract
- ¾ cup (95g) all-purpose flour
- 2 tablespoons (10g) unsweetened Dutch-process cocoa powder
- ½ teaspoon salt
- ½ cup (120ml) heavy cream, warmed
- 1 cup (200g) granulated sugar (for caramel)
- ¼ cup (55g) unsalted butter (for caramel)
- 1 teaspoon flaky sea salt (for caramel and topping)
- 2 tablespoons water (for caramel)
- Optional: ½ cup semi-sweet chocolate chips
- Optional: ½ cup toasted pecans or walnuts
Instructions
- Preheat oven to 350°F (175°C). Line an 8×8 inch baking pan with parchment paper, leaving a 2-inch overhang on the long sides. Lightly grease the parchment.
- Chop chocolate into small pieces. Place chocolate and ½ cup butter in a microwave-safe bowl. Microwave in 30-second intervals, stirring between each, until smooth. Alternatively, melt using a double boiler. Set aside to cool slightly.
- In a large bowl, whisk 3 eggs, 1 cup granulated sugar, and 1 cup brown sugar vigorously for about 2 minutes until pale and glossy.
- Pour the melted chocolate and butter mixture into the egg mixture. Stir gently with a spatula until combined. Add vanilla extract.
- Sift ¾ cup flour, 2 tablespoons cocoa powder, and ½ teaspoon salt over the batter. Gently fold in until no streaks of flour remain. Do not overmix.
- In a medium saucepan, combine 1 cup sugar and 2 tablespoons water. Cook over medium heat without stirring, swirling occasionally, until sugar melts and turns deep golden amber. Carefully add warm heavy cream (it will bubble). Stir constantly until smooth. Remove from heat and whisk in ¼ cup butter and 1 teaspoon flaky sea salt. Let cool for 5 minutes.
- Pour half the brownie batter into the prepared pan. Dollop spoonfuls of caramel over the batter. Pour remaining batter on top and gently swirl with a knife to create a marbled effect.
- Bake for 30-35 minutes. The center should be slightly soft but not jiggly. A toothpick inserted should come out with moist crumbs.
- Let brownies cool in the pan for at least 30 minutes. Lift out using parchment overhang and cool completely on a wire rack. Sprinkle with additional flaky sea salt if desired. Slice into squares.
Notes
Do not overbake; brownies continue to cook as they cool. Cool caramel for 5-10 minutes before adding to batter to prevent sinking. Use room temperature eggs for a smooth batter. Store in an airtight container at room temperature for up to 3 days or in the fridge for up to a week. Can be frozen for up to 3 months.
- Prep Time: 20 minutes
- Cook Time: 35 minutes
- Category: Dessert
- Cuisine: American
Nutrition
- Serving Size: 1 square
- Calories: 280
- Sugar: 28
- Sodium: 120
- Fat: 14
- Saturated Fat: 8
- Carbohydrates: 38
- Fiber: 2
- Protein: 3
Keywords: salted caramel brownies, fudgy brownies, homemade caramel, chocolate dessert, easy baking, holiday dessert, gluten-free option


