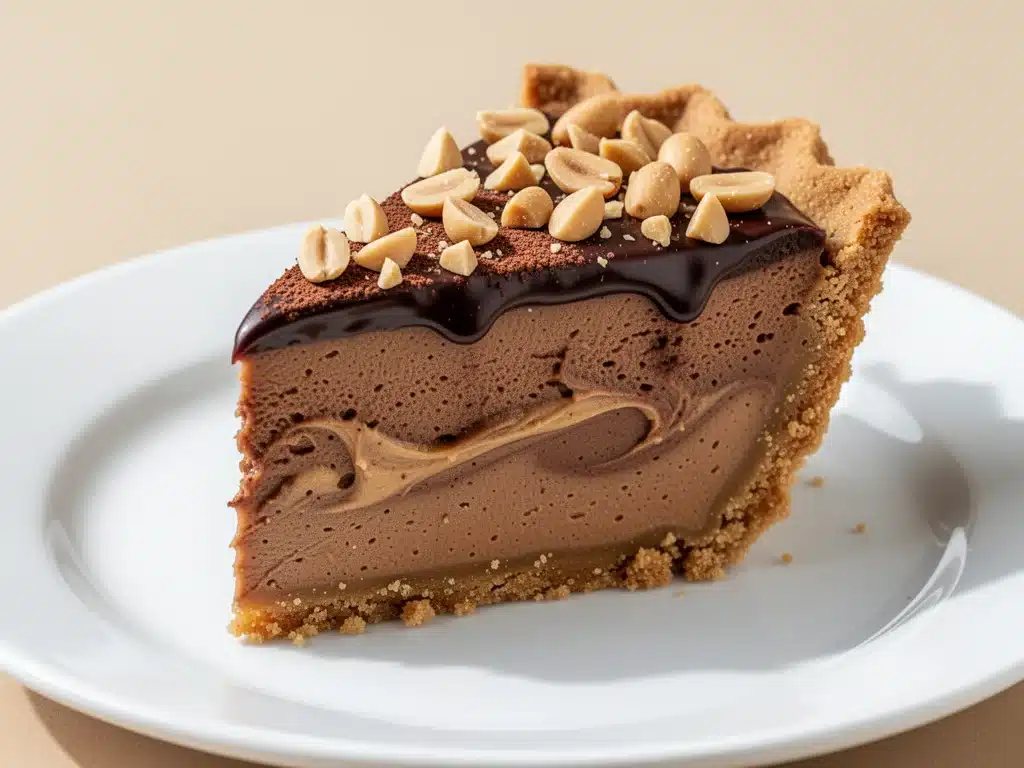
I still remember the humidity of that July afternoon in 2019. The AC in my apartment had died, leaving me sweating through my t-shirt while staring into an open oven, debating whether the pain of turning it on was worth a warm pie. It wasn’t. I was desperate for something cold, sweet, and chocolatey, but I had zero energy to bake. So, I raided the fridge. I found a tub of cool whip, a jar of peanut butter, some chocolate chips, and a bag of Oreos.
I threw them together in a glass bowl, assuming it would be a disaster. Instead, it was the best thing I’d eaten all summer. It was creamy, salty, sweet, and required exactly zero oven time. I ate it straight from the bowl with a spoon, then spent the next hour trying to figure out how to make it look presentable for guests who were due to arrive in an hour.
That accidental mixture became my no-bake chocolate peanut butter pie. For the last four years, it has been my secret weapon. Whether I’m hosting a last-minute dinner party, need a quick treat for the kids’ soccer practice, or just want to satisfy a late-night chocolate craving without turning my kitchen into a sauna, this pie is my go-to. It’s not fancy. It’s not delicate. It’s reliable, delicious, and incredibly easy.
I’ve tested this recipe more times than I can count, tweaking the ratios until the texture was perfect—not too soft, not too hard. The result is a slice of heaven that looks like you spent hours in the kitchen, but actually took about 15 minutes of active work. If you’ve been looking for an easy dessert that actually tastes homemade, stop scrolling. This is it.
Why You’ll Love This No-Bake Chocolate Peanut Butter Pie
There are about a dozen reasons I keep making this pie, but here are the ones that keep me coming back to the recipe card:
- Zero Baking Required — Seriously. No preheating, no waiting for crusts to set in a hot oven, no burnt edges. You just mix, chill, and eat. This is huge for summer or when you’re tired after work.
- Only 5 Ingredients — You don’t need a specialty grocery store run. Most of these items are pantry staples or fridge basics. I’m talking peanut butter, chocolate chips, heavy cream, cookies, and marshmallow fluff (or cool whip). Simple stuff.
- Make-Ahead Friendly — This pie actually tastes better the next day. The flavors meld together while it chills, making the texture even creamier. I often make it the night before a party so I don’t have to stress on the day of.
- Customizable Crust — The base is simple, but you can swap cookies based on your mood. Oreos are classic, but graham crackers or chocolate wafers work just as well.
- Crowd-Pleasing Flavor Profile — It hits every note: salty, sweet, creamy, and crunchy. It’s basically a Reese’s Cup in pie form. My husband says it’s better than the candy bar, and he’s usually right about those things.
This is my go-to when I need dessert to just work. No complicated techniques, no weird ingredients, just reliable, delicious food that makes everyone happy.
Ingredients You’ll Need
Here’s the best part: you probably have most of this already. I’m particular about a few things here, and I’ll tell you exactly why.
For the Crust
Chocolate Sandwich Cookies (24 cookies, about 300g) — I use Oreos because they’re readily available and the vanilla cream filling adds sweetness. Double Stuf works great if you want a sweeter crust. If you prefer a more neutral base, regular Oreos are fine. Crush them finely for the best texture.
Melted Butter (6 tablespoons / 85g) — This binds the crumbs together. Use unsalted butter so you can control the saltiness. Melt it in the microwave in 30-second intervals, stirring in between.
For the Filling
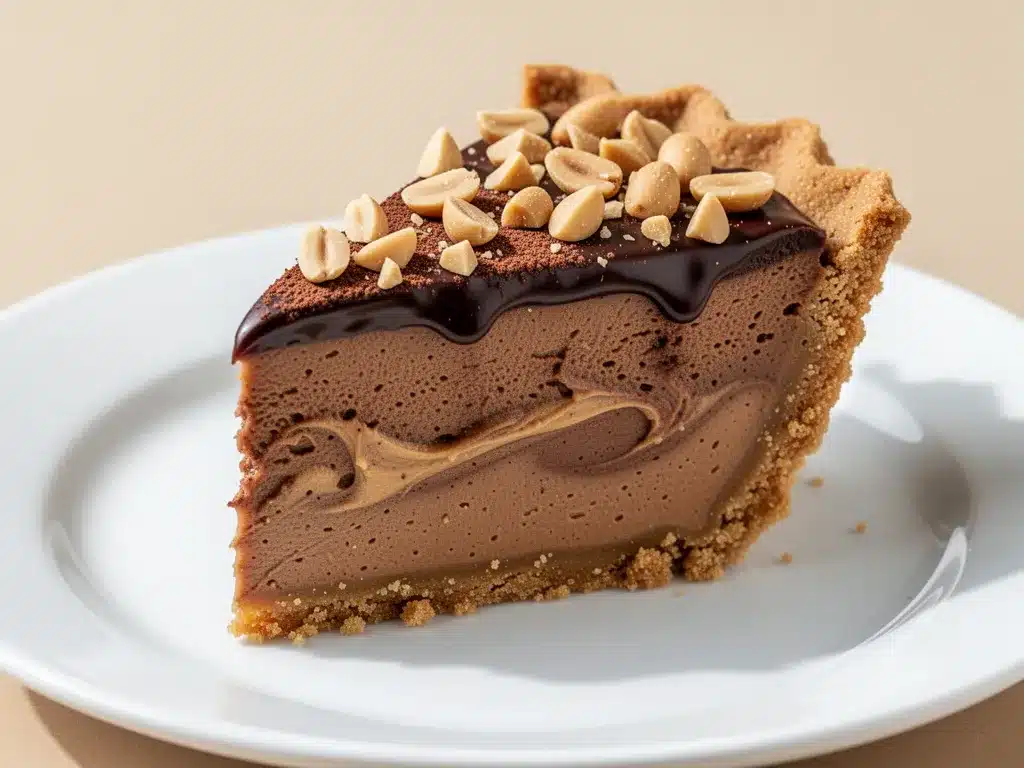
Peanut Butter (1 cup / 250g) — This is the star. Use creamy, natural peanut butter if you want a smooth texture. If you use crunchy, blend it in a food processor first to avoid chunks that might make slicing messy. Avoid the “no-stir” varieties with added hydrogenated oils if possible; natural peanut butter tastes better but might need an extra minute in the fridge to set.
Heavy Cream (2 cups / 480ml) — Full-fat only. This is what gives the pie its airy, light texture. Low-fat cream won’t whip up properly, and the pie will be dense. I keep heavy cream in the fridge specifically for this recipe.
Chocolate Chips (1 cup / 170g) — Semi-sweet or milk chocolate both work. I prefer semi-sweet to balance the sweetness of the cookies and marshmallow fluff. Melt these gently; don’t burn them.
Marshmallow Fluff (1 jar / 200g) — Or use Cool Whip. Marshmallow fluff adds a distinct, airy sweetness that pairs perfectly with peanut butter. If you prefer a more traditional cheesecake vibe, use 8 ounces of softened cream cheese instead. But honestly? The fluff version is unique and delicious.
Optional Garnish
Crushed Pretzels — For extra crunch and salt. I love the contrast.
Extra Chocolate Chips — Sprinkle on top before serving for a pretty finish.
Equipment Needed
You don’t need fancy equipment for this. Here’s what I actually use:
13×9-inch Baking Dish — Or a 9-inch springform pan. A springform is easier for slicing and serving, but a glass baking dish works fine if you just dig in with a spoon.
Food Processor or Ziploc Bag — For crushing the cookies. A food processor is faster, but a rolling pin and a heavy-duty bag works just as well. I’ve used both many times.
Mixer — Stand mixer or hand mixer. You need to whip the heavy cream, so a mixer saves your arm. Whipping by hand is possible but takes about 10 minutes of vigorous effort.
Microwave-Safe Bowl — For melting the chocolate chips. A glass Pyrex bowl works best.
Spatula — A large silicone spatula for folding the mixture. Don’t use a spoon; you’ll deflate the whipped cream.
Refrigerator — Obviously. You need at least 4 hours, preferably overnight, for the pie to set.
How to Make It: Step-by-Step
Alright, let’s make this! I’m walking you through exactly how I do it, including the little tricks I’ve picked up.
Step 1: Prepare the Crust (5 minutes)
Crush your chocolate cookies into fine crumbs. If using a food processor, pulse until they look like sand. If using a bag, roll the pin over them until they’re uniformly small. Transfer the crumbs to your baking dish or springform pan. Sprinkle the melted butter over the crumbs and press them firmly into the bottom and slightly up the sides. Use the bottom of a glass to pack it down tight. This prevents the crust from crumbling when you slice it.
Step 2: Melt the Chocolate (2 minutes)
Melt the chocolate chips in the microwave in 30-second intervals, stirring between each. Stop when there are still a few small unmelted bits; the residual heat will finish melting them. Let it cool slightly for about 5 minutes. You don’t want hot chocolate to melt the whipped cream when you add it.
Step 3: Whip the Cream (3 minutes)
In a large mixing bowl, whip the heavy cream until stiff peaks form. This means when you lift the beaters, the cream stands up straight. Be careful not to over-whip, or it might turn into butter. This usually takes 2-3 minutes on medium-high speed.
Step 4: Fold It All Together (5 minutes)
First, gently fold the marshmallow fluff into the whipped cream until combined. Then, pour in the melted chocolate and fold again until you have a marbled effect (don’t stir too much; you want streaks of chocolate, not uniform brown). Finally, fold in the peanut butter. It might take a few gentle folds to get it incorporated. Be patient here. If you mix too hard, you’ll lose the airiness.
Step 5: Chill and Set (4+ hours)
Spread the filling evenly over the crust. Smooth the top with a spatula. Cover loosely with plastic wrap and refrigerate for at least 4 hours. Overnight is best. The pie needs time to firm up so it slices cleanly.
Step 6: Serve
When ready to serve, sprinkle with crushed pretzels or extra chocolate chips. Slice with a sharp knife dipped in hot water for clean cuts. Enjoy immediately.
Total Time: About 15 minutes active, plus 4 hours chilling.
Expert Tips & Tricks
Here’s everything I’ve learned from making this dozens of times. These tips will save you from my mistakes.
Cool the Chocolate First
This is the #1 mistake people make. If you add hot chocolate to whipped cream, it melts instantly. Let the melted chocolate cool to room temperature before folding it in. It should still be liquid, just not warm.
Don’t Over-Mix the Peanut Butter
Peanut butter is dense. Fold it in gently at the end. If you mix too vigorously, you’ll deflate the whipped cream, and your pie will be dense rather than fluffy.
Use Cold Ingredients
Keep your heavy cream cold. If your kitchen is hot, chill your mixing bowl in the freezer for 10 minutes before whipping. This helps the cream whip faster and hold its shape.
Crust Crumbling Fix
If your crust feels loose, add an extra tablespoon of butter. Press it down firmly. If it’s still crumbly, consider adding a tablespoon of sugar to help bind it.
Slicing Cleanly
Wipe your knife between cuts. Dip it in hot water and dry it off for the cleanest slices. The cold pie will stick to a dull or cold knife.
Common Mistakes (and how to avoid them)
- Mistake: Pie is too soft. Fix: Chill for longer. If it’s still soft after 4 hours, put it in the freezer for 30 minutes.
- Mistake: Peanut butter separated. Fix: Use natural peanut butter that has been well-stirred. If it’s too oily, chill the pie longer.
- Mistake: Crust is soggy. Fix: Ensure the crust is packed tight. If the filling is too wet, the crust will absorb it. Let the filling set before serving.
Variations & Substitutions
Once you’ve nailed the basic version, here’s how you can mix it up. I’ve tried all of these.
Graham Cracker Crust
Swap the Oreos for graham crackers. Add 2 tablespoons of sugar to the crumbs. This makes it taste more like a s’mores pie.
Cream Cheese Version
Replace the marshmallow fluff with 8 ounces of softened cream cheese. Beat the cream cheese until smooth before folding it into the whipped cream. This makes it taste like a peanut butter cheesecake.
Chocolate Peanut Butter Cup
Chop up Reese’s Peanut Butter Cups and fold them into the filling along with the peanut butter. Adds chunks of candy for extra texture.
Gluten-Free
Use gluten-free chocolate cookies or graham crackers. Ensure your peanut butter and chocolate chips are certified gluten-free.
Dairy-Free
Use dairy-free chocolate chips and coconut cream instead of heavy cream. Use dairy-free marshmallow fluff or coconut whipped cream. It’s different but still tasty.
Lower Sugar
Use sugar-free chocolate chips and sugar-free marshmallow fluff. Reduce the sugar in the crust if using sweet cookies. It’s not as sweet, but still good.
Serving & Storage
How to Serve:
I usually serve this straight from the fridge. It’s best served cold. Pair it with a hot coffee or tea for a nice contrast. I also like to serve it with fresh strawberries on the side to cut through the richness.
Storage Instructions:
Refrigerator: Store in an airtight container or covered with plastic wrap for up to 5 days. The flavors actually get better after day 2.
Freezer: Yes, this freezes well! Wrap the whole pie or individual slices tightly in plastic wrap and foil. Freeze for up to 3 months. Thaw in the fridge overnight before serving. The texture might be slightly softer after thawing, but it’s still delicious.
Reheating: Do not reheat. This is a no-bake pie. Serve cold.
Nutrition Information
I’m not a nutritionist, but here’s the breakdown if you’re tracking.
Per Serving (based on 12 slices):
- Calories: 380
- Protein: 8g
- Carbs: 42g
- Fiber: 2g
- Sugar: 28g
- Fat: 22g
- Saturated Fat: 10g
What’s Good:
- Decent protein from peanut butter
- Calcium from dairy
- Quick and easy
What to Know:
- High in sugar and fat
- Contains dairy and gluten
- Portion control is key
My Take:
Look, this is a dessert. It’s sweet, rich, and indulgent. It’s not a health food. But it’s way better than store-bought pie, costs less, and I know exactly what’s in it. When I want to make it lighter, I use less chocolate chips and more whipped cream. But usually? I just eat a reasonable slice and enjoy it.
Final Thoughts
So that’s my go-to no-bake chocolate peanut butter pie! I’ve probably talked your ear off at this point, but when you make a recipe this often, you have a lot to say about it.
This has saved me from dessert disasters more times than I can count. It’s my answer to “what’s for dessert?” when I’m tired, don’t want to bake, and still want something that tastes really good. My kids are happy, my husband’s happy, and I’m happy because I’m not stressed about cooking.
Make it yours! Try different cookies, swap the peanut butter for almond butter, or add different toppings. The best recipes are the ones you adapt to your family’s tastes.
If you make this, drop a comment and let me know what you think! I love hearing how recipes turn out in your kitchen. And if something doesn’t work, tell me that too—I’m here to help troubleshoot.
Happy cooking! And I hope your kitchen smells half as good as mine does right now.
Frequently Asked Questions
Can I use crunchy peanut butter?
Yes, but it will change the texture. The pie will have chunks of peanut butter throughout. If you want a smooth pie, blend the crunchy peanut butter in a food processor first or use creamy peanut butter.
Why did my pie not set?
Usually, this means it didn’t chill long enough. The pie needs at least 4 hours to set. If your kitchen is very warm, it might need longer. Also, ensure your heavy cream was whipped to stiff peaks. If it was soft peaks, the pie might be too loose.
Can I make this ahead for a party?
Absolutely. This pie is even better the next day. I often make it 2-3 days ahead. Just keep it covered in the fridge until you’re ready to serve.
Can I use whipped topping instead of whipped cream?
Yes, you can use Cool Whip. It’s easier and doesn’t require whipping. However, the texture will be slightly different. Whipped cream gives a lighter, airier texture, while Cool Whip is denser. Both work, but I prefer whipped cream for the best taste.
How do I store leftovers?
Store in an airtight container in the fridge for up to 5 days. You can also freeze individual slices for up to 3 months. Thaw in the fridge before serving.
Can I use almond butter instead of peanut butter?
Yes, almond butter works great. It will taste more like an Almond Joy pie. Use the same amount. Just ensure the almond butter is smooth and creamy.
Is this pie gluten-free?
Not unless you use gluten-free cookies. The standard recipe uses Oreos, which contain gluten. You can easily swap them for gluten-free chocolate sandwich cookies to make this pie gluten-free.
Pin This Recipe!
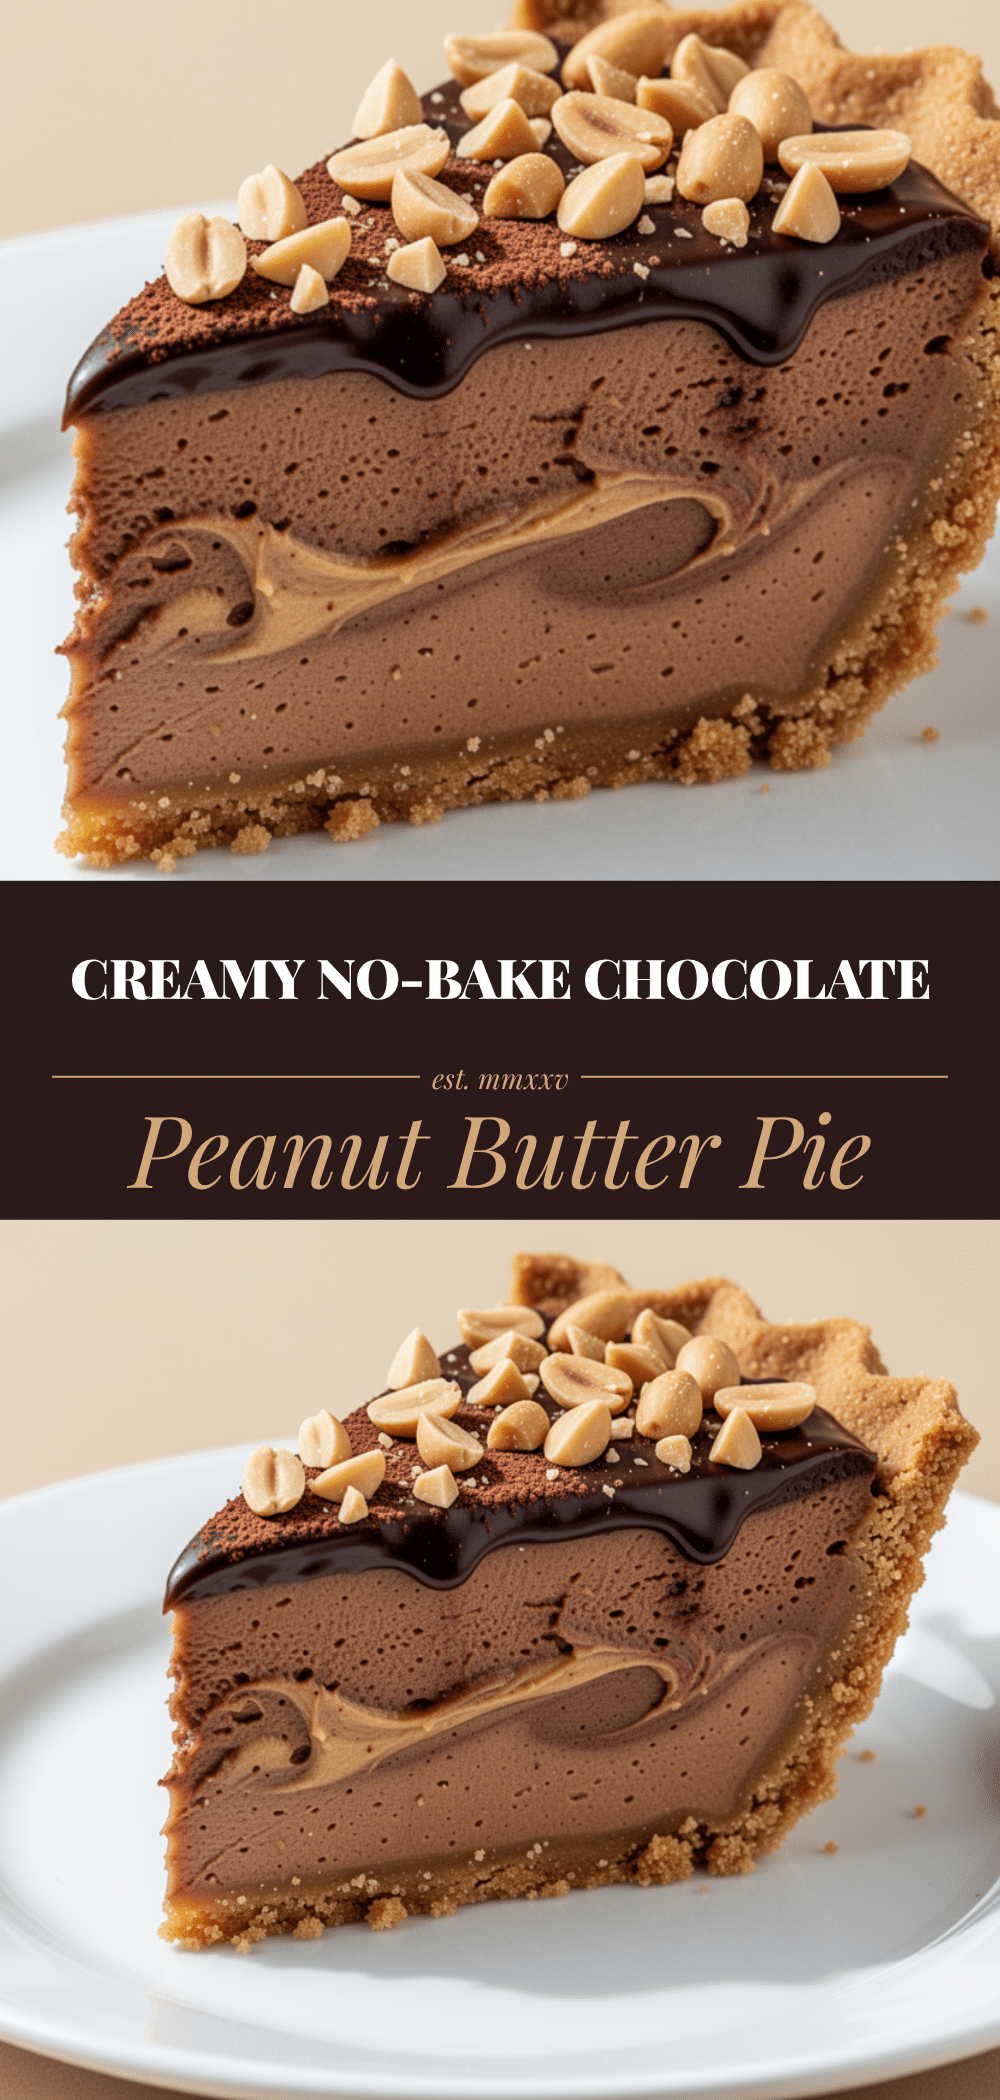

No-Bake Chocolate Peanut Butter Pie
- Total Time: 4 hours 15 minutes
- Yield: 12 servings 1x
Description
A creamy, no-bake dessert made with just 5 ingredients including Oreos, peanut butter, and chocolate chips. It requires zero oven time and is perfect for hot days or last-minute entertaining.
Ingredients
- 24 chocolate sandwich cookies (about 300g, such as Oreos)
- 6 tablespoons melted unsalted butter (85g)
- 1 cup creamy peanut butter (250g)
- 2 cups heavy cream (480ml)
- 1 cup semi-sweet chocolate chips (170g)
- 1 jar marshmallow fluff (200g)
- Crushed pretzels for garnish (optional)
- Extra chocolate chips for garnish (optional)
Instructions
- Crush the chocolate cookies into fine crumbs using a food processor or a zip-top bag with a rolling pin.
- Mix the cookie crumbs with the melted butter and press firmly into the bottom and slightly up the sides of a 13×9-inch baking dish or 9-inch springform pan.
- Melt the chocolate chips in the microwave in 30-second intervals, stirring between each, until mostly melted. Let cool slightly to room temperature.
- In a large mixing bowl, whip the heavy cream until stiff peaks form.
- Gently fold the marshmallow fluff into the whipped cream until combined.
- Pour in the cooled melted chocolate and fold gently to create a marbled effect.
- Fold in the peanut butter gently until incorporated, being careful not to deflate the cream.
- Spread the filling evenly over the prepared crust.
- Cover loosely with plastic wrap and refrigerate for at least 4 hours, preferably overnight, until set.
- Before serving, sprinkle with crushed pretzels or extra chocolate chips. Slice with a sharp knife dipped in hot water for clean cuts.
Notes
Ensure the melted chocolate is cooled to room temperature before folding into the whipped cream to prevent melting. Use cold heavy cream for best whipping results. The pie tastes better after chilling overnight. Do not reheat; serve cold.
- Prep Time: 15 minutes
- Cook Time: 0 minutes
- Category: Dessert
- Cuisine: American
Nutrition
- Serving Size: 1 slice
- Calories: 380
- Sugar: 28
- Fat: 22
- Saturated Fat: 10
- Carbohydrates: 42
- Fiber: 2
- Protein: 8
Keywords: no-bake, chocolate, peanut butter, pie, dessert, easy recipe, 5 ingredients, summer dessert, make-ahead


