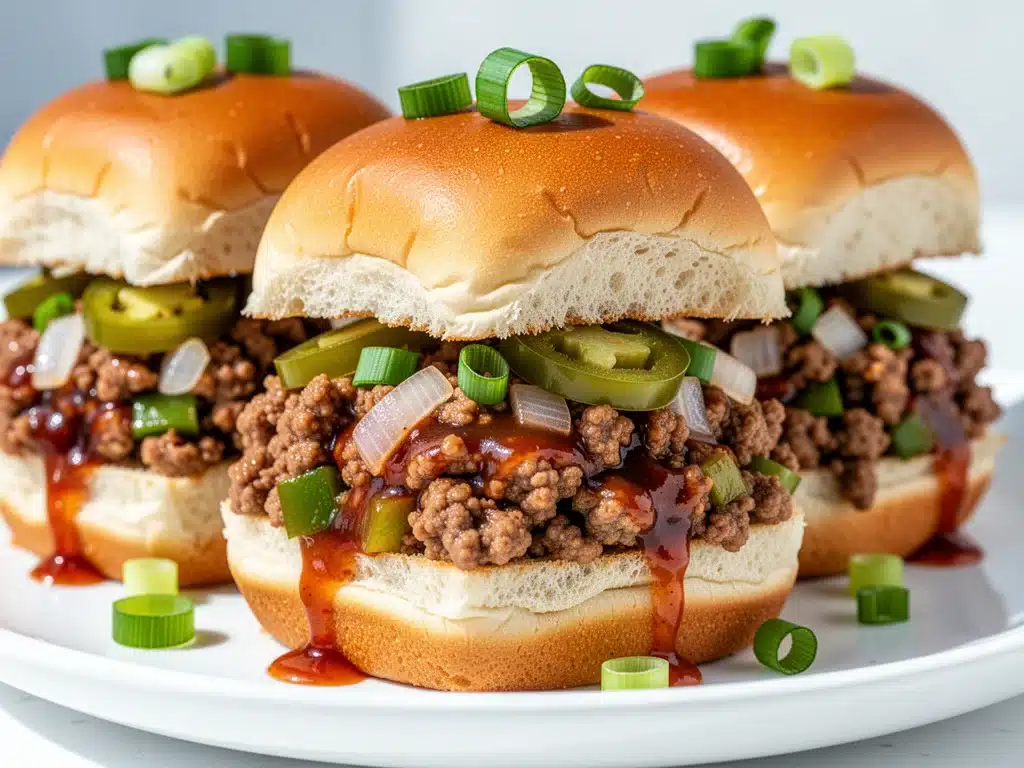
I’ve been to my fair share of tailgates. Some were glorious, with grills smoking and friends laughing over cold drinks. Others were… let’s just say “logistically challenging.” I remember one particularly rainy Super Bowl Sunday where I showed up with a giant, steaming pot of sloppy joes in a slow cooker. It was a disaster. The ladles got lost, the buns got soggy, and half my guests were eating with their hands because they couldn’t find plates. It was messy, chaotic, and frankly, a bit of a headache.
That was the moment I realized: if I’m going to feed a crowd, I need food that’s as easy to eat as it is to make. I needed something that didn’t require a plate, didn’t drip everywhere, and could be prepped while I was actually watching the game. Enter the sloppy joe slider. It’s the perfect compromise: all the nostalgic, tangy, beefy flavor of a classic sloppy joe, but contained in a bite-sized package that won’t ruin your couch cushions.
I first made these for a quick game-day watch party last fall. I had about twenty people showing up, and I wanted something that felt special but didn’t require me to stand in the kitchen all night. I whipped up a big batch of the meat mixture and popped it into little kaiser rolls. The result? Gone in ten minutes. People were lining up for seconds. My husband, who usually prefers his sloppy joes on a huge plate with a fork, couldn’t stop picking these up from the platter.
Since then, these have become my go-to game day appetizer. They’re sweet, savory, slightly spicy, and incredibly addictive. I’ve tweaked the recipe over the dozen times I’ve made them, finding the perfect balance of sauce to meat ratio and the ideal bun size. This isn’t just about convenience; it’s about flavor that hits all the right notes without the stress. If you’re looking for an easy game day appetizer that actually tastes better than takeout, these are it.
Why You’ll Love This Recipe
There are a lot of reasons to keep this sloppy joe slider recipe in your rotation, but let’s be real—the big ones are what matter most.
- Zero Stress Prep — Seriously, if you can brown ground beef and toast buns, you can make this. I’ve made these while distracted by a commercial break. The meat cooks in one pan, and the assembly takes minutes. No fancy techniques, no special skills required.
- Perfect for Crowds — I’ve made these for 10 people and 30 people. The recipe scales up effortlessly. You just double the meat and sauce, and you’re good to go. It’s the ultimate party-proof dish.
- Flavor Bomb — These aren’t just regular sloppy joes on tiny buns. I add a touch of brown sugar, Worcestershire, and a hint of cayenne to create a complex, sticky-sweet sauce that clings to the meat. It’s the kind of flavor that makes people close their eyes when they take a bite.
- No Mess (Mostly) — Because they’re bite-sized, they’re much easier to manage than a full-sized sloppy joe. Yes, they’re still a little messy, but you’re less likely to end up with sauce on your shirt. Plus, they’re easy to grab with one hand while holding a drink in the other.
- Make-Ahead Friendly — You can make the meat mixture up to two days in advance. Store it in the fridge, and when guests arrive, just warm it up and assemble. This lets you actually enjoy the party instead of being stuck at the stove.
This is my answer to “what should I bring to the potluck?” or “how do I feed the team after practice?” It’s reliable, delicious, and always a hit. Whether you’re watching the big game, hosting a casual get-together, or just want a fun dinner option, these sliders deliver.
Ingredients You’ll Need
Here’s the best part: you probably have most of these ingredients already. This is a pantry-friendly recipe that uses simple, accessible items. I’m particular about a few things here, though, so pay attention to the notes.
For the Meat Mixture
Ground beef (1 pound / 450g) — I use 80/20 lean-to-fat ratio. You want that fat for flavor. Lean beef will make the sliders dry. If you prefer turkey, you can use ground turkey, but add a tablespoon of olive oil to the pan since turkey is leaner.
Yellow onion (1 medium, finely diced / about 150g) — I dice this really small so it blends into the sauce. You don’t want huge chunks of onion in a slider. Sweet onions work too, but yellow gives that classic savory depth.
Garlic (3 cloves, minced / about 1 tablespoon) — Fresh garlic is non-negotiable here. Jarred garlic has a metallic taste that clashes with the sweet sauce. Mince it finely so it cooks evenly.
Tomato paste (2 tablespoons) — This adds richness and body to the sauce. Don’t skip it. It’s what makes the sauce thick and clingy rather than watery.
Worcestershire sauce (1 tablespoon) — Adds that umami punch. Look for Lea & Perrins if you can. It’s the secret ingredient that makes sloppy joes taste like sloppy joes.
Apple cider vinegar (1 teaspoon) — Just a splash. It cuts through the sweetness and adds a little tang. Don’t use white vinegar; it’s too harsh.
Brown sugar (1 tablespoon, packed) — This is key for the classic sloppy joe flavor. It caramelizes slightly and balances the acidity of the tomatoes. Adjust to taste if you prefer less sweet.
Cayenne pepper (¼ teaspoon) — Optional, but I highly recommend it. It adds a gentle warmth that keeps the flavor interesting. If you’re sensitive to heat, start with a pinch.
Salt and black pepper (to taste) — Season well. The meat needs enough salt to stand up to the sweet sauce.
For Assembly
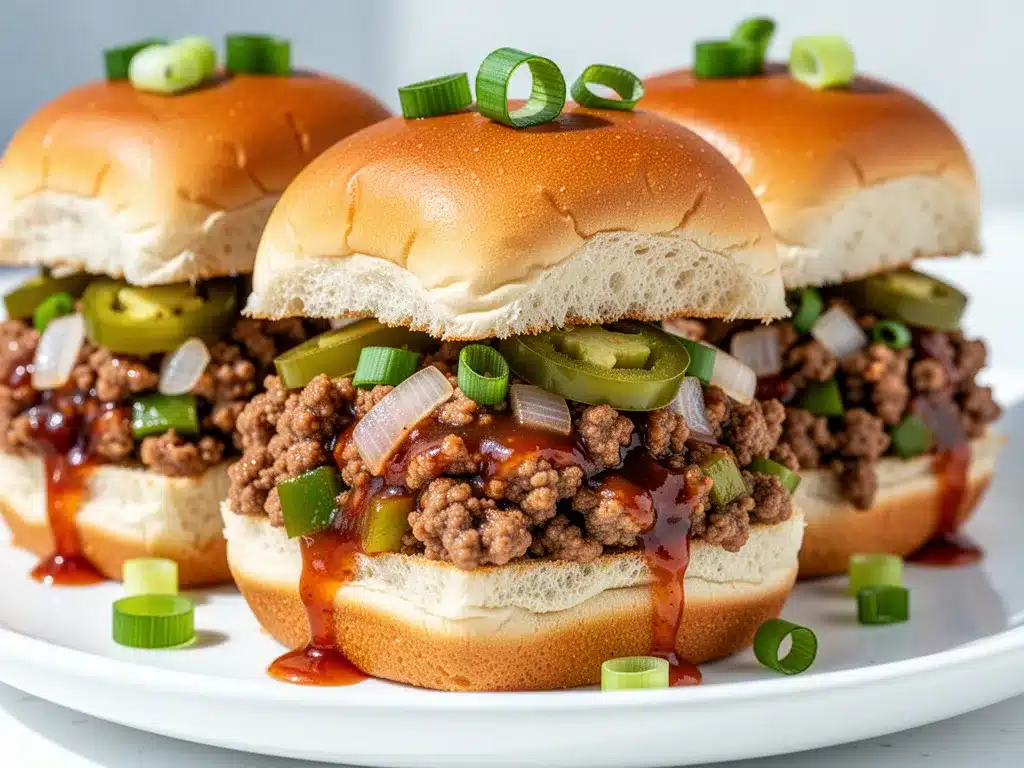
Kaiser rolls or slider buns (12-15 small rolls) — I prefer kaiser rolls because they’re sturdy and have a nice crust. They hold up better to the wet sauce than soft Hawaiian rolls. If you use Hawaiian rolls, be careful—they get soggy fast. Brioche buns are another great option if you want something richer.
Cheddar cheese (1 cup, shredded / 100g) — Sharp cheddar is my go-to. It melts beautifully and adds a nice tang. American cheese works too if you want that classic diner melt, but I prefer the flavor of cheddar.
Butter (2 tablespoons, melted) — For brushing the tops of the buns before toasting. This gives them a golden, crispy finish.
Optional Toppings — Pickles, jalapeños, or coleslaw. I sometimes add a pickle spear to each slider for extra crunch and acidity.
Equipment Needed
You don’t need fancy equipment for this. Here’s what I actually use.
Large skillet (12-inch) — I use a cast iron skillet because it retains heat well and browns the beef nicely. Stainless steel works too. Avoid non-stick if you can, as you want a good sear on the meat.
Wooden spoon — For stirring the meat and sauce. Silicone works too. Just avoid metal if you’re using a non-stick pan.
Knife and cutting board — For dicing the onion and mincing the garlic. A sharp knife makes this much easier.
Baking sheet — For toasting the buns. Line it with parchment paper for easy cleanup.
Pastry brush — For brushing the melted butter on the buns. A regular brush or even your fingers work fine.
Spatula — For flipping the buns and assembling the sliders.
Measuring spoons — Standard stuff. I keep a set on the counter for quick access.
Small bowl — For mixing the sauce ingredients before adding them to the meat.
How to Make It: Step-by-Step
Alright, let’s make this! I’m walking you through exactly how I do it, including the little tricks I’ve picked up.
Step 1: Prep Your Ingredients (5 minutes)
Before you start cooking, dice your onion and mince your garlic. Measure out your sauce ingredients—tomato paste, Worcestershire, vinegar, brown sugar, and cayenne. Mix them all together in a small bowl. This way, you can just dump the mixture into the pan later without scrambling. I know it seems fussy, but it makes the actual cooking way less stressful.
Step 2: Brown the Beef (8-10 minutes)
Heat your large skillet over medium-high heat. Add the ground beef, breaking it up with your wooden spoon as it cooks. Cook for 8-10 minutes, stirring frequently, until the beef is fully browned and no pink remains. Drain any excess fat if there’s a lot, but leave a little bit for flavor. If you’re using lean beef, you might not need to drain anything.
Step 3: Sauté the Aromatics (3 minutes)
Push the beef to the side of the pan (or remove it if you prefer) and add the diced onion to the empty space. Cook for 2-3 minutes until the onion softens and becomes translucent. Add the minced garlic and cook for another 30 seconds, stirring constantly. The garlic should smell amazing but not brown—browned garlic tastes bitter. Mix the onions and garlic back into the beef.
Step 4: Build the Sauce (5 minutes)
Pour the sauce mixture over the beef and onion. Stir well to combine. Let it simmer on medium-low heat for 5 minutes, stirring occasionally. The sauce will thicken and cling to the meat. If it looks too thick, add a splash of water. If it’s too thin, let it simmer a bit longer. The consistency should be like a thick chili, not a soup.
Step 5: Toast the Buns (2 minutes)
While the sauce simmers, preheat your oven to 350°F (175°C). Slice the rolls in half horizontally. Brush the cut sides with melted butter. Place them cut-side up on a baking sheet. Toast in the oven for 2-3 minutes until golden and crispy. Keep a close eye on them—they can go from golden to burnt quickly.
Step 6: Assemble the Sliders (5 minutes)
Remove the buns from the oven. Spoon a generous amount of the meat mixture onto the bottom half of each bun. Top with shredded cheddar cheese. You can put them back in the oven for 1-2 minutes to melt the cheese if you prefer, or just serve them warm. I like the cheese slightly melted but still visible.
Step 7: Serve
Serve immediately on a large platter. Add optional toppings like pickles or jalapeños. These are best eaten warm, so don’t let them sit out too long.
Total Time: About 25 minutes (10 minutes active, 15 minutes mostly hands-off)
Troubleshooting:
- Sauce too watery? Simmer longer. The excess moisture needs to evaporate.
- Sauce too thick? Add a splash of water or broth.
- Buns too soggy? Toast them well and don’t overload with sauce. Use sturdy buns like kaiser or brioche.
Expert Tips & Tricks
Here’s everything I’ve learned from making this dozens of times. These tips will save you from my mistakes.
Don’t Drain All the Fat
I know dietitians will hate me, but a little beef fat adds incredible flavor. If you drain all the fat, the meat will be dry and bland. Leave about a tablespoon in the pan for cooking the onions and mixing with the sauce.
Toast the Buns
This is the most important step. A soft bun will fall apart under the weight of the meat. Toasting creates a barrier that keeps the bun sturdy and adds a nice texture contrast. Don’t skip it.
Use Sharp Cheddar
Mild cheddar can get lost in the sweet sauce. Sharp or extra-sharp cheddar has enough punch to stand up to the flavors. If you can’t find sharp cheddar, mix mild cheddar with a little pepper jack for heat.
Make the Sauce Ahead
I often make the meat mixture the night before. It actually tastes better the next day because the flavors have melded. Just reheat it gently on the stove before assembling.
Keep Them Warm
If you’re serving a crowd, keep the assembled sliders warm in a low oven (200°F) until everyone is ready to eat. Cover them loosely with foil to prevent the buns from getting too dry.
Variations & Substitutions
Once you’ve nailed the basic version, here’s how you can mix it up. I’ve tried all of these.
Turkey Sloppy Joe Sliders
Swap ground beef for ground turkey. Add a tablespoon of olive oil to the pan since turkey is leaner. You might want to add a little extra Worcestershire sauce to boost the flavor.
Veggie Sloppy Joe Sliders
Use a meatless ground substitute like Beyond Meat or lentils. Add extra diced bell peppers and mushrooms for texture. You’ll need a bit more sauce since veggies absorb moisture.
Spicy Jalapeño Sliders
Add 1-2 diced jalapeños to the onion mix. Use pepper jack cheese instead of cheddar. Add a pinch more cayenne to the sauce.
BBQ Sloppy Joe Sliders
Swap the tomato paste and vinegar for your favorite BBQ sauce. Use coleslaw as a topping instead of pickles. This is a huge hit with kids.
Gluten-Free Option
Use gluten-free slider buns. Make sure your Worcestershire sauce is certified gluten-free (some brands contain malt vinegar). Everything else is naturally gluten-free.
Dairy-Free Option
Skip the cheese or use a dairy-free cheddar alternative. Make sure the bun is dairy-free (some buns contain butter or milk).
Serving & Storage
How to serve these sliders is half the fun. I usually arrange them on a large platter or wooden board. Add small bowls of pickles, jalapeños, and extra cheese on the side for a build-your-own slider bar.
Side Dishes: Potato chips, coleslaw, corn on the cob, or a simple green salad. These sliders are heavy, so light sides work best.
Storage: Store the meat mixture in an airtight container in the fridge for up to 3 days. The buns should be stored separately. Do not assemble the sliders ahead of time—the buns will get soggy.
Reheating: Reheat the meat mixture in a skillet over medium heat, stirring occasionally. If it’s too thick, add a splash of water. Reheat the buns in the oven or toaster oven. Assemble just before serving.
Freezing: You can freeze the meat mixture for up to 3 months. Thaw in the fridge overnight and reheat before serving. Do not freeze the assembled sliders.
Nutrition Information
I’m not a nutritionist, but here’s the breakdown if you’re tracking. This is per slider (based on 12 sliders).
| Nutrient | Amount |
|---|---|
| Calories | 280 |
| Protein | 18g |
| Carbs | 22g |
| Fiber | 1g |
| Sugar | 6g |
| Fat | 14g |
| Saturated Fat | 5g |
| Sodium | 450mg |
Look, this is comfort food. It’s not a diet recipe. But it’s way better than store-bought sliders, and you control the ingredients. If you want to lighten it up, use lean turkey, less cheese, and whole wheat buns. But usually? I just eat a reasonable portion and enjoy it.
Final Thoughts
So that’s my go-to sloppy joe slider recipe! I’ve probably talked your ear off at this point, but when you make a recipe this often, you have a lot to say about it. These sliders have saved me more times than I can count. They’re my answer to “what’s for game day?” when I’m tired, don’t want takeout, and still want something that tastes really good. My kids are happy, my husband’s happy, and I’m happy because I’m not stressed about cooking.
Make it yours! Try different add-ins, swap in your favorite vegetables, adjust the spice level. The best recipes are the ones you adapt to your family’s tastes. If you make these, drop a comment and let me know what you think! I love hearing how recipes turn out in your kitchen. And if something doesn’t work, tell me that too—I’m here to help troubleshoot.
Happy cooking! And I hope your kitchen smells half as good as mine does right now.
Frequently Asked Questions
Can I make these ahead of time?
Yes! Make the meat mixture up to 2 days ahead and store it in the fridge. Assemble the sliders right before serving. Do not assemble them ahead of time, or the buns will get soggy.
Can I use canned sloppy joe mix?
You can, but homemade is so much better. Canned mix is often overly salty and lacks depth. If you’re in a pinch, you can use it, but I recommend adding a little fresh garlic and onion to boost the flavor.
What kind of buns work best?
Kaiser rolls are my favorite because they’re sturdy. Brioche buns are another great option. Avoid soft Hawaiian rolls unless you toast them very well, as they get soggy quickly.
Can I freeze the meat mixture?
Yes, freeze it in an airtight container for up to 3 months. Thaw in the fridge overnight and reheat before serving.
How do I keep the buns from getting soggy?
Toast the buns well before assembling. Don’t overload them with sauce. If you’re serving a crowd, keep the meat mixture warm in a skillet and assemble sliders one at a time.
Can I use ground chicken instead of beef?
Yes, but use ground thigh meat, not breast, as it’s juicier. Add a little olive oil to the pan since chicken is leaner.
Are these good for kids?
Yes! Kids love the sweet and savory flavor. You can reduce the cayenne pepper if you want them milder. They’re a hit at school potlucks too.
Pin This Recipe!
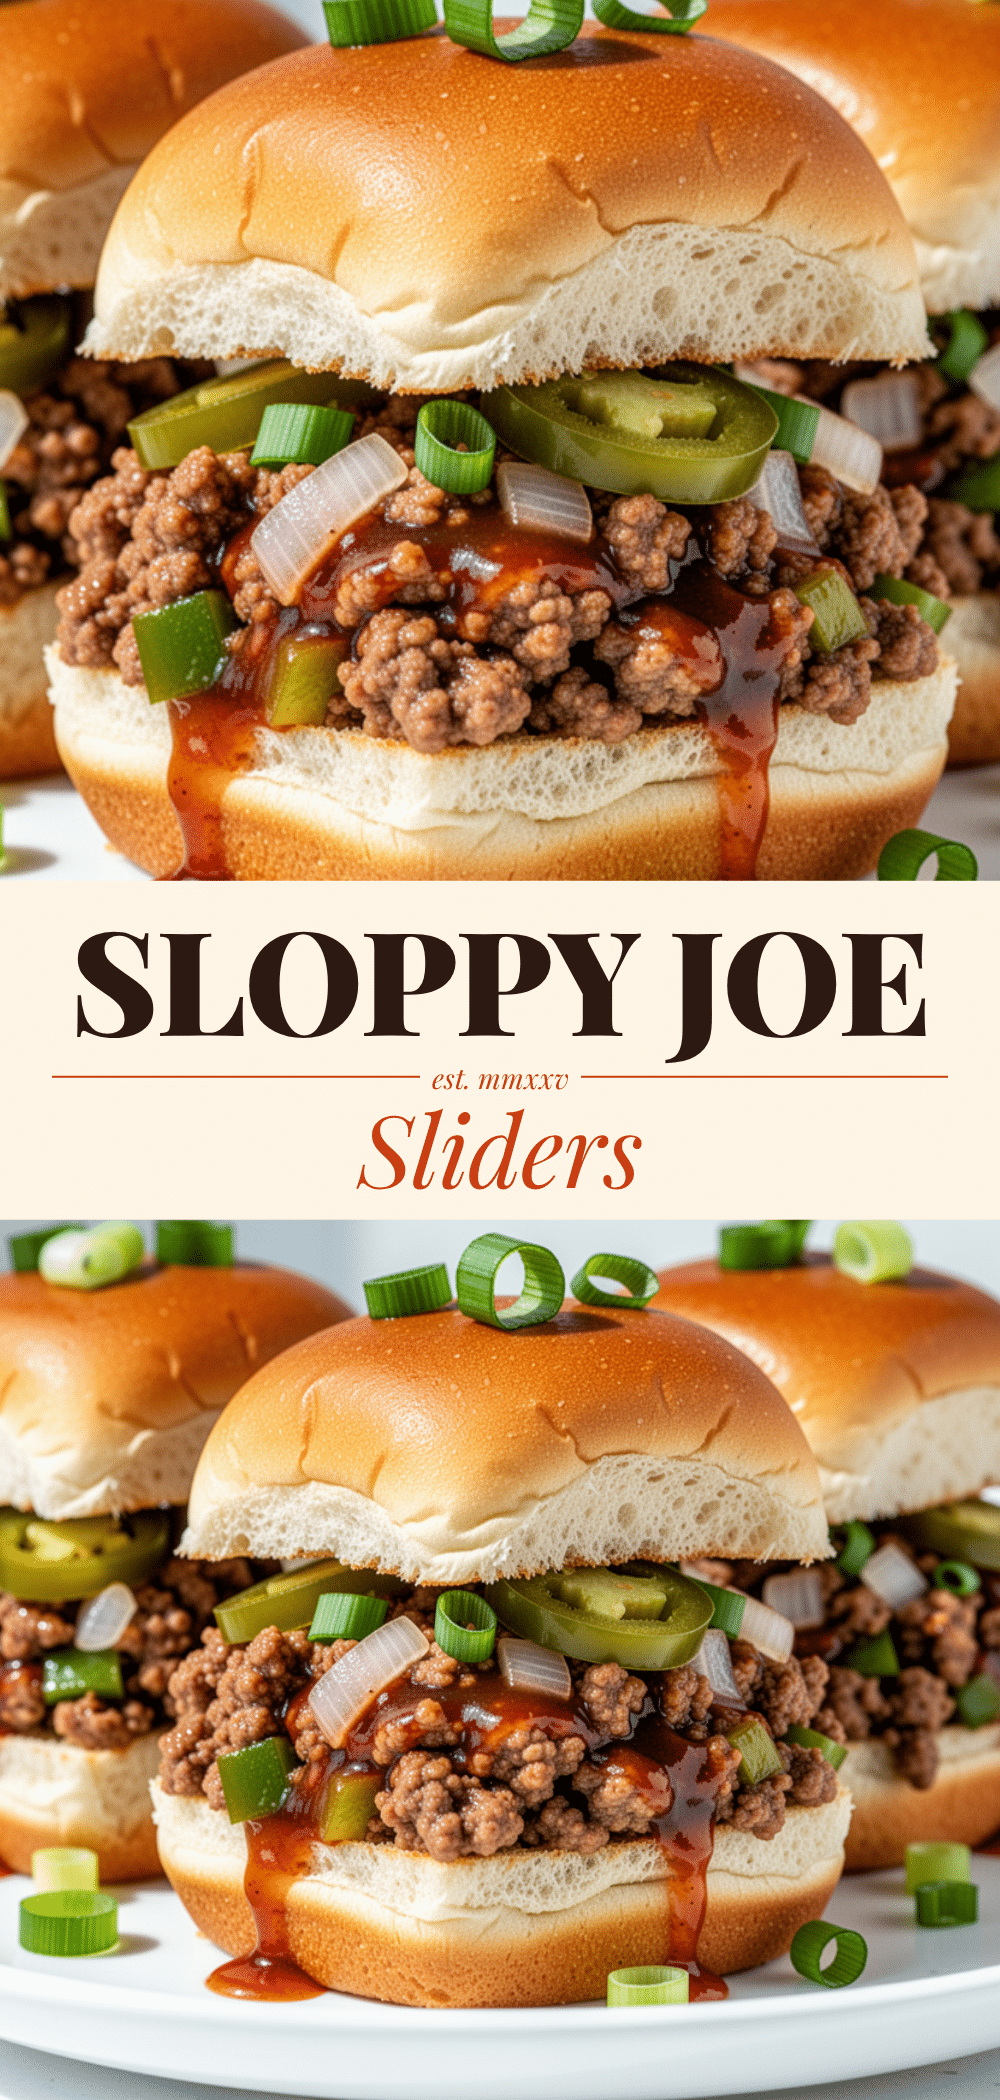
Sloppy Joe Sliders: 5-Minute Game Day Appetizer
- Total Time: 25 minutes
- Yield: 12 servings 1x
Description
These bite-sized Sloppy Joe Sliders are the perfect game day appetizer, offering all the nostalgic, tangy, beefy flavor of a classic sloppy joe in a convenient, easy-to-eat package that won’t make a mess.
Ingredients
- 1 pound ground beef (80/20 lean-to-fat ratio)
- 1 medium yellow onion, finely diced
- 3 cloves garlic, minced
- 2 tablespoons tomato paste
- 1 tablespoon Worcestershire sauce
- 1 teaspoon apple cider vinegar
- 1 tablespoon packed brown sugar
- 1/4 teaspoon cayenne pepper
- Salt and black pepper to taste
- 12–15 kaiser rolls or slider buns
- 1 cup shredded sharp cheddar cheese
- 2 tablespoons melted butter
- Optional toppings: pickles, jalapeños, or coleslaw
Instructions
- Dice the onion and mince the garlic. In a small bowl, mix tomato paste, Worcestershire sauce, vinegar, brown sugar, and cayenne pepper.
- Heat a large skillet over medium-high heat. Add ground beef and break it up with a wooden spoon. Cook for 8-10 minutes until fully browned. Drain excess fat if necessary, but leave about a tablespoon for flavor.
- Push beef to the side and add diced onion to the pan. Cook for 2-3 minutes until softened. Add minced garlic and cook for 30 seconds. Mix onions and garlic back into the beef.
- Pour the sauce mixture over the beef and onion. Stir to combine and simmer on medium-low heat for 5 minutes until the sauce thickens.
- Preheat oven to 350°F (175°C). Slice rolls in half horizontally and brush cut sides with melted butter. Place cut-side up on a baking sheet and toast for 2-3 minutes until golden and crispy.
- Spoon the meat mixture onto the bottom half of each toasted bun. Top with shredded cheddar cheese.
- Optional: Return sliders to the oven for 1-2 minutes to melt the cheese. Serve immediately.
Notes
For best results, toast the buns to prevent sogginess. The meat mixture can be made up to 2 days in advance and stored in the fridge. Do not assemble sliders ahead of time as the buns will become soggy. If using lean beef or turkey, add a tablespoon of olive oil to the pan.
- Prep Time: 10 minutes
- Cook Time: 15 minutes
- Category: Appetizer
- Cuisine: American
Nutrition
- Serving Size: 1 slider
- Calories: 280
- Sugar: 6
- Sodium: 450
- Fat: 14
- Saturated Fat: 5
- Carbohydrates: 22
- Fiber: 1
- Protein: 18
Keywords: sloppy joe sliders, game day appetizer, tailgate food, easy appetizer, beef sliders, party food, quick recipes


