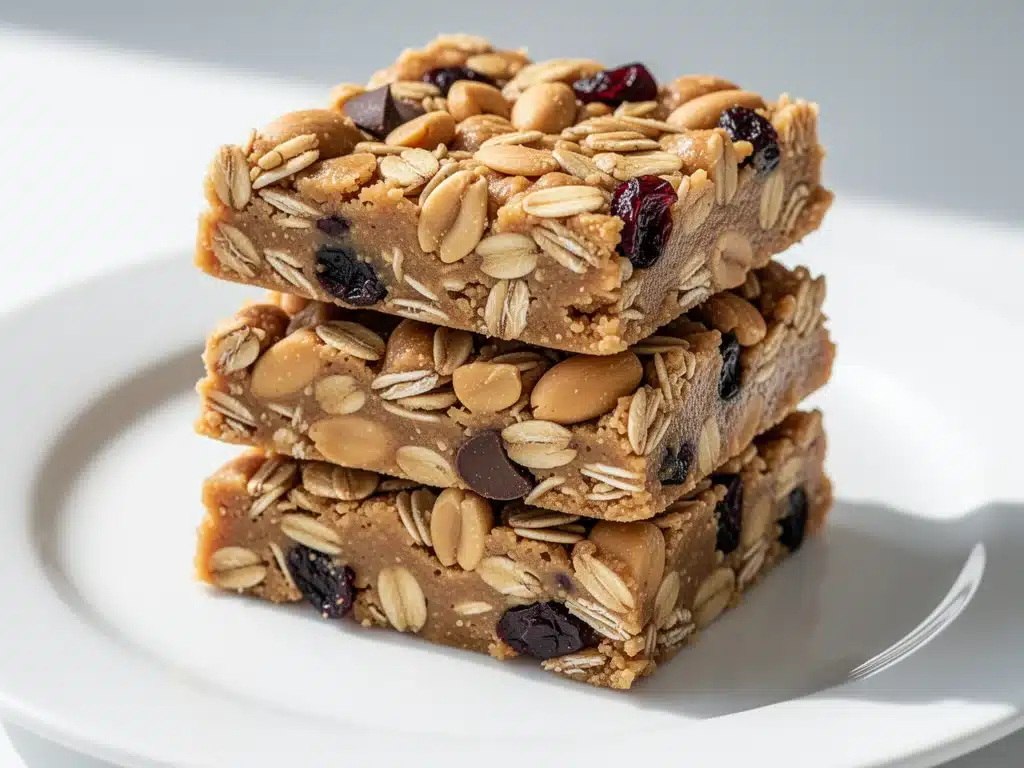
It was 6:45 AM on a Tuesday, and the house was already in chaos. My daughter, Leo, was hunting for her left shoe (it was on his head), while I was frantically trying to find something that wasn’t cereal but also didn’t require turning on the oven because, let’s be honest, I hate waiting for an oven to preheat when I’m running on three hours of sleep.
I opened the pantry, staring at the same old boxes of granola bars that cost $4.99 for a pack of six and contained enough high-fructose corn syrup to power a small city. I knew I needed to make something. Something that looked homemade, tasted like a treat, but was actually nutritious enough to keep a seven-year-old focused in third-grade math class.
That’s when I found the peanut butter. It was that jar of natural peanut butter I’d been meaning to use up, and a bag of old-fashioned oats that had been sitting in the back of the cupboard for six months. I threw them together with some honey, a handful of dark chocolate chips, and a dash of vanilla. I didn’t bake them. I didn’t even turn on the stove for long. I just mixed, pressed, and chilled.
By 7:15 AM, I had twelve bars in the fridge. I cut them into squares, wrapped them in wax paper, and shoved them into Leo’s backpack. He ate one at recess and came home telling me his friends asked for the recipe. Not the store-bought kind. Mine.
That morning disaster turned into my go-to solution for school snacks, afternoon pick-me-ups, and emergency hunger fixes. These no-bake peanut butter oat granola bars are the kind of recipe that feels like a cheat code for busy parents. They take about five minutes of active time, require zero baking skills, and taste like you spent hours in the kitchen (even though you didn’t). I’ve made these at least fifty times over the last year, tweaking the ratios until they were perfect—chewy, not crumbly; sweet, but not candy-bar-sweet.
If you’re tired of buying overpriced, ingredient-list-too-long snacks for your kids, this is the one you need to pin. It’s simple, it’s reliable, and it’s genuinely delicious.
Why You’ll Love This Recipe
There are a lot of “easy” granola bar recipes out there, but most of them fall apart in your lunchbox or taste like cardboard. I’ve tested dozens of versions, and this no-bake peanut butter oat granola bar recipe is the only one that consistently works. Here’s why it’s become a staple in our house:
Stupid Simple — Seriously, if you can stir a bowl, you can make these. There’s no chopping, no measuring cups (okay, maybe one or two), and absolutely no oven. I’ve made these while holding my baby and answering work emails. It’s that easy.
Lightning Fast — From opening the jars to cutting the bars, it takes about 10 minutes. The chilling time is passive, so you’re not actually standing there waiting. I can throw these together on Sunday night and have a week’s worth of snacks ready by Monday morning.
Pantry-Friendly — You probably have 90% of these ingredients right now. Oats, peanut butter, honey, chocolate chips. These aren’t exotic ingredients that require a trip to a specialty store. It’s comfort food basics.
Customizable — This is the best part. My daughter loves chocolate chips, but my son prefers dried cranberries and white chocolate. My husband adds hemp seeds. Because the base is so neutral, you can swap add-ins based on what’s in your pantry or what your kids will actually eat. It’s a blank canvas for snacking.
Makes Amazing Leftovers — These keep well for up to two weeks in the fridge or three months in the freezer. I make a double batch every other week. They don’t get stale, they don’t dry out, and they’re always ready to grab when hunger strikes.
I love that these bars give me peace of mind. I know exactly what’s in them. No preservatives, no mystery powders, just real food that tastes like a treat. It’s the kind of snack that makes parents feel like heroes and kids feel like they’re getting away with something.
Ingredients You’ll Need
Here’s the thing about no-bake granola bars: the quality of your ingredients matters more than you think. Since there’s no baking to mask flavors, you need good stuff. But don’t worry, it’s not an expensive shopping list.
Old-Fashioned Rolled Oats (3 cups / 270g) — This is the base. Do not use instant oats or steel-cut oats. Instant oats turn to mush, and steel-cut oats are too hard. You want the flat, chewy texture of old-fashioned oats. I use the store brand; there’s no need to pay extra for organic unless you really want to, but make sure they are certified gluten-free if you have sensitivities.
Peanut Butter (1 cup / 250g) — This is the binder. Use creamy peanut butter. Natural peanut butter (the kind where you have to stir the oil) can work, but it’s tricky because the separation can make the bars oily. I stick to standard brands like Jif or Skippy for consistency. If you have nut allergies, sunflower seed butter works as a 1:1 substitute, though the flavor is slightly different.
Honey (½ cup / 120ml) — This is the sweetener and the glue. Honey gives a better chew than maple syrup, which can make things too runny. If you’re avoiding honey for vegan reasons, use agave nectar, but know that the bars will be slightly softer. Warm the honey slightly if it’s too thick to pour.
Butter (2 tablespoons / 30g) — Unsalted butter adds richness and helps bind everything together. It also prevents the bars from being too dry. If you’re dairy-free, use coconut oil, but it will make the bars firmer when cold. I always use butter.
Vanilla Extract (1 teaspoon) — Just a splash. It rounds out the peanut butter flavor and makes it taste more like a dessert bar than a health snack. Don’t skip it.
Salt (½ teaspoon) — Essential. It balances the sweetness. I use kosher salt. If you use table salt, reduce to ¼ teaspoon.
Dark Chocolate Chips (1 cup / 170g) — This is optional but highly recommended. I use semi-sweet chocolate chips because they don’t melt as quickly in a warm lunchbox. White chocolate chips are too sweet for me, and milk chocolate melts too fast. If you want to keep it simple, you can skip the chocolate, but I don’t recommend it.
Optional Add-ins:
– Dried Fruit: Cranberries, raisins, or chopped apricots. About ½ cup.
– Seeds: Pumpkin seeds, sunflower seeds, or chia seeds. Adds crunch and nutrition.
– Nuts: Chopped almonds or walnuts. If you’re avoiding nuts, stick to seeds.
I keep a “granola bar kit” in my pantry with oats, peanut butter, and honey. When I need a quick snack, I just grab the add-ins I have on hand. It’s my secret weapon for busy weeknights.
Equipment Needed
You don’t need fancy gadgets for this. Here’s what I actually use:
Large Mixing Bowl — I use a 4-quart stainless steel bowl. It needs to be big enough to fold the oats into the sticky mixture without making a mess. A glass bowl works too, but I prefer metal for durability.
Saucepan — A small 2-quart saucepan is perfect for melting the butter and honey together. I use a non-stick one so cleanup is instant. If you don’t have a saucepan, a microwave-safe bowl works, but you have to be careful not to burn the honey.
8×8 Inch Baking Pan — This is the standard size for these bars. I use an aluminum pan because it conducts heat well, even though we’re not baking. Glass pans work too, but the bars might be slightly denser. Line it with parchment paper for easy removal.
Parchment Paper — Non-negotiable. Grease the pan, then line it with parchment. This is the only way you’ll get the bars out in one piece. I use a “sling” method where the parchment hangs over the edges so I can lift the whole block out.
Spatula — A sturdy silicone spatula is best for folding the oats. It needs to be flexible enough to get into the corners but strong enough to mix thick peanut butter.
Cheese Grater — If you’re using a chocolate bar instead of chips, you’ll need a grater. But chips are easier.
Sharp Knife — For cutting the bars. I use a chef’s knife. If the bars are too soft, dip the knife in hot water between cuts for clean edges.
I don’t use a stand mixer or food processor. This is meant to be simple. If you’re using fancy equipment, you’re overcomplicating it.
How to Make It: Step-by-Step
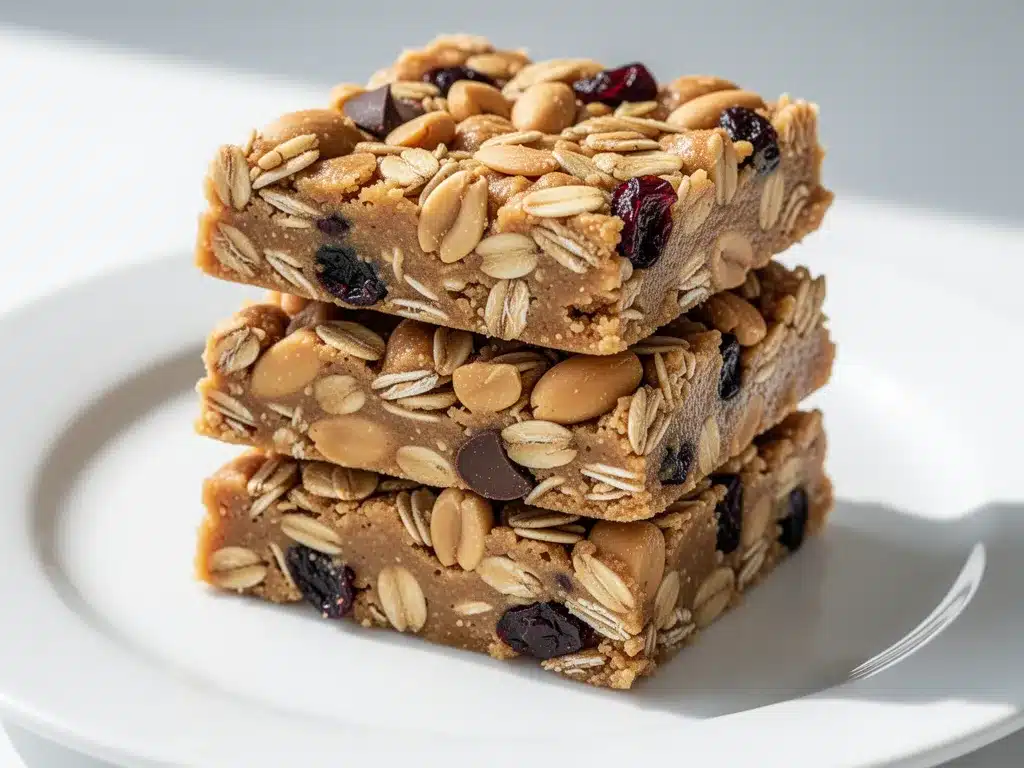
Alright, let’s make these! I’m walking you through exactly how I do it, including the little tricks I’ve picked up to ensure they hold together perfectly.
Step 1: Prep Your Pan (2 minutes)
Line your 8×8 inch baking pan with parchment paper. Leave a little overhang on the sides so you can lift the bars out later. Lightly grease the parchment with cooking spray or butter. This is crucial. If you skip this, the bars will stick, and you’ll be scraping peanut butter out of your pan for days.
Step 2: Warm the Wet Ingredients (3 minutes)
In a small saucepan over low heat, combine the butter, honey, and vanilla extract. Stir constantly until the butter is melted and everything is smooth. Do not let it boil. You just want it warm and liquid. If you boil the honey, it can become too sticky and hard to mix. Remove from heat and stir in the peanut butter until fully combined. It should be a smooth, glossy mixture.
Step 3: Combine Dry and Wet (2 minutes)
Place your large mixing bowl with the rolled oats in it on the counter. Pour the warm peanut butter mixture over the oats. Add your salt and any add-ins (chocolate chips, dried fruit, etc.) now. Use your silicone spatula to fold everything together. Be thorough. You want every oat to be coated. If there are dry patches, the bars won’t hold together.
Step 4: Press Into Pan (3 minutes)
Transfer the mixture into your prepared pan. This is the most important step for texture. Use the bottom of a measuring cup or your hands (lightly greased) to press the mixture down firmly. Don’t just dump it in and call it a day. Pack it down tight. The tighter you press, the better the bars will hold together. Aim for an even layer about ¾ inch thick.
Step 5: Chill (At least 2 hours)
Place the pan in the fridge. Do not skip this step. These bars need time to set. The peanut butter and honey need to cool and harden to bind the oats. I usually leave them for at least 2 hours, but overnight is best. If you try to cut them warm, they will be a mess. Patience pays off here.
Step 6: Cut and Serve
Once set, lift the block out of the pan using the parchment sling. Place it on a cutting board. Use a sharp knife to cut into squares or rectangles. I cut mine into 12 bars. If the knife sticks, dip it in hot water and wipe it dry between cuts. Wrap individually in wax paper or plastic wrap.
Total Time: About 10 minutes active, plus 2 hours chilling.
Expert Tips & Tricks
Here’s everything I’ve learned from making these dozens of times. These tips will save you from my mistakes.
Don’t Skimp on Pressing
The #1 reason granola bars fail is because they’re not pressed tight enough. If you’re lazy here, you’ll get crumbly bars. Press down with all your might. It should feel like packing snow for a snowball.
Use Low Heat
When melting the butter and honey, keep the heat low. High heat can cause the honey to seize or burn, which ruins the flavor. Low and slow is the way to go.
Chill Before Cutting
I know you want to eat one immediately. Don’t. Let them chill for at least 2 hours. If you cut them warm, they will be sticky and messy. Cold bars cut cleanly and hold their shape.
Store Properly
Keep these in an airtight container in the fridge. They last up to two weeks. If you’re meal prepping, freeze them for up to three months. Thaw in the fridge overnight. They freeze beautifully.
Customize Your Sweetness
If you find the bars too sweet, reduce the honey to ⅓ cup. If you like them sweeter, add a little more. The peanut butter should be the dominant flavor, but honey is the binder, so don’t reduce it too much or they won’t hold.
Use a Sling
The parchment paper sling makes removal so much easier. Without it, you’re digging bars out of the pan with a spoon, and that’s no fun.
Variations & Substitutions
Once you’ve nailed the basic version, here’s how you can mix it up. I’ve tried all of these.
Chocolate Chip Cookie Dough
Add ½ cup of mini chocolate chips and ½ cup of chopped macadamia nuts. It tastes like cookie dough. My kids love this version.
Tropical
Swap peanut butter for almond butter. Add dried mango, pineapple, and coconut flakes. It’s a completely different vibe. Great for summer.
Trail Mix
Add pumpkin seeds, sunflower seeds, and dried cranberries. Skip the chocolate. This is the most “healthy” version, though it’s still a treat.
Protein Boost
Add 2 scoops of vanilla protein powder. Note: This will make the bars drier, so you might need to add a little more honey or peanut butter to bind them. I’ve done this when I need a post-workout snack.
Nut-Free
Use sunflower seed butter instead of peanut butter. Use sunflower seeds instead of nuts. It’s a great option for schools with nut-free policies.
Gluten-Free
Use certified gluten-free oats. Everything else is naturally gluten-free. Just check your chocolate chips and peanut butter labels to ensure they’re processed in a GF facility.
Serving & Storage
How to Serve:
I usually serve these straight from the fridge. They’re cold, firm, and refreshing. But they’re also great at room temperature if you’re packing them in a lunchbox that won’t get too hot.
Side Dishes:
These are a snack, not a meal. But they go great with a piece of fruit or a glass of milk. I also like them with a cup of tea in the afternoon.
Storage Instructions:
– Refrigerator: Store in an airtight container for up to 2 weeks.
– Freezer: Wrap individually in plastic wrap, then place in a freezer bag. Freeze for up to 3 months. Thaw in the fridge.
Reheating:
You don’t need to reheat these. Eat them cold. If they get too soft in a warm lunchbox, just pop them in the fridge for 10 minutes before eating.
Pro Tip:
If you’re making these for a party, cut them into smaller squares. They’re rich, so a little goes a long way.
Nutrition Information
I’m not a nutritionist, but here’s the breakdown if you’re tracking. This is per bar (makes 12 bars).
Based on standard ingredients:
- Calories: 220
- Protein: 6g
- Carbs: 28g
- Fiber: 2g
- Sugar: 14g
- Fat: 10g
- Saturated Fat: 3g
What’s Good:
– Good source of healthy fats from peanut butter
– Fiber from oats
– No refined flour
What to Know:
– Higher in sugar from honey and chocolate
– Contains nuts (unless substituted)
– Moderate calories for a snack
Look, these are a treat. They’re not a vegetable. But they’re way better than a candy bar, and they’ll keep your kid full until lunch. When I want to make them lighter, I reduce the chocolate chips and add more seeds. But usually? I just enjoy them as a delicious, homemade snack.
Final Thoughts
So that’s my go-to no-bake peanut butter oat granola bar recipe! I’ve probably talked your ear off at this point, but when you make a recipe this often, you have a lot to say about it.
This has saved me more times than I can count. It’s my answer to “what’s for snack?” when I’m tired, don’t want to drive to the store, and still want something that tastes really good. My kids are happy, my husband’s happy, and I’m happy because I’m not stressed about cooking.
Make it yours! Try different add-ins, swap in your favorite seeds, adjust the sweetness. The best recipes are the ones you adapt to your family’s tastes.
If you make this, drop a comment and let me know what you think! I love hearing how recipes turn out in your kitchen. And if something doesn’t work, tell me that too—I’m here to help troubleshoot.
Happy snacking! And I hope your pantry smells half as good as mine does right now.
Frequently Asked Questions
Can I use almond butter instead of peanut butter?
Yes! Almond butter works great. It’s slightly drier, so you might need to add a teaspoon more honey or warm it up a bit more to make it pourable. The flavor is richer and more expensive, but it’s delicious.
Why are my bars crumbly?
This usually means two things: either you didn’t press them down tight enough, or you didn’t use enough binder (honey/peanut butter). Make sure you pack them down firmly in the pan. Also, check that your honey wasn’t too cold when you mixed it. Warm honey binds better.
Can I freeze these granola bars?
Absolutely. They freeze beautifully. Wrap them individually in plastic wrap or wax paper, then put them in a freezer bag. They’ll last up to 3 months. Thaw in the fridge overnight or eat them frozen (they’re like ice cream bars).
Can I use quick oats?
I don’t recommend it. Quick oats are smaller and will turn the bars mushy. You want the chewy texture of old-fashioned rolled oats. If you only have quick oats, you can use them, but the texture will be different—more like a dense bar than a chewy one.
How long do these last?
In the fridge, they last up to 2 weeks. At room temperature, they last about 3 days, but they might get soft. In the freezer, 3 months.
Can I make these nut-free?
Yes. Use sunflower seed butter instead of peanut butter, and skip any nut-based add-ins. Use sunflower seeds or pumpkin seeds for crunch. Just make sure your oats are certified gluten-free if you’re also avoiding gluten.
Do I have to use honey?
You can use maple syrup, but the bars will be softer and stickier. Agave nectar is another option. Honey provides the best chew, so if you can use it, stick with it. If you’re vegan, agave is the best substitute.
Pin This Recipe!
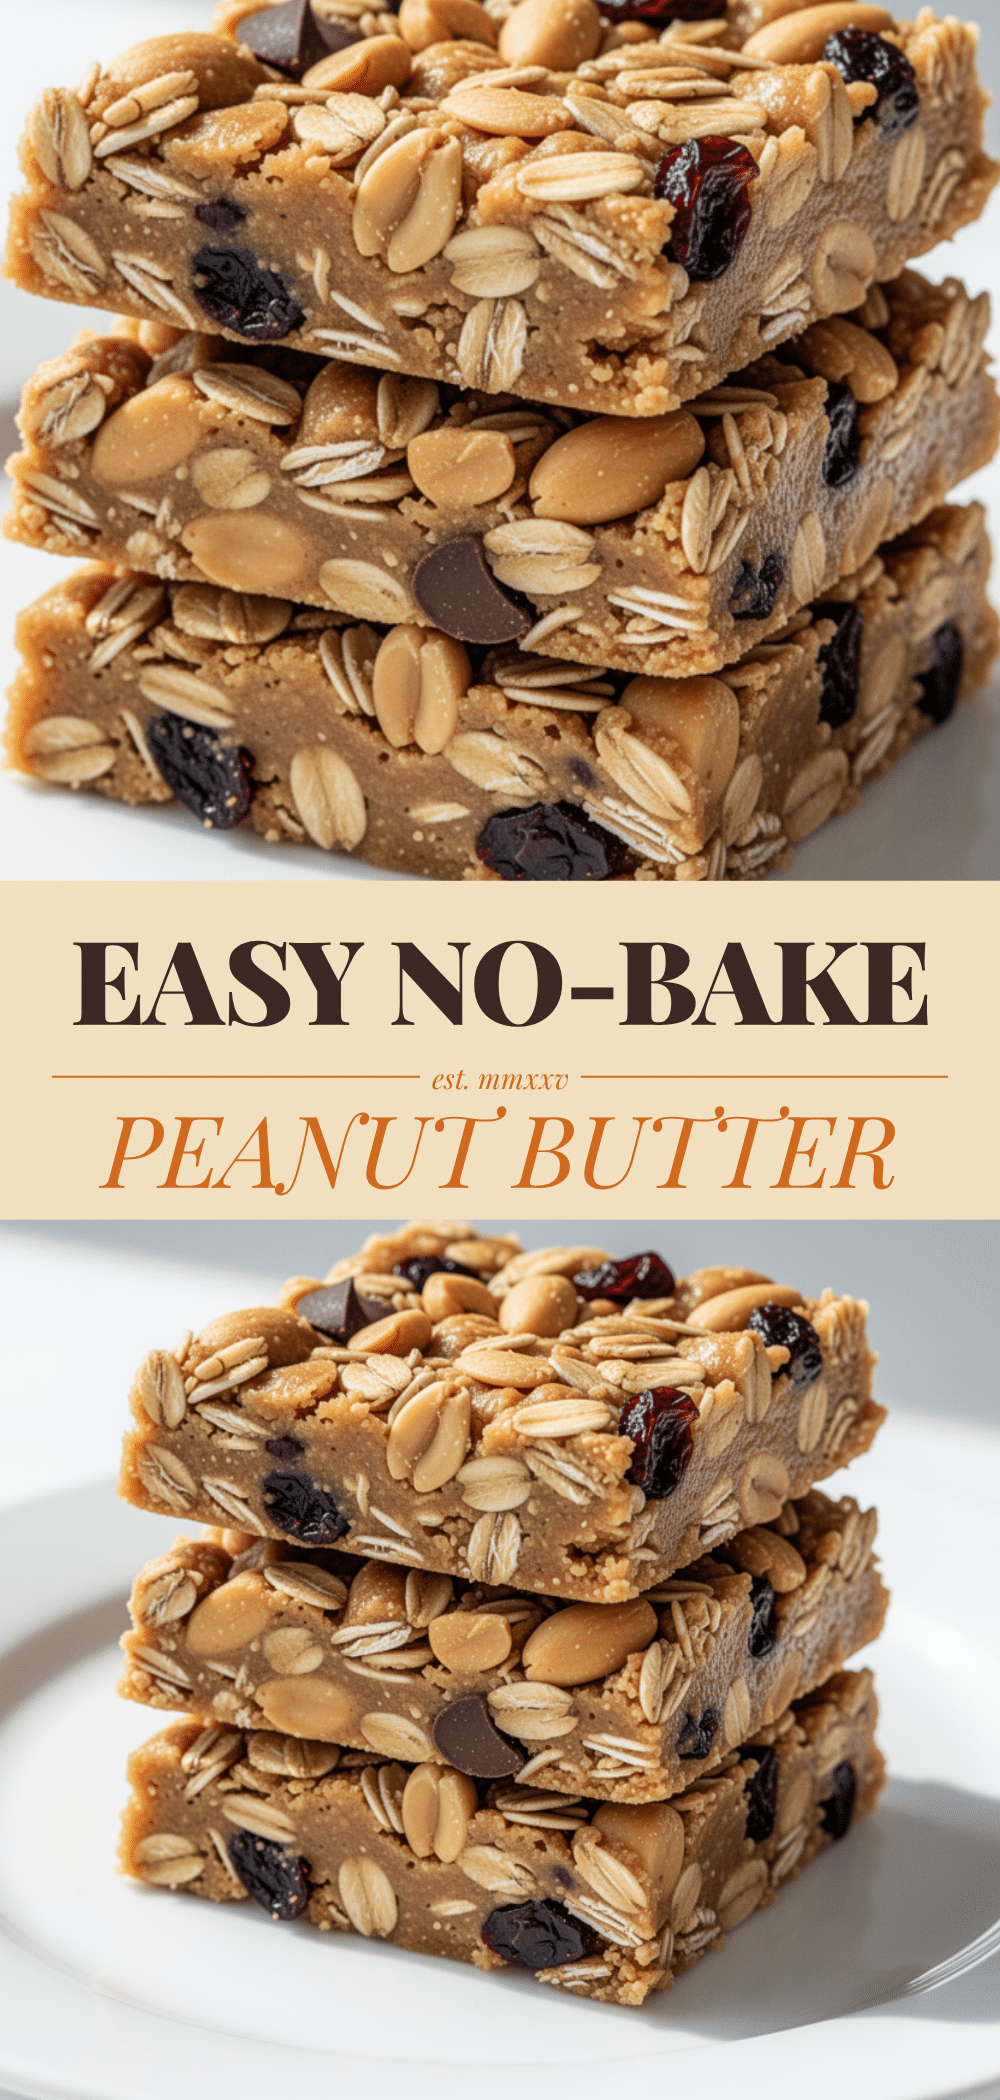
No-Bake Peanut Butter Oat Granola Bars
- Total Time: 2 hours 10 minutes
- Yield: 12 servings 1x
Description
A quick, 5-minute no-bake snack made with pantry staples like oats, peanut butter, and honey. These chewy bars are perfect for school lunches, afternoon pick-me-ups, and busy parents.
Ingredients
- 3 cups old-fashioned rolled oats
- 1 cup creamy peanut butter
- 1/2 cup honey
- 2 tablespoons unsalted butter
- 1 teaspoon vanilla extract
- 1/2 teaspoon kosher salt
- 1 cup dark chocolate chips (semi-sweet recommended)
Instructions
- Line an 8×8 inch baking pan with parchment paper, leaving an overhang on the sides, and lightly grease the parchment.
- In a small saucepan over low heat, combine the butter, honey, and vanilla extract. Stir constantly until the butter is melted and the mixture is smooth. Do not let it boil.
- Remove the saucepan from heat and stir in the peanut butter until fully combined and glossy.
- Place the rolled oats in a large mixing bowl. Pour the warm peanut butter mixture over the oats.
- Add the salt and chocolate chips (or other add-ins). Fold everything together with a silicone spatula until every oat is coated.
- Transfer the mixture to the prepared pan. Press down firmly and tightly with the bottom of a measuring cup or greased hands to create an even layer about 3/4 inch thick.
- Refrigerate for at least 2 hours, or overnight, until the bars are set and firm.
- Lift the block out of the pan using the parchment sling. Cut into 12 bars using a sharp knife. If the knife sticks, dip it in hot water between cuts.
- Wrap individually in wax paper or plastic wrap for storage.
Notes
Do not use instant oats or steel-cut oats as they will alter the texture. Press the mixture firmly into the pan to prevent crumbly bars. Chill completely before cutting for clean edges. Can be stored in the fridge for up to 2 weeks or frozen for up to 3 months.
- Prep Time: 10 minutes
- Cook Time: 0 minutes
- Category: Snack
- Cuisine: American
Nutrition
- Serving Size: 1 bar
- Calories: 220
- Sugar: 14
- Fat: 10
- Saturated Fat: 3
- Carbohydrates: 28
- Fiber: 2
- Protein: 6
Keywords: no-bake, granola bars, peanut butter, oat bars, school snacks, healthy snacks, quick recipes, kid-friendly snacks, gluten-free option


