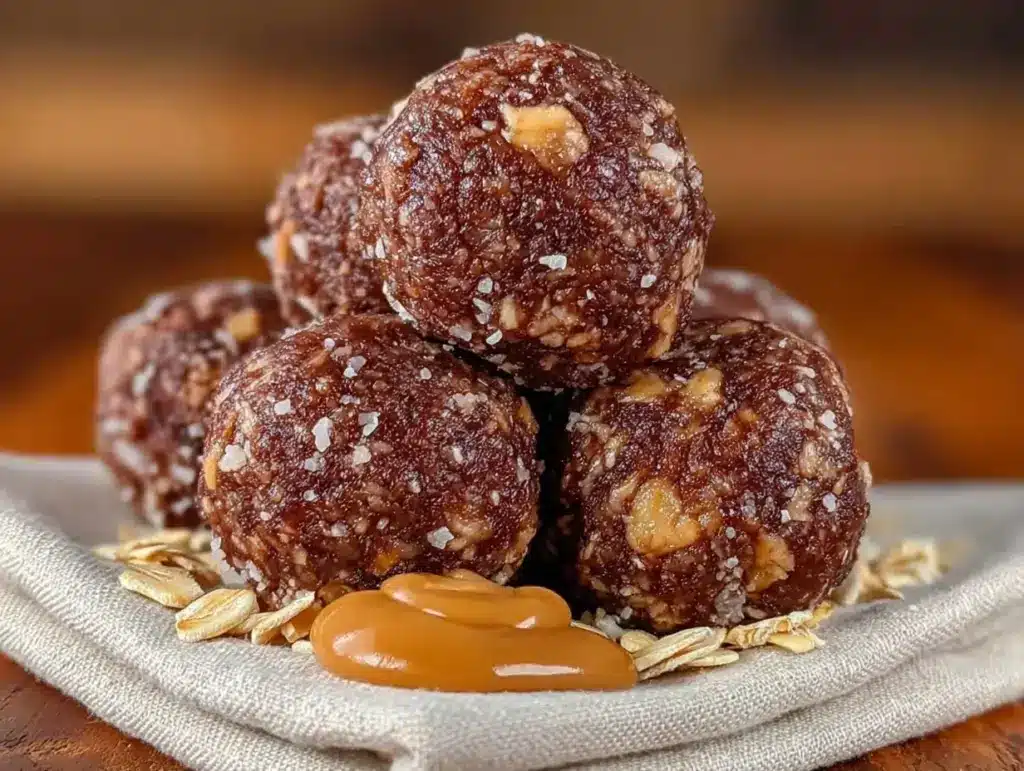
I have a confession to make. For three years, I bought those little plastic containers of energy balls from the grocery store. You know the ones—$8 for six balls that taste like chalk and regret. I was desperate. My schedule was a mess, I was running on empty, and I needed something that wouldn’t turn into a sugar crash by 2:00 PM. I told myself I’d make them “someday.” That someday never came.
Then, last Tuesday, I found a sticky, half-melted ball from a previous batch at the bottom of my fridge. It was a disaster. The peanut butter had separated, the oats were soggy, and the chocolate coating was a sad, thin shell. I ate it anyway, mostly out of pity for my own poor life choices. But as I chewed, I realized something important: I didn’t hate the flavor. I hated the texture. I hated that it felt like I was eating a dense brick of calories rather than a snack.
That night, I decided to stop buying them and start making my no-bake chocolate peanut butter energy balls. I wanted something that actually held together, tasted rich without being cloying, and gave me steady energy, not a jittery spike. After testing this no-bake chocolate peanut butter energy balls recipe a dozen times—some successes, some absolute flops—I finally cracked the code. It wasn’t about adding more chocolate or more peanut butter. It was about the fat ratio.
Here’s the thing about energy balls: most recipes fail because they rely solely on sticky syrup to bind dry oats. The result? A dry, crumbling mess that falls apart in your hand. My version uses a specific balance of nut butter and oil to create a cohesive, chewy center that stays soft in the fridge but holds its shape at room temperature. This isn’t just a snack; it’s my 3:00 PM lifeline. It’s the no-bake chocolate peanut butter energy balls that finally made me throw out the grocery store plastic tubs.
I’ve been making these weekly for months. They’re my go-to for post-workout fuel, afternoon slumps, and even when I need a quick dessert that doesn’t feel like cheating. If you’ve ever struggled with energy balls that crumble or taste too sweet, you need to try this method. It’s simple, it’s reliable, and it tastes like a brownie without the oven time.
Why You’ll Love This No-Bake Chocolate Peanut Butter Energy Balls Recipe
Let’s be real. Making snacks from scratch sounds like extra work. But this no-bake chocolate peanut butter energy balls recipe is the opposite of extra work. It’s actually less work than deciding what to order for takeout. Here’s why this specific version has earned a permanent spot in my rotation:
- Zero Oven Required — No preheating, no baking sheets, no waiting for cookies to cool. I make these while dinner is simmering on the stove. It’s truly no-bake, which means zero cleanup for bakeware.
- Steady Energy, No Crash — Most energy balls are just sugar bombs. This no-bake chocolate peanut butter energy balls recipe balances healthy fats from the peanut butter with complex carbs from the oats. I feel sustained energy for hours, not a 30-minute spike and drop.
- Perfect Texture Every Time — I’ve struggled with dry, crumbly balls before. The fat ratio trick I’m sharing ensures these are chewy and soft, not hard as rocks. They hold together perfectly in your hand.
- Customizable Sweetness — You control the sugar. If you prefer less sweet, reduce the honey. If you want it dessert-like, add a touch more. This no-bake chocolate peanut butter energy balls recipe adapts to your taste buds, not a factory standard.
- Meal Prep Friendly — I make a big batch on Sunday. They keep in the fridge for two weeks or the freezer for three months. They are the ultimate grab-and-go snack for busy mornings or post-gym cravings.
This is my go-to when I need a snack that just works. It’s reliable, delicious, and actually good for you (in moderation, let’s be honest). It’s better than no-bake peanut butter oat granola bars because it’s bite-sized and easier to portion control.
Key Ingredients for Perfect No-Bake Chocolate Peanut Butter Energy Balls
Before we mix, let’s talk about what goes in. I’ve tested this no-bake chocolate peanut butter energy balls recipe with different brands and types, and these specific choices make the difference between a good snack and a great one.
Peanut Butter (1 cup / 250g) — This is the backbone. Use natural, creamy peanut butter. I prefer brands that are just peanuts and salt, nothing else. If you use oil-free peanut butter, you’ll need to add a bit more honey or oil because it’s drier. Avoid “processed” peanut butter with hydrogenated oils; it makes the texture gummy and waxy. Real peanut butter gives that rich, nutty flavor.
Old-Fashioned Rolled Oats (1 ½ cups / 120g) — Do not use instant oats. Instant oats are too fine and will turn your energy balls into mush. Old-fashioned oats provide that necessary chew. If you’re sensitive to gluten, make sure your oats are certified gluten-free. I’ve found that steel-cut oats are too hard even after soaking, so stick to rolled.
Honey (¼ cup / 85g) — Honey acts as the binder. It’s sweeter than maple syrup and has a thicker consistency that helps hold everything together. If you’re vegan, swap this for agave nectar, but keep in mind agave is thinner, so you might need a touch less or a bit more oat. Raw honey adds a floral note I love, but regular honey works fine too.
Coconut Oil (2 tbsp / 30ml) — This is my secret weapon. Coconut oil adds healthy fats that keep the balls soft and prevent them from becoming rock-hard in the fridge. It also helps the chocolate coating set smoothly. Use refined coconut oil if you don’t want a coconut flavor. Unrefined will add a slight coconut taste, which is actually pretty nice with the chocolate.
Dutch-Process Cocoa Powder (2 tbsp / 10g) — For the chocolate coating, use high-quality cocoa powder. Dutch-process cocoa is treated with an alkali, which gives it a darker color and a smoother, less acidic chocolate flavor. It mixes better with the coconut oil. Natural cocoa powder is more bitter and can make the coating gritty. Don’t skip the quality here; this is the part people taste first.
Mini Chocolate Chips (½ cup / 85g) — For the coating, mini chips melt more evenly than regular chips. They create a smoother shell. I like to use semi-sweet chocolate chips for a balanced sweetness. If you want a darker chocolate flavor, use dark chocolate chips. Avoid white chocolate chips for this recipe; they don’t pair as well with the peanut butter.
Flaky Sea Salt (1 tsp / 3g) — Salt is non-negotiable. It enhances the chocolate and peanut butter flavors. I sprinkle it on top of the coated balls before the chocolate sets. It adds that gourmet touch and balances the sweetness. If you don’t have flaky salt, regular sea salt works, but flaky salt looks prettier and dissolves slower.
Vanilla Extract (1 tsp / 5ml) — A splash of vanilla adds depth. It’s subtle, but it rounds out the flavors. Use pure vanilla extract, not imitation. Imitation vanilla tastes chemical and harsh in no-bake recipes where there’s no heat to mellow it out.
Tools Needed for No-Bake Chocolate Peanut Butter Energy Balls
You don’t need fancy equipment. Here’s what I use to make this no-bake chocolate peanut butter energy balls recipe efficiently.
Large Mixing Bowl — I use a 4-quart bowl. It needs to be big enough to mix the thick peanut butter and oat mixture without spilling. A wide bowl is better than a deep one for mixing.
Measuring Cups and Spoons — Accuracy matters here, especially with the oats. If you pack the oats too tightly, your balls will be dense. If you don’t pack them enough, they’ll be loose. Use the scoop-and-level method for dry ingredients.
Silicone Spatula — This is essential for scraping the sides of the bowl and folding the mixture. A spoon won’t get all the sticky peanut butter out. I have a set of different-sized silicone spatulas, but a medium one works best for this.
1-Tablespoon Cookie Scoop — This is my favorite tool. It ensures all the energy balls are the same size, which means they chill and set evenly. If you don’t have a scoop, use two teaspoons to roll them, but the scoop is faster and more consistent. It saves time and makes them look professional.
Baking Sheet — Line it with parchment paper. You need a flat surface to roll the balls and dip them in chocolate. Parchment paper prevents sticking and makes cleanup a breeze. I use a standard half-sheet pan, but any flat tray works.
Small Microwave-Safe Bowl — For melting the chocolate coating. I use a small 1-cup bowl. It’s easier to stir the chocolate in a small bowl because you have more control over the heat. A larger bowl might cause the chocolate to cool too quickly.
Fork or Dipping Tool — To dip the balls in chocolate. I use a fork, but a small skewer or toothpick works too. The fork allows excess chocolate to drip off easily. Just be careful not to break the balls when you lift them out.
How to Make No-Bake Chocolate Peanut Butter Energy Balls
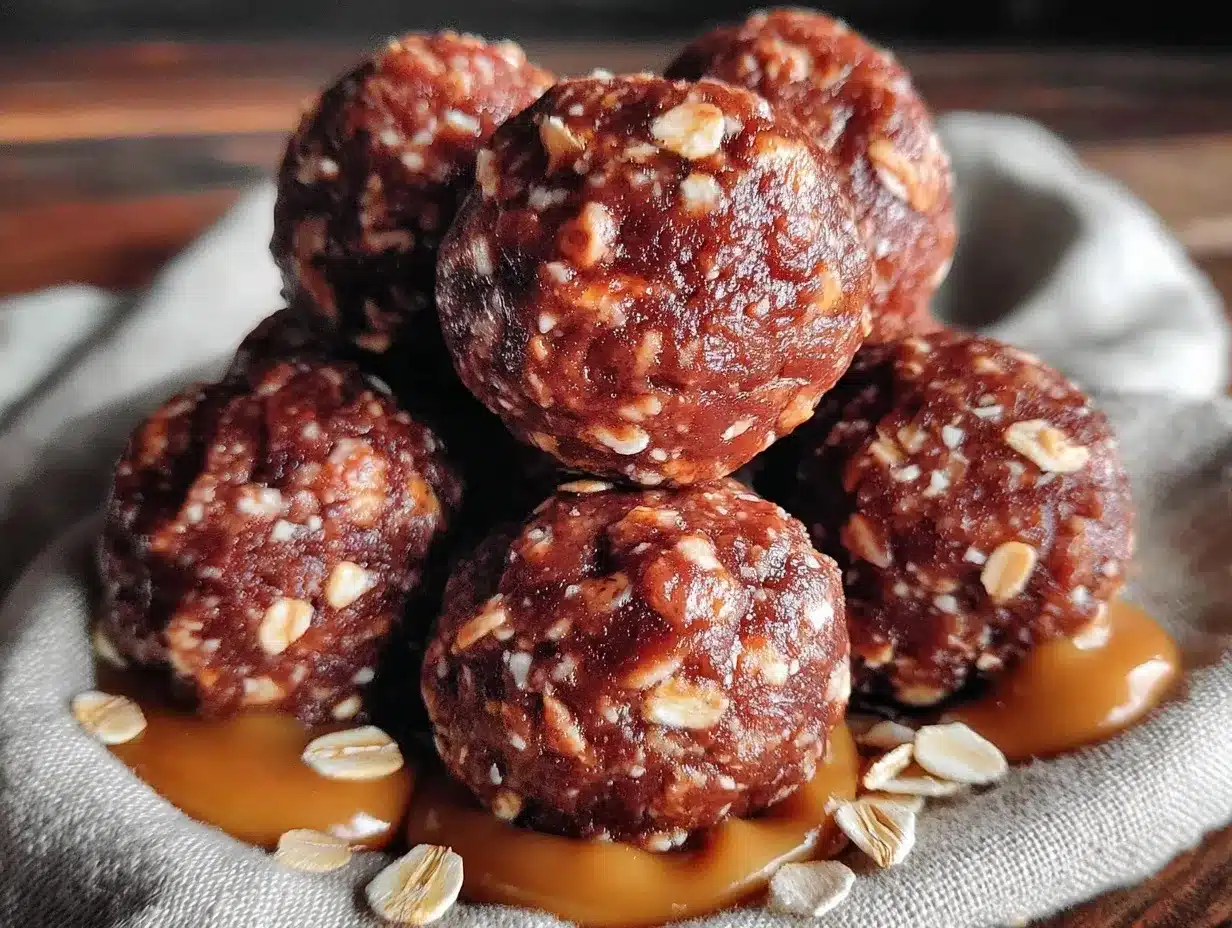
Let’s make this! I’m walking you through exactly how I do it, step by step. This process is simple, but attention to detail makes all the difference.
Step 1: Mix the Base (5 minutes)
In your large mixing bowl, combine the creamy peanut butter, honey, and coconut oil. If the peanut butter is very cold and stiff, microwave it for 15 seconds to soften it. This makes mixing easier. Stir until the mixture is smooth and uniform. Add the rolled oats and vanilla extract. Stir vigorously with your silicone spatula. The mixture will look dry and crumbly at first. Keep mixing until every oat is coated and the mixture holds together when you press it with your finger. This usually takes about 2-3 minutes of stirring. Don’t rush this step; if the mixture is too dry, add another teaspoon of honey. If it’s too wet, add another tablespoon of oats.
Step 2: Chill the Mixture (15 minutes)
Cover the bowl with plastic wrap and refrigerate for 15 minutes. This step is crucial. It firms up the coconut oil and peanut butter, making the mixture easier to handle. If you skip this, the mixture will be too sticky to roll into balls. I know it’s tempting to skip it, but trust me. The cold mixture holds its shape much better. While it chills, line your baking sheet with parchment paper.
Step 3: Roll the Balls (10 minutes)
Take the bowl out of the fridge. Using your 1-tablespoon cookie scoop, scoop out portions of the mixture. Roll each portion between your palms to form a smooth, tight ball. Apply firm pressure to ensure there are no air pockets. Place each ball on the prepared baking sheet. If the mixture starts to get too sticky, put your hands under cold water for a few seconds and dry them. This prevents sticking. You should get about 20-24 balls, depending on the size of your scoop. Work quickly, as the mixture will soften at room temperature.
Step 4: Prepare the Chocolate Coating (5 minutes)
In your small microwave-safe bowl, combine the mini chocolate chips and 1 teaspoon of coconut oil (if you want a thinner coating; otherwise, skip this). Microwave in 30-second intervals, stirring between each interval, until the chocolate is smooth and fluid. Be careful not to overheat. Chocolate burns easily. If it looks grainy or separated, it’s too hot. Let it cool for a minute. The chocolate should be fluid but not hot to the touch.
Step 5: Dip and Coat (10 minutes)
Take one energy ball from the baking sheet. Dip it into the melted chocolate using a fork. Turn it over to coat the bottom, then lift it out. Let the excess chocolate drip off for a few seconds. Gently tap the fork on the edge of the bowl to remove excess chocolate. Place the coated ball back on the parchment-lined baking sheet. Repeat with the remaining balls. If you want a thicker coating, dip each ball twice, letting the first layer set slightly before dipping again. Sprinkle each ball with a pinch of flaky sea salt immediately after dipping, before the chocolate sets.
Step 6: Set and Store (30 minutes)
Place the baking sheet in the refrigerator for 30 minutes to allow the chocolate coating to harden completely. Once set, transfer the energy balls to an airtight container. They are ready to eat! This entire process takes about 1 hour from start to finish, including chilling time.
Expert Tips for No-Bake Chocolate Peanut Butter Energy Balls
Here’s everything I learned from making this too many times. These tips will save you from common mistakes.
The Game-Changers
Don’t Skip the Chill Step
I made the mistake of rolling the balls immediately after mixing once. The result was a sticky mess that stuck to my hands and fell apart on the baking sheet. Chilling the mixture firms up the fats, making it much easier to roll. It’s a small step that makes a huge difference in texture and ease of handling.
Use Natural Peanut Butter, But Stir It Well
Natural peanut butter separates, with oil rising to the top. If you don’t stir it thoroughly before measuring, your energy balls will be too oily. I always stir my peanut butter jar until it’s completely homogeneous. If you use processed peanut butter with stabilizers, you can skip this, but natural peanut butter tastes better and is healthier.
Control the Chocolate Temperature
Chocolate seizes if it gets too hot or if even a drop of water gets in it. Always use dry bowls and utensils. Melt the chocolate slowly and gently. If it looks too thick, add a tiny bit more coconut oil. If it looks too thin, add a bit more cocoa powder. The consistency should be like warm honey.
Common Problems & Solutions
Problem: The balls are too dry and crumbly.
Solution: Add more honey or coconut oil, one teaspoon at a time, until the mixture holds together when pressed.
Problem: The balls are too soft and won’t hold their shape.
Solution: You likely didn’t chill the mixture long enough, or you used too much liquid. Chill the mixture for another 15 minutes. If it’s still too soft, add more oats.
Problem: The chocolate coating is too thick and chunky.
Solution: You didn’t melt the chocolate enough, or it cooled too quickly. Melt it in shorter intervals and stir well. If it’s still too thick, add a teaspoon of coconut oil.
Problem: The chocolate coating cracks.
Solution: This happens if the energy balls are too cold when dipped. Let them sit at room temperature for 5 minutes before dipping, or dip them more quickly.
Pro Tricks
Add Mix-Ins for Texture
Once you’ve nailed the basic version, try adding mix-ins. I love adding ¼ cup of mini chocolate chips or chopped peanuts to the base mixture. It adds extra crunch and flavor. Just fold them in after the oats are mixed.
Freeze for Long-Term Storage
These energy balls freeze beautifully. Place them in a single layer on a baking sheet and freeze for 1 hour. Then transfer them to a freezer-safe bag. They last for up to 3 months. Thaw them in the fridge for 30 minutes before eating. This is great for meal prepping.
No-Bake Chocolate Peanut Butter Energy Balls Variations
Once you’ve mastered the basic recipe, here’s how to mix it up. These variations keep things interesting.
Almond Butter Version
Swap the peanut butter for almond butter. It has a slightly milder, sweeter flavor. You may need to add a teaspoon more honey because almond butter is often drier. It’s a great alternative if you’re avoiding peanuts.
Sunflower Seed Butter Version
For a nut-free option, use sunflower seed butter. It has a similar consistency to peanut butter. The flavor is earthier, so I recommend adding a bit more vanilla or a pinch of cinnamon to enhance it. This is perfect for school-friendly snacks.
Chocolate Chip Cookie Dough
Add ½ cup of mini chocolate chips and ½ cup of chopped walnuts to the base mixture. Skip the chocolate coating and just roll them in crushed cookies. It tastes like cookie dough but is healthier. I love this version for dessert cravings.
Matcha Green Tea
Add 1 tablespoon of matcha powder to the base mixture. It adds a subtle earthy flavor and a beautiful green color. The chocolate coating pairs surprisingly well with matcha. It’s a sophisticated twist on the classic recipe.
Vegan Modification
To make this recipe vegan, use agave nectar instead of honey and ensure your chocolate chips are dairy-free. The rest of the ingredients are naturally vegan. The texture will be slightly softer due to the thinner agave, so chill the mixture longer.
Serving & Storage for No-Bake Chocolate Peanut Butter Energy Balls
Serving:
I serve these as a post-workout snack, an afternoon pick-me-up, or a healthy dessert. They pair well with a glass of cold milk or a cup of black coffee. I also like to crumble one over a bowl of yogurt for breakfast. They are versatile and easy to share. I often pack them in my lunchbox alongside overnight oats with peanut butter and banana for a complete meal.
Storage:
Store the energy balls in an airtight container in the refrigerator for up to 2 weeks. They will stay soft and chewy. If you want them firmer, keep them in the fridge. If you prefer them softer, let them sit at room temperature for 10 minutes before eating. They also freeze well for up to 3 months. Place them in a freezer-safe bag with parchment paper between layers to prevent sticking. Thaw in the fridge before eating.
Do not store them at room temperature for more than a few hours, as the peanut butter can go rancid and the chocolate may melt. In hot weather, always keep them refrigerated.
Nutrition Information for No-Bake Chocolate Peanut Butter Energy Balls
I’m not a nutritionist, but here’s the breakdown per ball (makes 20 balls).
| Nutrient | Amount |
|---|---|
| Calories | 180 kcal |
| Protein | 6g |
| Carbohydrates | 18g |
| Fiber | 3g |
| Fat | 10g |
| Sugar | 12g |
| Sodium | 50mg |
My Take: This is a calorie-dense snack because of the nuts and chocolate. It’s not a diet food, but it’s nutrient-rich. The protein and healthy fats help keep you full. It’s a better alternative to candy bars or processed snacks. Enjoy in moderation as part of a balanced diet.
Final Thoughts on No-Bake Chocolate Peanut Butter Energy Balls
Making your own no-bake chocolate peanut butter energy balls is one of the simplest ways to take control of your snacks. It’s satisfying, it’s delicious, and it’s incredibly rewarding to know exactly what’s in your food. I hope this recipe becomes a staple in your kitchen too. Don’t be afraid to experiment with variations and find your perfect ratio.
If you make this, drop a comment! I love hearing how it turns out in your kitchen. Did you add any mix-ins? How did the chocolate coating turn out? Share your tips and tricks. And if you need more easy snack ideas, check out my soft chocolate chip lunchbox cookies for another kid-friendly treat.
Happy cooking!
FAQs About No-Bake Chocolate Peanut Butter Energy Balls
Can I use crunchy peanut butter instead of creamy?
Yes, you can use crunchy peanut butter. It will add extra texture to the energy balls. However, the mixture might be slightly harder to roll because of the chunks. If you find it difficult, you can pulse the peanuts in a food processor to make them finer. The flavor will be more intense with crunchy peanut butter.
Why did my energy balls fall apart?
This usually happens if the mixture is too dry or if you didn’t chill it enough. Add more honey or coconut oil to bind it. Also, ensure you’re pressing the mixture firmly when rolling. If the mixture is still too dry, you can add a teaspoon of water, but this is rare.
Can I make these gluten-free?
Yes, just use certified gluten-free rolled oats. Ensure your peanut butter and chocolate chips are also certified gluten-free, as cross-contamination can occur. The rest of the ingredients are naturally gluten-free.
How long do these energy balls last?
They last up to 2 weeks in the refrigerator or 3 months in the freezer. Store them in an airtight container to prevent them from drying out or absorbing odors from the fridge.
Can I substitute the honey with maple syrup?
You can substitute honey with maple syrup, but maple syrup is thinner. You may need to add a bit more oats or chill the mixture longer to compensate for the extra liquid. Agave nectar is another good substitute with similar consistency to honey.
Why is my chocolate coating too thick?
Chocolate thickens as it cools. If it’s too thick to dip smoothly, add a teaspoon of coconut oil or vegetable oil and stir until fluid. Don’t add water, as it will cause the chocolate to seize. Melt the chocolate slowly and gently to maintain its smooth texture.
Can I freeze the chocolate-coated balls?
Yes, you can freeze the chocolate-coated balls. Place them in a single layer on a baking sheet and freeze until solid. Then transfer them to a freezer-safe bag. They will keep for up to 3 months. Thaw in the fridge before eating to prevent the chocolate from sweating.
Pin This Recipe!
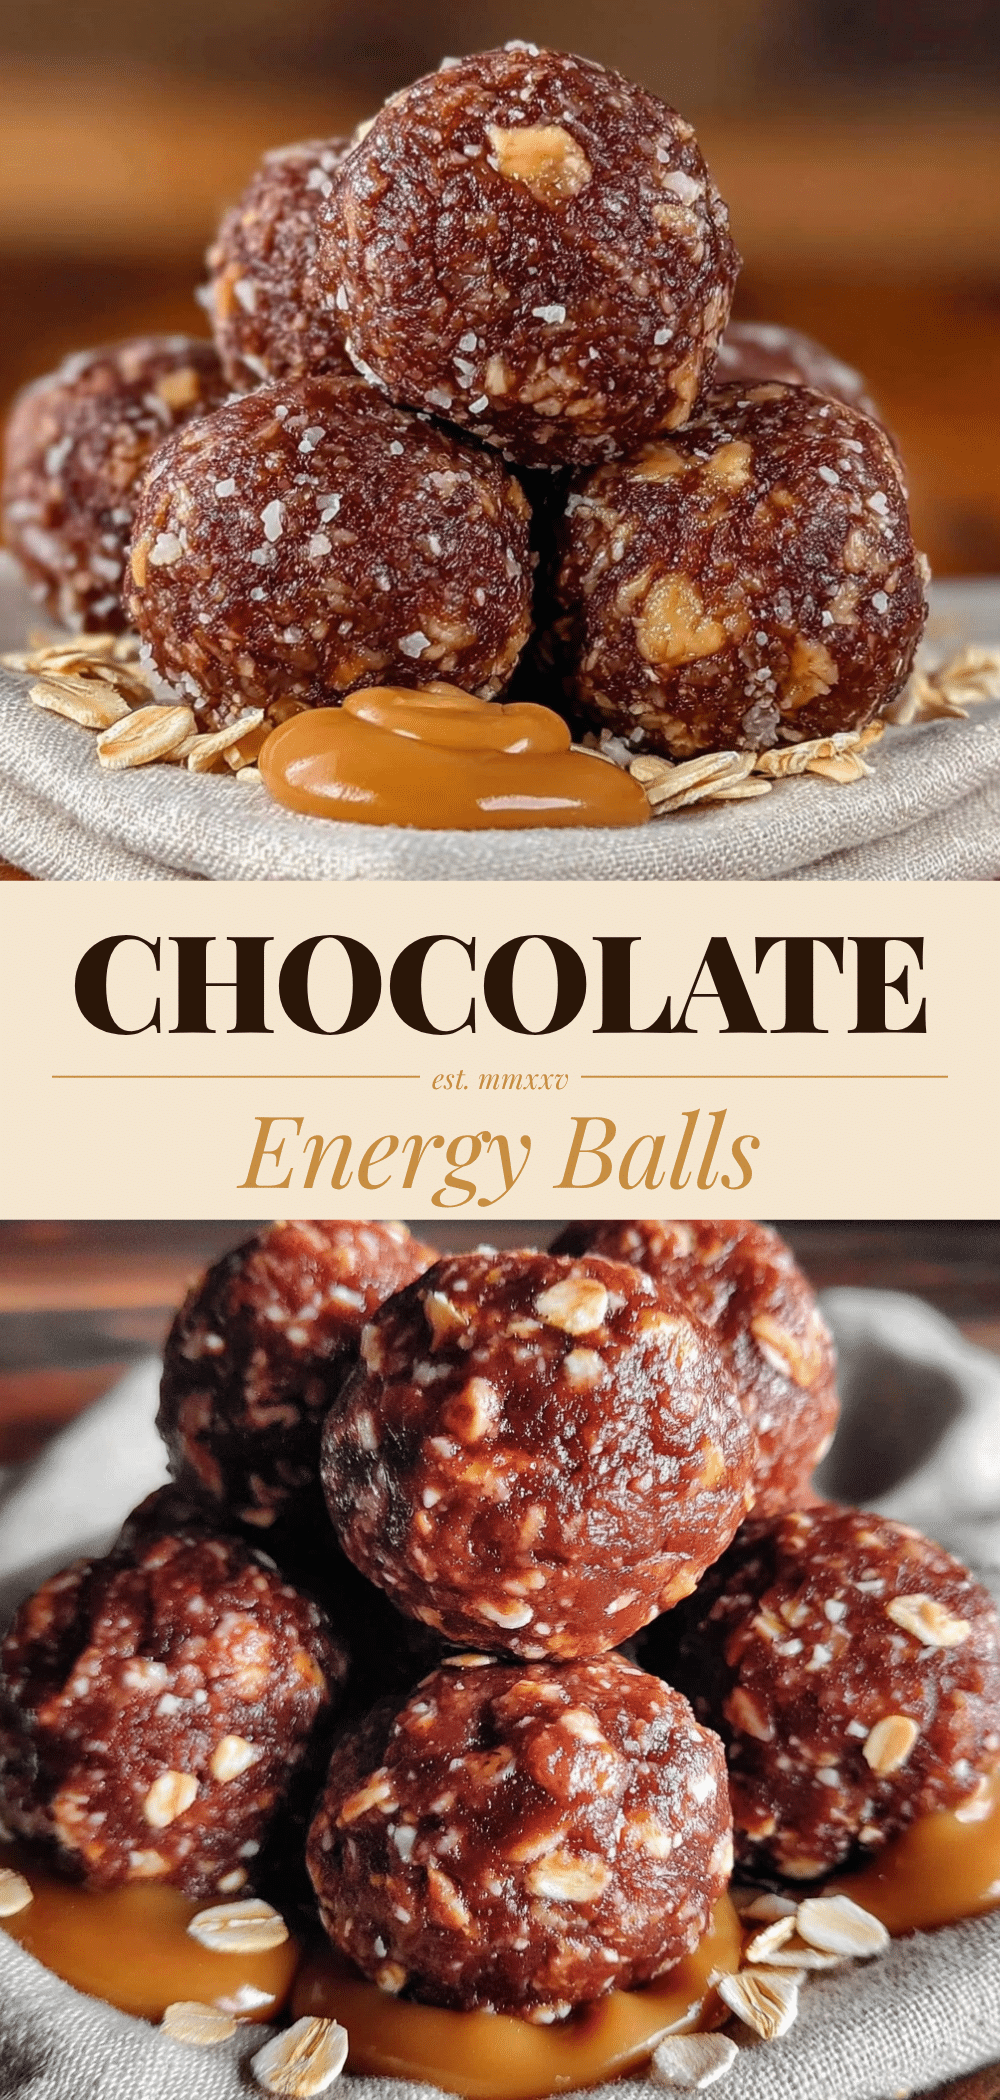
No-Bake Chocolate Peanut Butter Energy Balls
- Total Time: 1 hour
- Yield: 20 servings 1x
Description
These no-bake chocolate peanut butter energy balls use a specific fat ratio to create a chewy, cohesive texture that holds together perfectly. They provide steady energy without a sugar crash and are easy to make with simple ingredients.
Ingredients
- 1 cup (250g) natural creamy peanut butter
- 1 ½ cups (120g) old-fashioned rolled oats
- ¼ cup (85g) honey
- 2 tbsp (30ml) coconut oil
- 1 tsp vanilla extract
- ½ cup (85g) mini semi-sweet chocolate chips
- 2 tbsp (10g) Dutch-process cocoa powder
- 1 tsp flaky sea salt
Instructions
- In a large mixing bowl, combine peanut butter, honey, and 2 tbsp coconut oil. Microwave for 15 seconds if peanut butter is stiff, then stir until smooth.
- Add rolled oats and vanilla extract. Stir vigorously until every oat is coated and the mixture holds together when pressed.
- Cover the bowl and refrigerate for 15 minutes to firm up the fats.
- Line a baking sheet with parchment paper.
- Using a 1-tablespoon cookie scoop, portion the mixture and roll into tight balls between your palms. Place on the prepared baking sheet.
- In a small microwave-safe bowl, combine mini chocolate chips and cocoa powder. Microwave in 30-second intervals, stirring between each, until smooth and fluid.
- Dip each energy ball into the chocolate mixture using a fork, allowing excess to drip off.
- Place coated balls back on the baking sheet and immediately sprinkle with flaky sea salt.
- Refrigerate for 30 minutes until the chocolate coating is completely hardened.
- Store in an airtight container in the refrigerator for up to 2 weeks or freeze for up to 3 months.
Notes
Ensure peanut butter is stirred well before measuring if using natural varieties. Do not skip the chilling step as it prevents the mixture from being too sticky. If the chocolate coating is too thick, add a teaspoon of coconut oil. For a vegan version, substitute honey with agave nectar and use dairy-free chocolate chips.
- Prep Time: 30 minutes
- Cook Time: 0 minutes
- Category: Snack
- Cuisine: American
Nutrition
- Serving Size: 1 energy ball
- Calories: 180
- Sugar: 12
- Sodium: 50
- Fat: 10
- Saturated Fat: 4
- Carbohydrates: 18
- Fiber: 3
- Protein: 6
Keywords: no-bake, energy balls, peanut butter, chocolate, healthy snack, meal prep, gluten-free option, vegan option