I still remember the first time I tried to brown butter. I was standing over my stove, mesmerized by the bubbling milk solids in the pan, completely forgetting about the cookies waiting on the counter. By the time I smelled the nutty aroma and rushed back, my butter was a dark, bitter mess. I stared at that pan for a long minute, wondering if I’d ruined dinner. It wasn’t dinner, obviously—it was dessert. But that failure taught me everything I needed to know about patience, heat, and the magic of toasted milk solids.
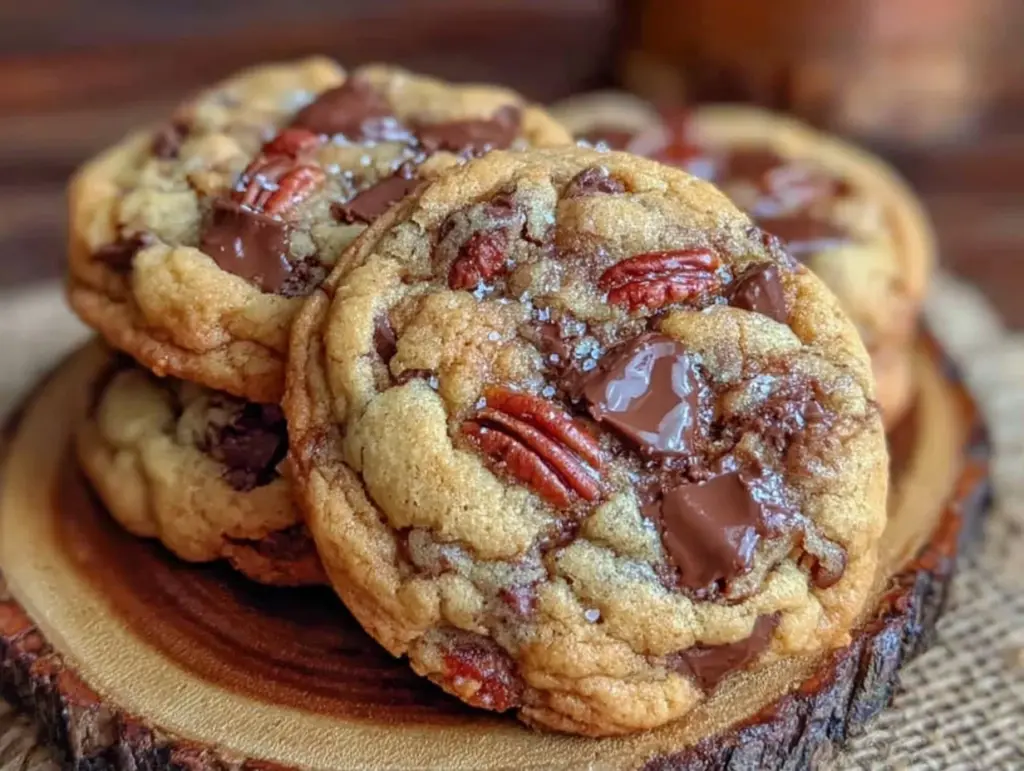
That burnt butter incident happened years ago, but the lesson stuck. Since then, I’ve made these chewy brown butter chocolate chip cookies probably 50 times. I’ve tested them with different flours, different chocolates, and different oven temperatures. The version I’m sharing today is the one that made my husband stop mid-bite and ask if I ordered takeout. It’s not just a cookie; it’s a texture experience. Crisp edges that shatter at the touch, giving way to a center that is soft, chewy, and deeply nutty.
What makes this chewy brown butter chocolate chip cookies recipe special isn’t just the flavor—it’s the technique. Specifically, one trick that changes everything: resting the dough. Most people bake immediately, but waiting just 24 hours allows the flour to fully hydrate and the flavors to deepen. The result? A cookie that tastes like it came from a high-end bakery but takes less than 30 minutes of active work to make. If you’ve ever wondered how to get that bakery-quality chewiness at home, you’re in the right place.
Why You’ll Love This Recipe
Let’s be real. We all have a go-to chocolate chip cookie recipe. Maybe it’s your grandma’s, maybe it’s from a box mix hack. But this chewy brown butter chocolate chip cookies recipe is different. Here’s why it belongs in your weekly rotation:
Unbeatable Texture — The contrast is everything. The edges are lacy and crisp, while the center stays soft and chewy for days. I’ve kept these in an airtight container for a week, and they never turned dry or hard. That’s rare for brown butter cookies, which can sometimes dry out faster due to the water loss during browning.
Deep, Complex Flavor — Regular butter tastes like butter. Brown butter tastes like toasted hazelnuts and caramel. It adds a savory depth that balances the sweetness of the sugar and chocolate. Once you taste this, regular butter cookies will feel flat to you. I promise.
Truly 30-Minute Active Time — Yes, the dough needs to chill, but the actual hands-on time is minimal. Melt and brown the butter (5 minutes), mix the dough (5 minutes), scoop (10 minutes), bake (12 minutes). You can be eating warm cookies in half an hour, even if you skip the long chill. I know life is busy, so this speed matters.
Pantry Staples — You don’t need exotic ingredients. Just butter, sugars, flour, eggs, and chocolate. The “secret” ingredient is time and heat, not expensive vanilla bean paste or almond extract. This chewy brown butter chocolate chip cookies recipe relies on technique, not rare finds.
Perfect for Gifting — These cookies travel well. They’re sturdy enough to box up but delicate enough to feel special. I’ve made batches for neighbors, teachers, and coworkers. They always ask for the recipe. It’s my go-to edible gift because it feels homemade but looks professional.
Customizable Chocolate — You can use chips, chunks, or a mix. I love using a combination of semi-sweet chips for structure and milk chocolate chunks for melty pockets. This flexibility means you can use whatever chocolate you have on hand.
This is my go-to when I need to impress someone or just need a hug in cookie form. It’s reliable, delicious, and deeply satisfying.
Key Ingredients
Let’s talk about what goes into these chewy brown butter chocolate chip cookies. Every ingredient plays a specific role. I’ve measured these out precisely because baking is chemistry.
Unsalted Butter (1 cup / 226g) — This is the star. You need high-quality butter with 80% fat content. Lower fat butters have more water, which can make the cookies spread too much. I use Kerrygold or Land O’Lakes. You’ll brown this, so save the good stuff.
Dark Brown Sugar (1 ½ cups / 300g) — Brown sugar is crucial for chewiness. It contains molasses, which adds moisture and a caramel-like flavor. Dark brown sugar has more molasses than light, so it gives a deeper flavor. Don’t substitute with white sugar if you want that specific chewy texture.
Granulated Sugar (½ cup / 100g) — This sugar helps with crisp edges. The ratio of brown to white sugar determines the texture. More brown = chewier. More white = crispier. This balance is sweet spot.
Large Egg (1 whole + 1 yolk / ~65g total) — Using an extra yolk adds fat and richness, contributing to that tender, chewy crumb. The extra protein from the whole egg helps structure. Don’t skip the extra yolk; it’s a game-changer for texture.
Vanilla Extract (2 tsp / 10ml) — Use real vanilla, not imitation. I prefer a strong, bold vanilla to complement the nutty butter. If you have pure vanilla bean paste, that’s even better, but extract works fine.
All-Purpose Flour (2 ¼ cups / 280g) — I spoon and level my flour. Scooping directly from the bag packs it down, leading to dry cookies. If you scoop, you might end up with 300g+ of flour, which makes dense cookies. Spoon into the cup, then level off with a knife.
Baking Soda (1 tsp / 5g) — This helps the cookies spread and brown. Make sure it’s fresh. If it’s been in your cabinet for over six months, it might not have enough lift power. Test it with vinegar to check.
Salt (1 tsp kosher salt / 6g) — Salt enhances flavor. I use kosher salt because it’s easier to measure by volume. If you use table salt, reduce to ¾ tsp. Don’t skip the salt; it makes the chocolate taste more chocolatey.
Chocolate Chips (2 cups / 340g) — I use a mix of semi-sweet and milk chocolate. Chips hold their shape well. For a more gourmet look, chop a bar of chocolate into chunks. The irregular pieces create pockets of melted chocolate in every bite.
Flaky Sea Salt (for topping) — A pinch of Maldon or similar flaky salt on top of warm cookies adds a sophisticated touch and balances the sweetness. It’s optional but highly recommended.
Tools Needed
You don’t need fancy equipment. Here’s what I use to make these chewy brown butter chocolate chip cookies without fuss.
Heavy-Bottomed Saucepan — I use a 3-quart stainless steel pan. The heavy bottom distributes heat evenly, preventing the butter from burning in spots. A thin aluminum pan might cause hot spots. Light-colored metal is best so you can see the color change.
Heatproof Spatula — You need something sturdy to stir the butter as it foams and browns. Silicone is fine, but a sturdy rubber spatula works best.
Mixing Bowls — One large bowl for the wet ingredients, one medium for the dry. I prefer glass or ceramic so I can see what’s happening.
Cooling Rack — Essential for stopping the cooking process. Leaving cookies on the hot baking sheet will continue to cook them, leading to over-baked centers.
Baking Sheets — I use half-sheet pans. Light-colored aluminum pans are best for even browning. Dark pans can cause the bottoms to burn. Line them with parchment paper for easy cleanup and consistent results.
Cooling Rack — Again, crucial. Transfer cookies here immediately after baking.
Cooking Instructions
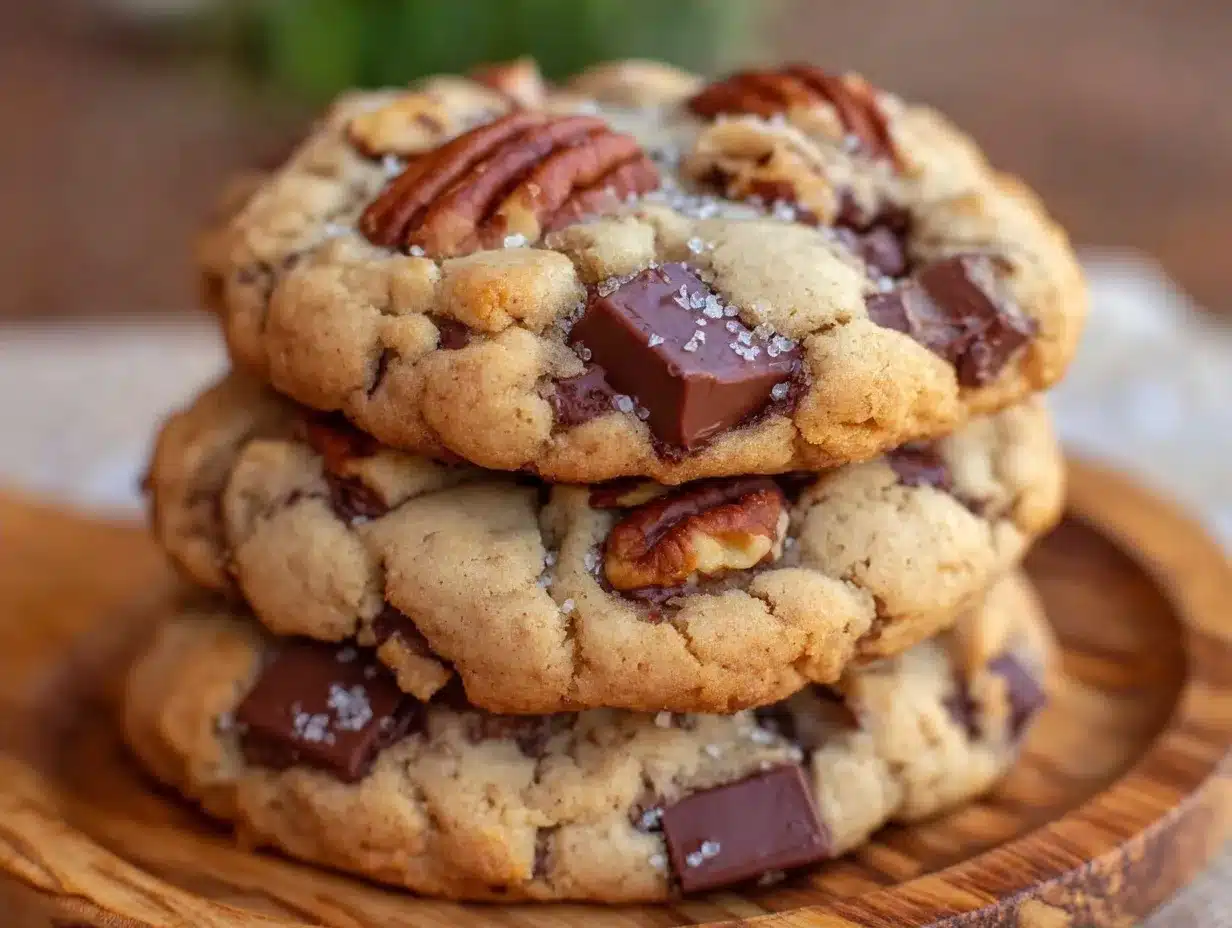
Let’s make these chewy brown butter chocolate chip cookies. I’m walking you through exactly how I do it, step by step.
Step 1: Brown the Butter (5 minutes)
Place your unsalted butter in a heavy-bottomed saucepan over medium heat. Stir frequently with a heatproof spatula. The butter will melt, then foam up. As the water evaporates, the foam will settle, and you’ll start to see brown specks at the bottom. This is the milk solids browning. It smells incredible—like toasted nuts. Watch closely! Once it turns a deep amber color and smells nutty, remove it from the heat immediately. Pour it into a heatproof bowl to stop the cooking. Let it cool for 10 minutes until it’s just warm, not hot. If it’s too hot, it will melt the chocolate chips later.
Step 2: Mix Wet Ingredients (3 minutes)
To the warm brown butter, add the dark brown sugar and granulated sugar. Whisk vigorously for about 2 minutes. You want the sugars to dissolve slightly into the butter. This step is crucial for creating those crisp edges. Add the whole egg and extra yolk, then the vanilla extract. Whisk until the mixture is smooth and glossy. It should look like a thick, shiny paste. This emulsion traps air, helping the cookies rise slightly.
Step 3: Combine Dry Ingredients (2 minutes)
In a separate medium bowl, whisk together the all-purpose flour, baking soda, and kosher salt. Whisking ensures the baking soda is evenly distributed, so you don’t get bitter spots. Sifting is optional but helpful if your flour is lumpy. I usually just whisk it well.
Step 4: Form the Dough (3 minutes)
Pour the dry ingredients into the wet mixture. Use a spatula to fold them together. Stop as soon as no dry flour streaks remain. Overmixing develops gluten, which leads to tough cookies. We want tender, chewy cookies. Fold in the chocolate chips. If you’re using chunks, fold them in gently. The dough will look thick and rich. At this point, you can bake immediately, but for the best flavor, cover the bowl and refrigerate for at least 24 hours. This rest allows the flavors to meld and the dough to firm up, resulting in thicker cookies.
Step 5: Scoop and Bake (12-14 minutes)
Preheat your oven to 350°F (175°C). Line two baking sheets with parchment paper. Scoop the dough into balls, about 2 tablespoons each. I use a small ice cream scoop for consistency. Place them on the baking sheets, leaving 2 inches between them for spreading. If you chilled the dough, let it sit at room temperature for 5-10 minutes to soften slightly for easier scooping. Bake for 12-14 minutes. The edges should be golden brown, and the centers should still look slightly underdone and soft. They will set as they cool. Do not overbake!
Step 6: Cool and Top (10 minutes)
Remove the cookies from the oven. Immediately sprinkle a tiny pinch of flaky sea salt on top if using. Let them cool on the baking sheet for 5 minutes. This allows them to set. Then, transfer them to a wire rack to cool completely. The cookies will continue to cook slightly on the hot pan. Enjoy them warm for the best texture, or store them for later.
Total Time Breakdown: Prep: 10 minutes | Chill: 24 hours (optional but recommended) | Bake: 12 minutes | Cool: 10 minutes. Active time is only about 25 minutes.
Expert Tips
Here’s everything I learned from making this chewy brown butter chocolate chip cookies recipe too many times.
The Game-Changers:
Brown Butter Color Matters
I learned this the hard way. If your butter is too light, you won’t get the nutty flavor. If it’s too dark, it will taste bitter. Aim for the color of peanut butter. The smell is your best guide. It should smell like toasted hazelnuts. If it smells like burnt popcorn, you’ve gone too far. Start with less time if you’re unsure.
Chill the Dough
I know it’s tempting to bake immediately. But chilling the dough for 24 hours is the secret to depth of flavor. The flour hydrates fully, and the sugars dissolve completely. The cookies will spread less and stay thicker. If you’re short on time, chill for at least 2 hours. But don’t skip the chill entirely if you want that bakery-quality result.
Underbake Slightly
This is the #1 mistake. People pull cookies out when they look done. They should look slightly underdone in the center. The residual heat will finish cooking them as they cool. Overbaked cookies are dry and crumbly. We want chewy. Pull them out when the edges are golden but the center looks soft and puffy.
Common Problems & Solutions:
Cookies Spread Too Much
If your cookies spread into thin discs, your butter was too warm when you mixed it, or your oven is too hot. Make sure the brown butter is cool before adding sugar. Also, check your oven temperature with a thermometer. Many ovens run hot.
Cookies Are Dry
You likely overbaked them or used too much flour. Remember to spoon and level your flour. Don’t scoop. And pull them out earlier. They continue to cook on the pan.
Cookies Are Too Sweet
Try using semi-sweet chocolate chips instead of milk chocolate. Or reduce the granulated sugar by 2 tablespoons. The brown butter adds a savory note that balances sweetness, so you might not need as much sugar as you think.
Pro Tricks:
Freeze the Dough Balls
Scoop the dough into balls and freeze them on a baking sheet. Once solid, transfer to a bag. You can bake them straight from the freezer, adding 1-2 minutes to the bake time. This is perfect for having fresh cookies on demand.
Use a Combination of Chocolates
Don’t just use chips. Chop a bar of chocolate for irregular pieces. The chips provide structure, while the chunks provide melty pockets. The contrast is delightful.
Recipe Variations
Once you’ve nailed the basic version, here’s how to mix it up.
White Chocolate Macadamia
Swap the chocolate chips for white chocolate chips and macadamia nuts. The nutty brown butter pairs perfectly with the sweet white chocolate. It’s a tropical twist that’s incredibly rich.
Peanut Butter Swirl
After scooping the dough, add a dollop of peanut butter on top and swirl it in with a knife. The saltiness of the peanut butter complements the brown butter beautifully. It’s like a Reese’s cup in cookie form.
Chai Spice
Add 1 tsp of chai spice blend to the dry ingredients. The warm spices (cinnamon, cardamom, ginger) pair wonderfully with the toasted butter. It’s perfect for fall.
Vegan Option
Use vegan butter (one that browns well) and a flax egg (1 tbsp ground flaxseed + 3 tbsp water). The texture will be slightly different but still delicious. Vegan chocolate chips are needed for the chips.
Gluten-Free
Substitute the all-purpose flour with a 1:1 gluten-free flour blend that includes xanthan gum. The result is surprisingly similar to the original. I’ve tested this with Bob’s Red Mill blend, and it works well.
Serving & Storage
Serving:
These cookies are best served warm, right out of the oven. They pair perfectly with a glass of cold milk or a cup of coffee. If you’re serving them at a party, arrange them on a platter with a few sprigs of rosemary for garnish. It looks fancy but is simple.
Storage:
Store cookies in an airtight container at room temperature for up to 5 days. Place a piece of bread in the container to keep them soft. The bread dries out instead of the cookies. They freeze beautifully for up to 3 months. Thaw at room temperature or microwave for 10 seconds.
Dough Storage:
The dough can be refrigerated for up to 5 days or frozen for up to 3 months. If freezing, thaw in the fridge overnight before scooping and baking.
Nutrition Information
I’m not a nutritionist, but here’s the breakdown per cookie (makes approx. 24 cookies).
| Nutrient | Amount |
|---|---|
| Calories | 220 |
| Protein | 3g |
| Carbs | 28g |
| Fiber | 1g |
| Fat | 12g |
| Sodium | 180mg |
My Take: These are indulgent cookies. They’re rich in butter and sugar. But they’re better than store-bought options because you control the ingredients. Enjoy them in moderation. They’re a treat, not a health food. But they’re worth every calorie.
Final Thoughts
Making these chewy brown butter chocolate chip cookies is more than just baking; it’s a ritual. The smell of browning butter fills your kitchen, and the anticipation builds as you wait for them to cool. It’s a moment of peace in a busy day. I hope this recipe brings you the same joy it brings me. Don’t be afraid to experiment with the chocolate or spices. Make it your own.
If you make this, drop a comment! I love hearing how it turns out in your kitchen. Did you add extra nuts? Did you chill the dough for 48 hours? Share your tips with other readers.
Happy cooking!
FAQs
Can I use salted butter?
A: You can, but I recommend unsalted. Salted butters vary in salt content, making it hard to control the final saltiness. If you use salted butter, reduce the added salt to ½ tsp.
Why did my cookies spread too much?
A: This usually happens if the butter was too warm when mixed with the sugar, or if the dough wasn’t chilled. Ensure the brown butter is cool to the touch before adding sugar. Also, chill the dough for at least 2 hours.
Can I freeze the baked cookies?
A: Yes! Freeze them in an airtight container for up to 3 months. Thaw at room temperature. They’ll still be chewy and delicious.
Is brown butter necessary?
A: Not strictly, but it adds a deep, nutty flavor that regular butter can’t match. It’s the key to the unique taste of this chewy brown butter chocolate chip cookies recipe. If you skip it, you’re making a standard chocolate chip cookie.
How do I know when the butter is browned?
A: Look for a golden-amber color and smell for a nutty aroma. The milk solids at the bottom will be brown. Remove from heat immediately once you see this. It burns quickly.
Can I make this recipe gluten-free?
A: Yes, use a 1:1 gluten-free flour blend. The texture will be slightly different but still tasty. Ensure the blend contains xanthan gum for proper structure.
What chocolate is best?
A: I recommend a mix of semi-sweet chips for structure and milk chocolate chunks for meltiness. High-quality chocolate makes a big difference in flavor.
Pin This Recipe!
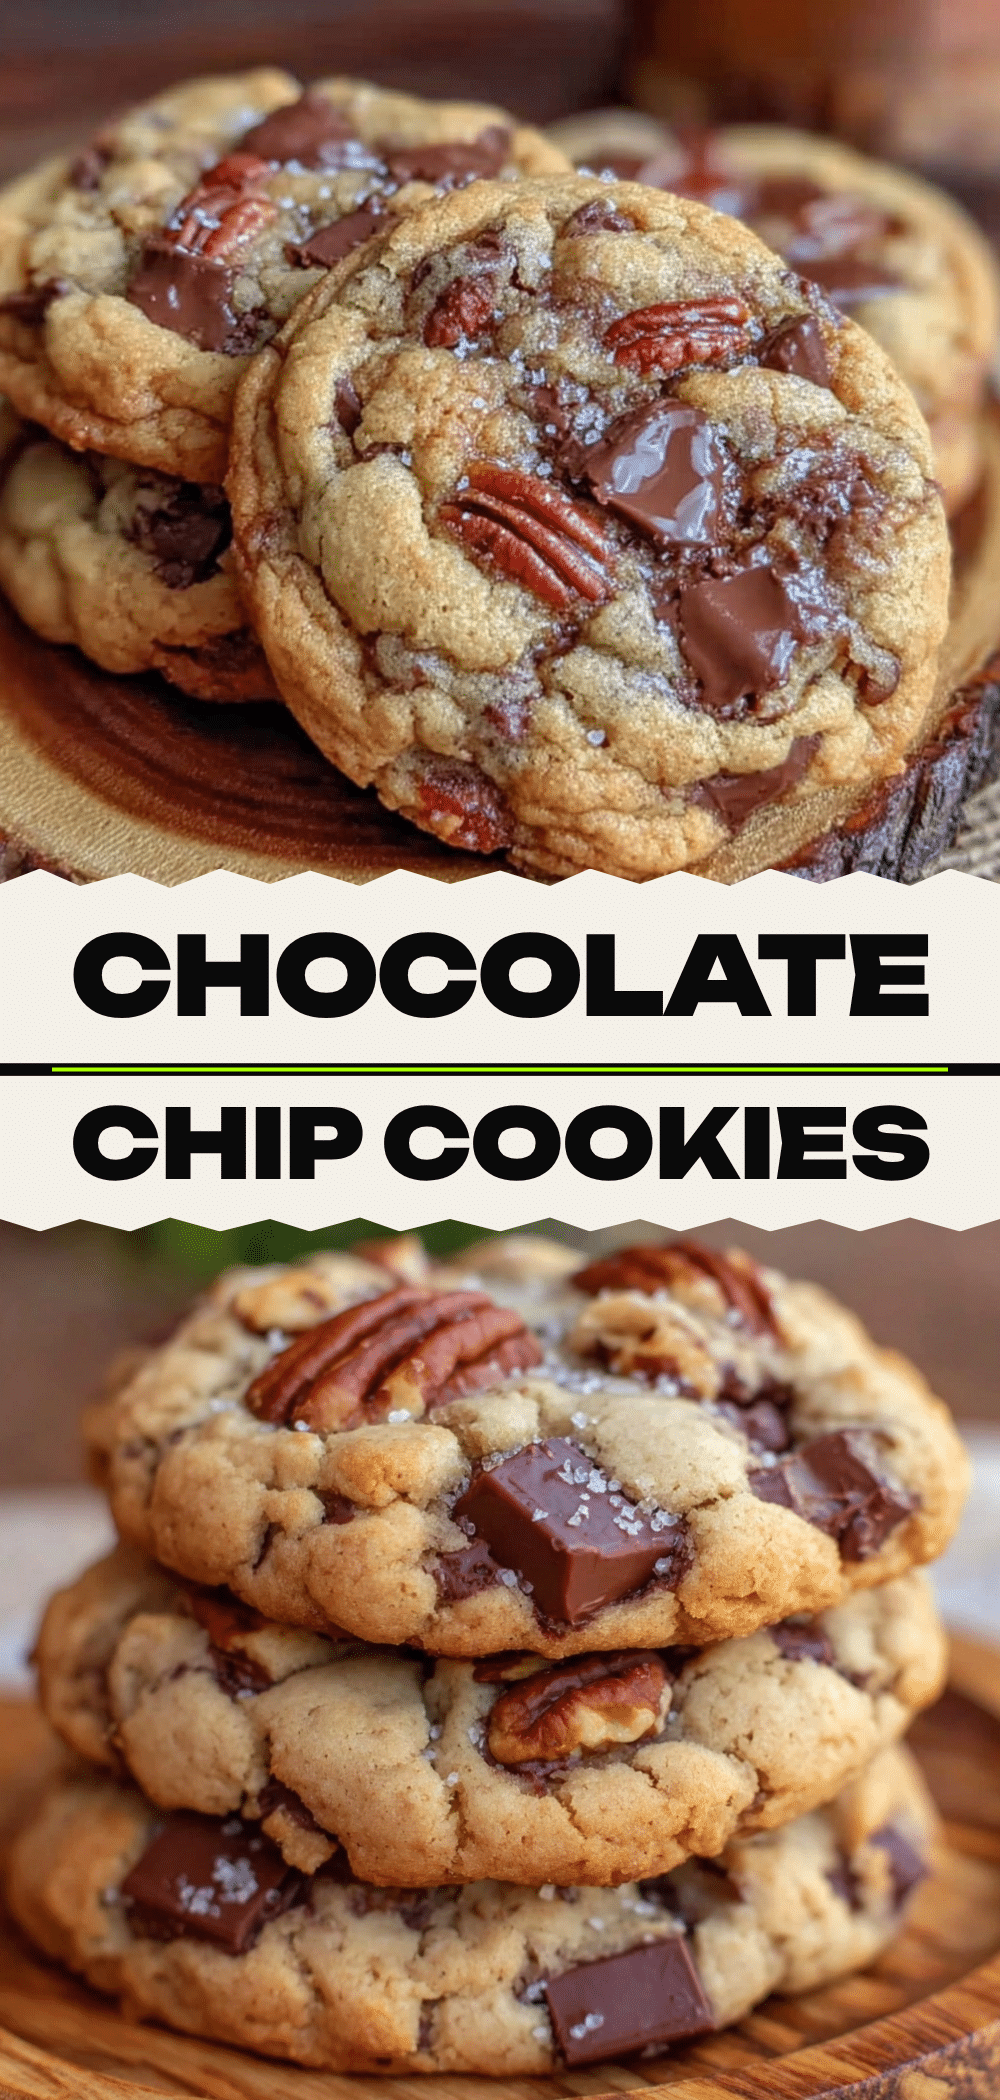

Chewy Brown Butter Chocolate Chip Cookies
- Total Time: 25 minutes (active time)
- Yield: 24 cookies 1x
Description
These cookies feature crisp edges and a soft, chewy center with deep, nutty flavors from browned butter. The secret to their bakery-quality texture is resting the dough for 24 hours.
Ingredients
- 1 cup (226g) unsalted butter
- 1 ½ cups (300g) dark brown sugar
- ½ cup (100g) granulated sugar
- 1 large egg + 1 egg yolk
- 2 tsp vanilla extract
- 2 ¼ cups (280g) all-purpose flour
- 1 tsp baking soda
- 1 tsp kosher salt
- 2 cups (340g) chocolate chips (mix of semi-sweet and milk chocolate)
- Flaky sea salt (for topping, optional)
Instructions
- Brown the butter: Melt unsalted butter in a heavy-bottomed saucepan over medium heat. Stir frequently until it turns deep amber and smells nutty (about 5 minutes). Remove from heat and pour into a heatproof bowl. Let cool for 10 minutes until just warm.
- Mix wet ingredients: Whisk brown sugar and granulated sugar into the warm brown butter for 2 minutes. Add the whole egg, egg yolk, and vanilla extract. Whisk until smooth and glossy.
- Combine dry ingredients: In a separate bowl, whisk together flour, baking soda, and kosher salt.
- Form the dough: Fold dry ingredients into the wet mixture until no streaks remain. Fold in chocolate chips. Cover and refrigerate for at least 24 hours for best flavor and texture.
- Preheat oven to 350°F (175°C). Line baking sheets with parchment paper.
- Scoop dough into 2-tablespoon balls and place on baking sheets, leaving 2 inches between them.
- Bake for 12-14 minutes until edges are golden brown but centers look slightly underdone.
- Immediately sprinkle with flaky sea salt if using. Let cool on the baking sheet for 5 minutes, then transfer to a wire rack to cool completely.
Notes
The key to this recipe is resting the dough for 24 hours to allow flour hydration and flavor development. Ensure brown butter is cooled before mixing to prevent melting the chocolate. Do not overbake; cookies continue to cook on the hot pan. For gluten-free version, use a 1:1 gluten-free flour blend with xanthan gum.
- Prep Time: 10 minutes
- Cook Time: 12 minutes
- Category: Dessert
- Cuisine: American
Nutrition
- Serving Size: 1 cookie
- Calories: 220
- Sugar: 18
- Sodium: 180
- Fat: 12
- Saturated Fat: 7
- Carbohydrates: 28
- Fiber: 1
- Protein: 3
Keywords: brown butter cookies, chocolate chip cookies, chewy cookies, bakery style cookies, baking tips, dessert recipe


