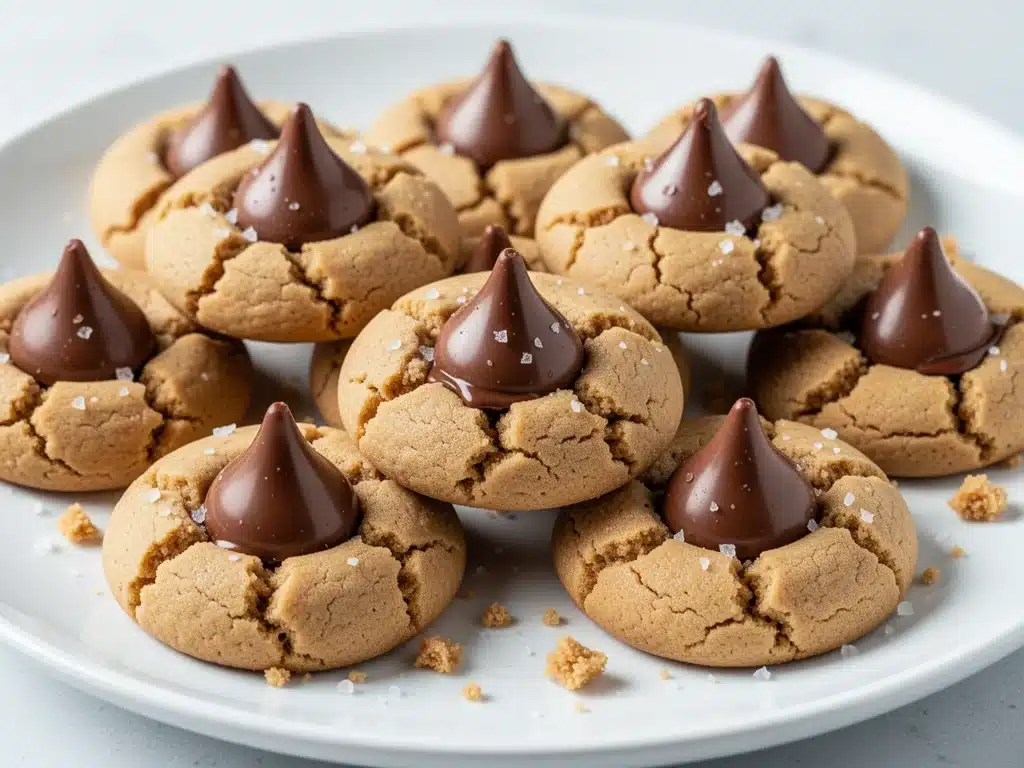
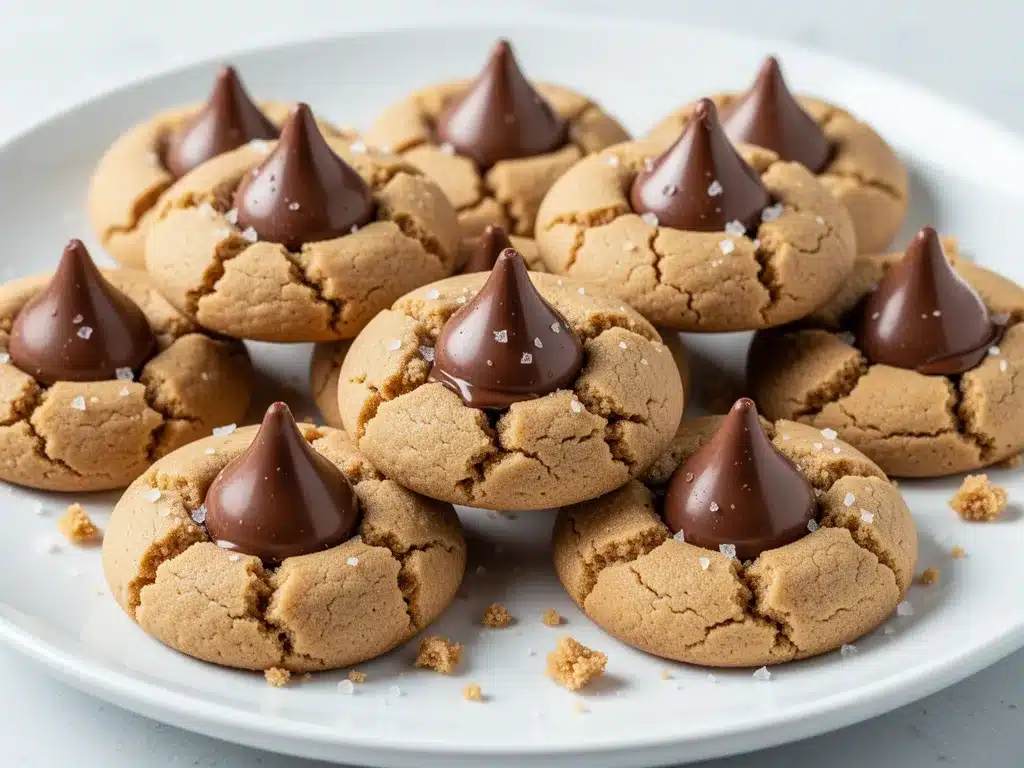
I still remember the smell of my aunt’s kitchen on Christmas Eve. It wasn’t just cinnamon and pine needles (though there was plenty of both); it was this warm, nutty, buttery scent that seemed to wrap around you the second you opened the door. She always had a plate of these peanut butter blossoms cooling on the counter. Dark, crinkly peanut butter cookies topped with a Hershey’s Kiss that had been gently pressed in while the cookie was still warm. I didn’t know it then, but I was watching a ritual that would define my own holidays for the next thirty years.
For a long time, I thought making them was complicated. I assumed there was some secret technique I was missing, or that I needed fancy ingredients. So I bought the box mix. Don’t judge me. I was busy, tired, and needed something that tasted “holiday” without requiring a culinary degree. But you know what? Those box mix cookies were flat. They didn’t have that perfect crackle top. The Kisses slid off like they were on ice. They tasted fine, but they didn’t taste like *memory*.
So, last year, I decided to finally tackle the from-scratch version. I made three batches. The first one? Burnt around the edges because I was distracted by wrapping gifts. The second one? Too cakey because I overmixed the dough. But the third batch? Perfect. Crisp edges, chewy center, and those Kisses sitting proudly on top like little chocolate crowns. These peanut butter blossom cookies are now the cornerstone of my holiday baking. They’re easier than you think, they smell amazing, and they’re the reason my house smells like heaven every December.
Why You’ll Love This Recipe
There are about a hundred reasons I keep coming back to this recipe, but let’s be real—you’re probably here because you need a cookie that delivers maximum nostalgia with minimum stress. Here’s why this peanut butter blossom cookie recipe has earned a permanent spot in your holiday rotation:
- Stupid Simple Ingredients — Seriously, if you have butter, sugar, peanut butter, flour, eggs, and chocolate kisses, you’re 90% there. No weird extracts or hard-to-find spices. Just honest, good food.
- Make-Ahead Friendly — This is the ultimate party trick. You can mix the dough, roll it into balls, freeze them on a baking sheet, and then transfer to a bag. When guests show up (or when you need a mid-afternoon pick-me-up), you just pull them out and bake. Fresh cookies, zero effort.
- The Texture Contrast — I’m obsessed with the way these cookies bake up. The outside gets slightly crisp and crinkly, while the inside stays soft and chewy. Then you add that smooth, melting chocolate kiss. It’s a texture party in your mouth.
- Universal Crowd-Pleaser — I’ve served these to my nut-allergic friends (by swapping in sunflower seed butter—more on that later), my picky teenager, and my gluten-free neighbor. Everyone finds something to love here. They’re not too sweet, not too rich, just perfectly balanced.
- Quick Bake Time — From preheating the oven to cooling and eating? About 30 minutes. That’s faster than ordering delivery, and they’ll look like you spent hours in the kitchen.
This is my go-to when I need to bake something that feels special but doesn’t require a three-day project. It’s reliable, delicious, and makes everyone happy. Plus, the kitchen smells incredible while they bake, which is basically half the fun of the holidays.
Ingredients You’ll Need
Here’s the best part: you probably have most of this already in your pantry. I’m particular about three ingredients here, and I’ll tell you exactly why. The rest is standard baking staples.
For the Cookie Base
Unsalted butter (1 cup / 226g, softened) — I use unsalted so I can control the saltiness. If you only have salted, reduce the added salt in the recipe to half a teaspoon. The butter needs to be soft but not melted. If you poke it and your finger leaves a deep indent, you’re good. If it’s shiny and greasy, it’s too soft.
Granulated sugar (1 cup / 200g) — This gives the cookies their structure and that slight crispness. Don’t swap this for brown sugar if you want the classic crinkle top. Brown sugar makes them chewier, which is nice, but different.
Packed brown sugar (1 cup / 220g) — This adds moisture and a hint of molasses flavor. It’s what makes the center soft. Pack it down tight when you measure it. Loose brown sugar means less moisture, and your cookies will be dry.
Creamy peanut butter (1 cup / 250g) — This is the star. Use a standard brand like Jif or Skippy. Natural peanut butter (the kind where the oil separates) can make the dough too greasy unless you work it in really well. I stick to the standard stuff for consistency. If you need nut-free, sunflower seed butter works great.
Large eggs (2) — Room temperature eggs incorporate better into the dough. If you forgot to take them out, just drop them in a bowl of warm water for 5 minutes.
Vanilla extract (1 teaspoon) — Pure vanilla makes a huge difference. The cheap imitation stuff tastes chemical. Spend the extra dollar. It’s worth it.
For the Dry Mix
All-purpose flour (2 cups / 250g) — Don’t overmeasure this. Spoon it into the cup and level it off. Scooping straight from the bag packs it down and leads to dry, crumbly cookies.
Baking soda (1 teaspoon) — This helps the cookies spread and brown. Make sure it’s not expired. If it’s old, your cookies won’t rise.
Baking powder (½ teaspoon) — Adds a little lift for that perfect dome shape.
Salt (½ teaspoon) — Even in sweet cookies, salt enhances the peanut butter flavor. Don’t skip it.
For the Topping
Hershey’s Kisses (about 36-40 pieces) — The classic milk chocolate ones. You can use almond joys if you’re fancy, but the classic kiss is the traditional choice. Some people use mini chocolate chips, but the kiss is iconic.
Extra granulated sugar (for rolling) — About ½ cup. This is what creates that beautiful crinkly, snowy top on the cookies.
Equipment Needed
You don’t need fancy equipment for this. Here’s what I actually use in my kitchen:
Large mixing bowls — One for wet ingredients, one for dry. I like having two so I don’t have to wash in between.
Hand mixer or stand mixer — A hand mixer is fine, but a stand mixer saves your arms. I use my stand mixer on medium speed. If you mix by hand, be prepared for some elbow grease.
Baking sheets — Two half-sheet pans. I use non-stick ones. If you’re using dark pans, reduce the oven temperature by 25 degrees to prevent burning.
Parchment paper or silicone mats — Do not skip this. Greasing the pan isn’t enough. These cookies spread, and you want them to release easily. Parchment paper makes cleanup a breeze.
Cooling rack — Essential for letting the cookies cool so the chocolate doesn’t melt off.
Silicone spatula — For scraping the bowl. There’s always dough stuck to the side. Don’t waste it.
Small bowl — For the extra sugar you’ll use to roll the dough balls in.
Timer — Because I always forget how long they’ve been in the oven. Set it for 8 minutes.
How to Make It: Step-by-Step
Alright, let’s make these! I’m walking you through exactly how I do it, including the little tricks I’ve picked up over the years. This peanut butter blossom cookie recipe is straightforward, but timing matters.
Step 1: Prep Your Oven and Pans (2 minutes)
Preheat your oven to 350°F (175°C). Line your baking sheets with parchment paper. This is non-negotiable for easy cleanup and even baking. If you’re short on parchment, you can grease the pans well, but parchment is better.
Step 2: Cream the Butter and Sugars (3-4 minutes)
In a large bowl, beat the softened butter, granulated sugar, and brown sugar together on medium-high speed. This is the most important step. You need to beat this until it’s light and fluffy, about 2-3 minutes. The mixture will look pale and creamy. If you rush this, your cookies will be dense. Don’t skip the creaming.
Step 3: Add Wet Ingredients (2 minutes)
Add the peanut butter, eggs, and vanilla extract to the butter mixture. Beat until just combined. The mixture might look a little curdled at first—that’s okay. It will come together as you add the flour. Scrape down the sides of the bowl with your spatula to make sure everything is incorporated.
Step 4: Mix Dry Ingredients (2 minutes)
In a separate medium bowl, whisk together the flour, baking soda, baking powder, and salt. Then, gradually add the dry ingredients to the wet mixture on low speed. Mix until *just* combined. Stop mixing as soon as you no longer see streaks of flour. Overmixing develops gluten, which makes cookies tough. We want tender cookies.
Step 5: Roll and Chill (Optional but Recommended)
Here’s a pro tip: if you have time, chill the dough for 30 minutes. This prevents the cookies from spreading too much and helps them keep that nice round shape. If you’re in a hurry, you can skip this, but the cookies will spread more. Roll the dough into 1-inch balls (about a tablespoon each).
Step 6: Roll in Sugar
Roll each dough ball in the extra granulated sugar, coating it completely. This is what creates that beautiful crinkly, snowy top. Make sure they’re well-coated. Place them on the prepared baking sheets, about 2 inches apart. They will spread.
Step 7: Bake (8-10 minutes)
Bake for 8-10 minutes. The edges should be lightly golden, and the centers should still look slightly soft and underbaked. They will firm up as they cool. Do not overbake them, or they’ll be dry. I usually take them out at 8 minutes for chewy centers, or 10 minutes for slightly crispier edges.
Step 8: Add the Kisses (2 minutes)
As soon as you take the cookies out of the oven, press a Hershey’s Kiss into the center of each warm cookie. The heat from the cookie will melt the bottom of the kiss slightly, helping it stick. If you wait too long, the cookie will cool and the kiss won’t stick. Work quickly!
Step 9: Cool
Let the cookies cool on the baking sheet for 5 minutes before transferring them to a wire rack. This allows them to set. If you move them too soon, they might break.
Expert Tips & Tricks
Here’s everything I’ve learned from making this recipe dozens of times. These tips will save you from my mistakes.
Don’t Overbake
This is the #1 mistake people make. These cookies look done when they’re still soft in the middle. They continue to cook on the hot baking sheet after you take them out. If they look hard when they come out of the oven, they’ll be rock hard when they cool. Take them out when they look slightly underdone.
Room Temperature Ingredients
I can’t stress this enough. Cold butter doesn’t cream properly. Cold eggs cause the mixture to split. Take your butter and eggs out of the fridge an hour before you start. If you’re in a rush, warm the butter in the microwave for 10-second bursts (don’t melt it!) and drop eggs in warm water.
Chill the Dough
If your kitchen is warm, the dough might be too soft to roll. Chill it in the fridge for 20-30 minutes. This also helps the flavors meld. I often make the dough the night before and bake in the morning. It’s so convenient.
Use the Right Chocolate
Hershey’s Kisses are traditional, but you can use other chocolates. Mini chocolate chips work if you don’t like the foil wrapper hassle. But the kiss is iconic for a reason. Just remember to press them in immediately.
Storage is Key
These cookies stay fresh for up to 5 days in an airtight container at room temperature. If you live in a humid climate, add a piece of bread to the container to keep them soft. The bread gets hard, but the cookies stay fresh.
Variations & Substitutions
Once you’ve nailed the basic version, here’s how you can mix it up. I’ve tried all of these.
Nut-Free Version
Swap the peanut butter for sunflower seed butter or soy nut butter. The texture is slightly different, but the taste is similar. You can also use cookie butter (Biscoff) for a cinnamon-spiced twist.
Dark Chocolate Kisses
If you prefer less sweetness, use dark chocolate Hershey’s Kisses or even mini dark chocolate chips. It balances the sweetness of the cookie dough perfectly.
Peanut Butter Cup Version
Instead of Kisses, press a small Reese’s Peanut Butter Cup half into the center. It’s richer and more intense. Great for peanut butter lovers.
Gluten-Free
Use a 1:1 gluten-free flour blend. I’ve used Bob’s Red Mill and King Arthur, and both work well. Make sure your baking powder is gluten-free. The texture might be slightly more crumbly, but still delicious.
Vegan
Use vegan butter (like Miyoko’s or Earth Balance), flax eggs (1 tbsp ground flax + 3 tbsp water per egg), and vegan chocolate kisses. The dough might be stickier, so chill it well before baking.
Chocolate Dipped
If you can’t find kisses, melt semi-sweet chocolate chips with a little coconut oil and dip the top of each cooled cookie. It looks professional and tastes amazing.
Serving & Storage
How to Serve:
I usually serve these straight from the cooling rack. They’re best warm, with the chocolate slightly melted. Pair them with a cold glass of milk, obviously. Or a hot cup of coffee if you’re an adult. These cookies are also perfect for gift boxes. Wrap them in cellophane bags with a ribbon for a cheap but thoughtful holiday gift.
Refrigerator:
Store in an airtight container at room temperature for up to 5 days. Do not refrigerate them unless it’s very hot and humid, as the cold can make the cookies hard.
Freezing Dough:
You can freeze the dough balls for up to 3 months. Bake them straight from frozen, adding 1-2 minutes to the bake time. This is my favorite way to prep for the holidays.
Freezing Baked Cookies:
These freeze well for up to 2 months. Let them thaw at room temperature. The chocolate might sweat a little, but it’ll dry back off. They taste just as good as fresh.
Pro Tip:
If you’re making these for a party, bake them the day before. They actually taste better the next day as the flavors meld and the texture sets.
Nutrition Information
I’m not a nutritionist, but here’s the breakdown if you’re tracking. Keep in mind that these are treat cookies, so they’re indulgent.
Per Cookie (based on 36 cookies):
– Calories: 140
– Protein: 3g
– Carbs: 18g
– Fiber: 1g
– Sugar: 12g
– Fat: 7g
– Saturated Fat: 3g
– Cholesterol: 10mg
– Sodium: 80mg
What’s Good:
– Decent protein from the peanut butter
– Quick energy from the sugar
– Easy to make portion-controlled (they’re small!)
What to Know:
– High in sugar and fat
– Contains nuts (unless substituted)
– Moderate sodium
My Take:
Look, these are cookies. They’re meant to be enjoyed. I don’t stress about the calories when I’m having a holiday treat. I just enjoy them mindfully. If you’re watching sugar, maybe share one with a friend. Or eat it with a cup of tea to slow down.
Final Thoughts
So that’s my go-to peanut butter blossom cookie recipe! I’ve probably talked your ear off at this point, but when you make a recipe this often, you have a lot to say about it. These cookies have saved my holiday baking more times than I can count. They’re my answer to “what should I bring to the party” when I’m tired, don’t want to bake something complicated, and still want something that tastes really good. My family is happy, my friends are happy, and I’m happy because I’m not stressed about cooking.
Make it yours! Try different chocolates, swap in your favorite nut butter, or add a pinch of sea salt on top for a gourmet touch. The best recipes are the ones you adapt to your family’s tastes.
If you make this, drop a comment and let me know what you think! I love hearing how recipes turn out in your kitchen. And if something doesn’t work, tell me that too—I’m here to help troubleshoot.
Happy baking! And I hope your kitchen smells half as good as mine does right now.
Frequently Asked Questions
Can I use natural peanut butter?
You can, but it can be tricky. Natural peanut butter has separated oil, which can make the dough greasy. If you use it, make sure to stir the oil back in thoroughly before measuring. You might need to add a little more flour to compensate for the extra oil. I usually stick to standard creamy peanut butter for consistent results.
Why did my cookies spread too much?
This usually means the butter was too soft or the dough wasn’t chilled enough. Make sure your butter is soft but not melted. If your kitchen is warm, chill the dough for 30 minutes before rolling. Also, make sure you’re not over-creaming the butter and sugar, which can incorporate too much air and cause spreading.
Can I make these ahead of time?
Yes! You can make the dough and freeze it for up to 3 months. Just roll it into balls, freeze on a baking sheet, then transfer to a bag. Bake straight from frozen, adding 1-2 minutes to the bake time. You can also bake them and freeze them for up to 2 months.
Why didn’t the Kisses stick?
The cookies need to be warm when you press the Kisses in. If you wait too long, they cool and harden, and the chocolate won’t stick. Also, make sure you’re pressing them in gently but firmly. If the cookie is too soft, the Kiss might sink. Take them out of the oven when the edges are just set.
Can I use chocolate chips instead of Kisses?
Absolutely. Mini chocolate chips work great. Just press them into the warm cookies. The look will be different, but the taste is the same. Some people prefer chips because they don’t have to worry about the foil wrapper.
How do I store leftover cookies?
Store them in an airtight container at room temperature for up to 5 days. If you live in a humid climate, add a piece of bread to the container to keep them soft. Do not refrigerate them unless necessary, as the cold can make them hard.
Can I double this recipe?
Yes, you can double everything. Just make sure you have a large enough mixing bowl and baking sheets. The cooking time stays the same. I usually double this recipe when I’m baking for a crowd.
Pin This Recipe!
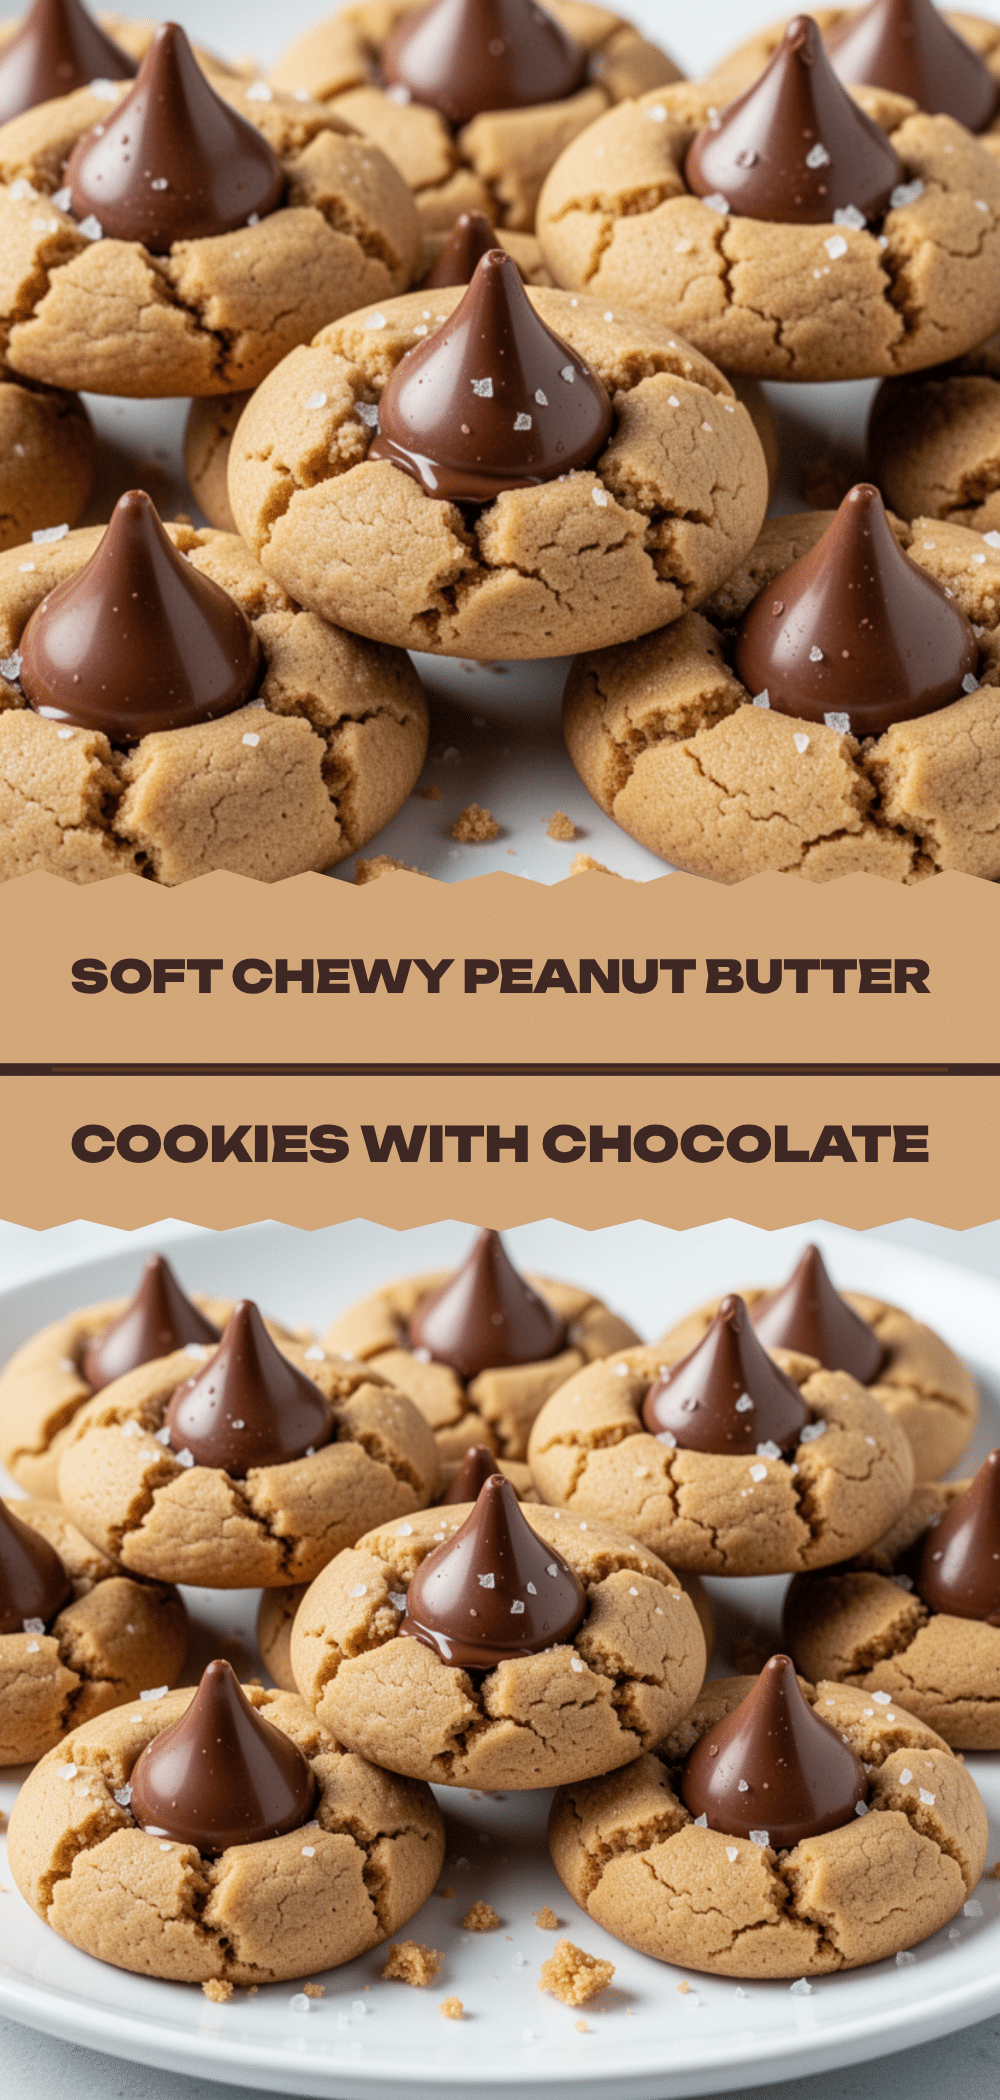
Peanut Butter Blossom Cookies
- Total Time: 25 minutes
- Yield: 36 servings 1x
Description
Classic holiday peanut butter cookies with a crinkly top, chewy center, and a Hershey’s Kiss pressed into the warm cookie. Easy to make and perfect for gifting.
Ingredients
- 1 cup (226g) unsalted butter, softened
- 1 cup (200g) granulated sugar
- 1 cup (220g) packed brown sugar
- 1 cup (250g) creamy peanut butter
- 2 large eggs, room temperature
- 1 teaspoon vanilla extract
- 2 cups (250g) all-purpose flour
- 1 teaspoon baking soda
- 1/2 teaspoon baking powder
- 1/2 teaspoon salt
- 1/2 cup extra granulated sugar (for rolling)
- 36–40 Hershey’s Kisses
Instructions
- Preheat oven to 350°F (175°C). Line two baking sheets with parchment paper.
- In a large bowl, beat softened butter, granulated sugar, and brown sugar on medium-high speed until light and fluffy (2-3 minutes).
- Add peanut butter, eggs, and vanilla extract. Beat until just combined, scraping down the sides of the bowl.
- In a separate medium bowl, whisk together flour, baking soda, baking powder, and salt.
- Gradually add dry ingredients to the wet mixture on low speed. Mix until just combined; do not overmix.
- Optional: Chill dough for 30 minutes to prevent spreading.
- Roll dough into 1-inch balls and coat completely in extra granulated sugar.
- Place balls on prepared baking sheets, 2 inches apart.
- Bake for 8-10 minutes until edges are lightly golden but centers look soft.
- Immediately remove from oven and press a Hershey’s Kiss into the center of each warm cookie.
- Let cookies cool on the baking sheet for 5 minutes before transferring to a wire rack.
Notes
Ensure butter is softened but not melted. Do not overbake as cookies continue to cook on the hot pan. For nut-free versions, substitute sunflower seed butter. For gluten-free, use a 1:1 gluten-free flour blend. Store in an airtight container at room temperature for up to 5 days.
- Prep Time: 15 minutes
- Cook Time: 10 minutes
- Category: Dessert
- Cuisine: American
Nutrition
- Serving Size: 1 cookie
- Calories: 140
- Sugar: 12
- Sodium: 80
- Fat: 7
- Saturated Fat: 3
- Carbohydrates: 18
- Fiber: 1
- Protein: 3
Keywords: peanut butter cookies, holiday baking, christmas cookies, easy dessert, peanut butter blossoms, herseys kisses


