It started with a leftover jar of peanut butter and a bag of semi-sweet chocolate chips that I was supposed to be ignoring. I was staring into the fridge at 11 PM on a Tuesday, trying to convince myself that a spoonful of peanut butter straight from the jar counted as a snack. Then I looked at the chocolate chips. Something clicked. Why stop at a snack?
I grabbed a loaf pan, a box of cake mix (don’t judge me, I was tired), and went to town. What came out of the oven wasn’t just a snack. It was a dense, fudgy, peanut-buttery mess that tasted exactly like the inside of a Reese’s Peanut Butter Cup, but better. Why? Because I added way more peanut butter than the candy bar would ever allow, and I used real chocolate, not that waxy coating stuff.
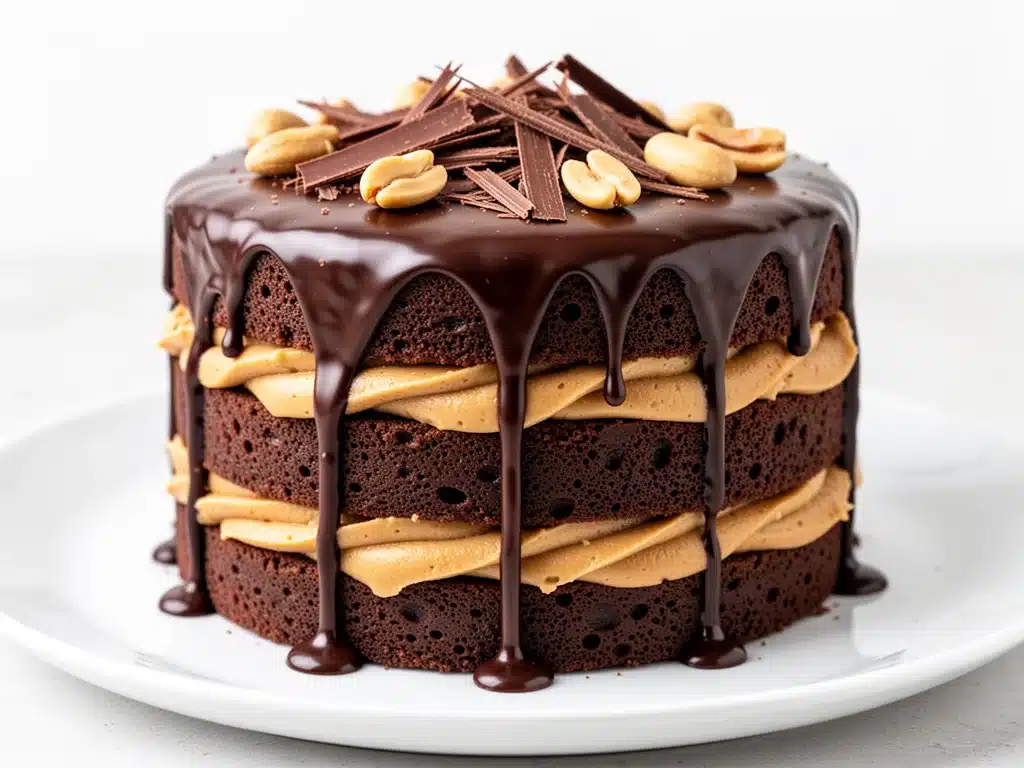
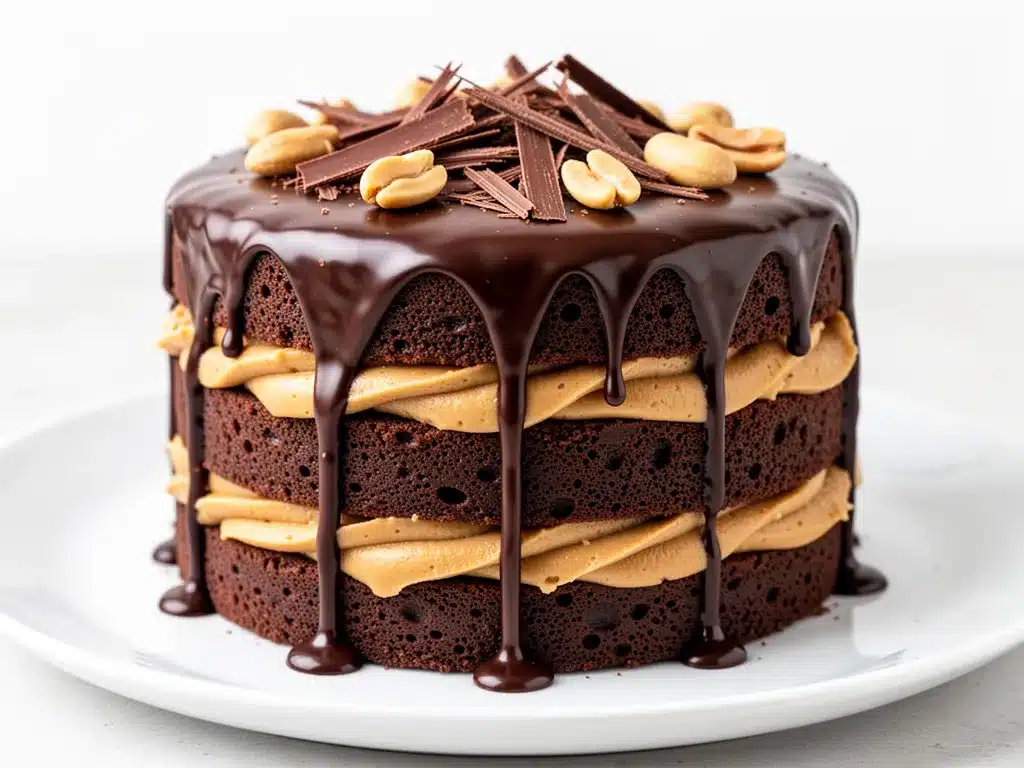
Fast forward three months, and this Chocolate Peanut Butter Cup Layer Cake has become my non-negotiable dessert. I’ve made it for birthdays, for “just because” Tuesdays, and even for my neighbor who claims she doesn’t like peanut butter (she asked for the recipe the next day). It’s rich. It’s indulgent. It’s the kind of dessert that makes people close their eyes on the first bite and say, “What is in this? It’s magical.”
Here’s the thing about homemade versions of candy-inspired desserts: they’re usually too sweet or too dry. This one isn’t. I spent the last year tweaking the ratio of cake to filling to frosting until it was perfect. The result is a moist chocolate cake that doesn’t compete with the peanut butter—it supports it. The peanut butter layer is creamy and slightly salty, cutting through the sweetness of the chocolate. And the ganache? It’s glossy, thick, and sets up just enough to hold its shape without turning into a brick.
If you’re looking for a light, airy fruit tart, this isn’t it. This is a heavy-hitter. It’s a celebration cake. It’s the dessert you serve when you want everyone at the table to stop talking and just eat. And the best part? You don’t need to be a professional baker to make it. You just need patience, a mixer, and a willingness to share it (though I doubt you will).
Why You’ll Love This Chocolate Peanut Butter Cup Layer Cake
I’ve made this cake for more than a dozen occasions, and it has never failed to impress. It’s not just because it looks impressive (though the dark chocolate ganache dripping down the sides is pretty stunning). It’s because the flavor profile is perfectly balanced. Here’s why this Chocolate Peanut Butter Cup Layer Cake keeps me coming back to the kitchen:
- It’s Actually Moist — I’ve tried so many “chocolate cake” recipes that come out dry as dust. This one uses buttermilk and oil, which keeps it tender for days. Seriously, I ate the leftovers four days later, and it was still soft. That’s rare for homemade chocolate cake.
- The Peanut Butter Layer is the Star — Most cakes treat peanut butter as a garnish. Here, it’s a structural element. The thick, creamy peanut butter filling mimics the center of the candy cup. It’s salty, sweet, and incredibly satisfying. My kids fight over who gets the layer with the most peanut butter.
- It’s Easier Than It Looks — Yes, it’s a layer cake. Yes, it has three components. But the technique is straightforward. You bake the cake, you whip the filling, you melt the chocolate. There’s no complex piping or sugar work. If you can stir a bowl, you can make this.
- Perfect for Entertaining — This cake is a showstopper. I’ve served it at dinner parties where people were skeptical about dessert, and they left with seconds. It pairs beautifully with a strong black coffee or a cold glass of milk. It’s the kind of dessert that sparks conversation.
- Make-Ahead Friendly — You can bake the cake layers a day ahead. You can make the peanut butter filling a day ahead. The only thing you really need to do fresh is the ganache (though it’s fine if it’s room temperature). This makes it perfect for busy weekends.
This is my go-to when I need to impress without stressing. It’s reliable, delicious, and utterly indulgent. It’s the dessert equivalent of a warm hug.
Ingredients You’ll Need
Before we get to the mixing bowls, let’s talk about what goes into this Chocolate Peanut Butter Cup Layer Cake. I’m particular about a few of these, so pay attention to the notes.
For the Chocolate Cake Layers
Unsalted butter (1 cup / 225g, softened) — Room temperature is key. If it’s too cold, it won’t cream properly. If it’s too warm, the cake will be greasy. I leave it out for about an hour before starting.
Granulated sugar (2 cups / 400g) — Don’t use brown sugar here; you want a light, tender crumb, not a molasses flavor. White sugar creates that classic cake sweetness.
Eggs (4 large) — Room temperature eggs emulsify better. I take them out of the fridge while the oven preheats. Cold eggs can cause the batter to curdle.
Vanilla extract (2 teaspoons) — Use real vanilla. I know it’s expensive, but in a chocolate cake, vanilla is the backbone. I use pure extract, not imitation.
All-purpose flour (3 cups / 375g) — Spoon and level, don’t scoop. Scooping packs the flour and leads to dry cake. I fluff it up, spoon it into the cup, and level it off.
Cocoa powder (1 cup / 100g) — Use unsweetened natural cocoa, not Dutch-processed. Natural cocoa reacts with the baking soda for lift. I keep a box of Hershey’s on hand.
Baking soda (1 teaspoon) — Fresh! If your baking soda is older than six months, it’s probably dead. Test it with a little vinegar to be sure.
Salt (1 teaspoon) — Enhances the chocolate flavor. Don’t skip it.
Buttermilk (1 cup / 240ml) — The acid in buttermilk tenderizes the gluten. If you’re out, make a substitute: 1 cup milk + 1 tablespoon lemon juice. Let it sit for 5 minutes.
Hot water or hot coffee (1 cup / 240ml) — This blooms the cocoa powder, releasing deeper chocolate flavors. Coffee doesn’t make it taste like coffee; it just makes the chocolate taste more like chocolate. Trust me.
For the Peanut Butter Filling
Creamy peanut butter (1 cup / 250g) — Use standard Jif or Skippy. Natural peanut butter with oil on top is too runny. You want stability. If you’re making your own, add a bit of powdered sugar to thicken it.
Butter (½ cup / 115g, softened) — Adds richness and helps it spread smoothly.
Powdered sugar (2 cups / 240g) — Sifted! I sift this to avoid lumps. Lumpy peanut butter filling is a nightmare.
Milk (2-3 tablespoons) — Adjust for consistency. You want it thick enough to hold a shape, but soft enough to spread.
For the Chocolate Ganache
Heavy cream (1 cup / 240ml) — Full fat only. Low-fat cream won’t set properly.
Semi-sweet chocolate chips (2 cups / 340g) — I use Ghirardelli or Hershey’s. Don’t use baking bars unless you chop them finely. Chips melt evenly and have stabilizers that help the ganache set.
Butter (2 tablespoons) — Adds shine and a smoother texture. Optional, but I recommend it.
Equipment Needed
You don’t need fancy gadgets for this. Here’s what I actually use:
Two 9-inch round cake pans — Grease and line the bottoms with parchment paper. This is non-negotiable. If you don’t line them, the cake sticks, and you’ll be scraping it out of the pan in pieces.
Stand mixer or hand mixer — Creaming the butter and sugar by hand is a workout. Use a mixer. I use a KitchenAid, but any hand mixer works.
Large mixing bowls — One for dry ingredients, one for wet, one for the batter.
Spatula — A rubber spatula is essential for folding and scraping the bowl. I have three in my drawer; I use them all.
Offset spatula — For spreading the peanut butter layer and the ganache. It makes smoothing the frosting so much easier.
Whisk — For the ganache and mixing the dry ingredients.
Saucepan — For heating the cream for the ganache. Small to medium size works best.
Cooling rack — Let the cakes cool completely before frosting. Warm cake = melted frosting = disaster.
How to Make It: Step-by-Step
Alright, let’s bake this Chocolate Peanut Butter Cup Layer Cake. I’m walking you through exactly how I do it, including the little tricks I’ve picked up over the years.
Step 1: Prep Your Pans and Oven (5 minutes)
Preheat your oven to 350°F (175°C). Grease your two 9-inch round cake pans with butter or non-stick spray. Cut parchment paper to fit the bottoms of the pans. This ensures the cakes release easily and stay moist. Dust the pans with a little flour or cocoa powder, tapping out the excess. I use cocoa powder so you don’t see white streaks on the dark cake.
Step 2: Mix the Dry Ingredients (3 minutes)
In a large bowl, whisk together the flour, cocoa powder, baking soda, and salt. Whisking ensures there are no lumps of cocoa or baking soda. If you skip this, you’ll get bitter spots in your cake. Set aside.
Step 3: Cream the Butter and Sugar (3 minutes)
In the bowl of your stand mixer (or a large bowl if using a hand mixer), beat the softened butter and granulated sugar on medium-high speed for about 3-4 minutes. You want it pale and fluffy. This step incorporates air, which makes the cake light. If you rush this, the cake will be dense.
Step 4: Add Eggs and Vanilla (2 minutes)
Beat in the eggs one at a time, mixing well after each addition. Add the vanilla extract. Scrape down the sides of the bowl with a spatula to ensure everything is incorporated. The mixture might look slightly curdled—that’s okay.
Step 5: Combine Wet and Dry (2 minutes)
Turn the mixer to low. Add the dry ingredients in three additions, alternating with the buttermilk in two additions. Start and end with the dry ingredients. Mix just until combined. Do not overmix! Overmixing develops gluten, and you don’t want a chewy cake. You want tender. The batter will be thick.
Step 6: Add Hot Water or Coffee (1 minute)
Slowly pour in the hot water (or hot coffee) while the mixer is on low. The batter will become thin and watery. Don’t panic. This is normal. The hot liquid blooms the cocoa. Pour the batter evenly into your prepared pans. I use a scale to ensure both pans have the same amount of batter for even baking.
Step 7: Bake (30-35 minutes)
Bake at 350°F (175°C) for 30-35 minutes. The cakes are done when a toothpick inserted into the center comes out clean or with just a few moist crumbs. Do not overbake. If the toothpick has wet batter, it needs more time. If it’s clean, it’s done. Rotate the pans halfway through baking for even browning.
Step 8: Cool Completely (1 hour)
Let the cakes cool in the pans for 10 minutes, then turn them out onto a wire rack to cool completely. This is crucial. If you frost warm cake, the peanut butter layer will slide right off. Patience pays off.
Step 9: Make the Peanut Butter Filling (10 minutes)
While the cakes cool, make the filling. In a medium bowl, beat the softened butter and creamy peanut butter until smooth. Add the sifted powdered sugar and beat on low until combined. Add milk, one tablespoon at a time, until you reach a spreadable consistency. It should be thick enough to hold a swirl but soft enough to spread with a knife. Taste it. It should be sweet and salty.
Step 10: Assemble the Cake (15 minutes)
Place one cake layer on your serving plate or cake stand. Spread the peanut butter filling evenly over the top, leaving a small border around the edge so it doesn’t ooze out. Place the second cake layer on top. Press down gently to secure it.
Step 11: Make the Ganache (10 minutes)
In a small saucepan, heat the heavy cream over medium heat until it just begins to simmer (small bubbles around the edges). Pour the hot cream over the chocolate chips in a heatproof bowl. Let it sit for 5 minutes. This melts the chocolate gently. Add the butter. Stir slowly from the center outwards until smooth and glossy. Let it cool for 10-15 minutes until it thickens slightly but is still pourable.
Step 12: Frost the Cake (10 minutes)
Pour the ganache over the top of the cake. Use an offset spatula to guide it down the sides. Let it drip naturally. Don’t try to make it perfect. The drips are part of the charm. If the ganache is too thick, microwave it for 5 seconds and stir. If it’s too thin, let it sit for 5 more minutes.
Step 13: Chill and Slice (1 hour)
Refrigerate the cake for at least 1 hour to set the ganache and firm up the peanut butter layer. This makes slicing much cleaner. Slice with a sharp knife, wiping the blade between cuts for clean edges.
Expert Tips & Tricks
Here’s everything I’ve learned from making this dozens of times. These tips will save you from my mistakes.
Cool Your Cake Completely
I can’t stress this enough. I’ve tried to frost warm cake before, and it’s a mess. The peanut butter melts, the ganache slides off, and you end up with a chocolate puddle. Let it cool for at least an hour. If you’re in a hurry, put it in the fridge for 30 minutes, but make sure it’s cold to the touch.
Don’t Skimp on the Salt
Peanut butter and chocolate are sweet. Salt balances that sweetness. I use unsalted butter, so the salt in the recipe is crucial. Don’t reduce it.
Use Room Temperature Ingredients
Butter, eggs, buttermilk—all room temperature. Cold ingredients don’t emulsify well, leading to a lumpy batter. Take your eggs and butter out 1-2 hours before you start.
The Peanut Butter Consistency
If your peanut butter filling is too stiff, it will crack when you slice the cake. If it’s too soft, it will slide out. Aim for the consistency of thick frosting. You should be able to spread it, but it shouldn’t run.
Ganache Temperature
If your ganache is too hot, it will melt the cake. If it’s too cold, it will clump. Let it cool until it’s just starting to thicken. It should coat the back of a spoon but still flow slowly.
Variations & Substitutions
Once you’ve nailed the basic version, here’s how you can mix it up. I’ve tried all of these.
Salted Peanut Butter
If you like extra salt, use salted peanut butter and reduce the added salt in the cake by half. I find that a little extra salt really highlights the chocolate.
Chocolate Peanut Butter Cups
For a fun surprise, chop up mini Reese’s cups and layer them between the cake and the peanut butter filling. It adds crunch and extra chocolate.
Gluten-Free Option
Use a 1-to-1 gluten-free flour blend. The texture might be slightly denser, but it still tastes amazing. I’ve used Bob’s Red Mill blend with good results.
Vegan Version
Use vegan butter and milk, and dairy-free chocolate chips. The peanut butter filling stays the same (just check your peanut butter for honey). It’s surprisingly good, though the ganache might not set as firmly.
Single Layer
Make it in a 9×13 pan for a sheet cake. Adjust baking time to 35-40 minutes. Great for potlucks.
Serving & Storage
How to Serve:
I serve this cake chilled. The cold peanut butter layer is firm and satisfying. Slice it into wedges. It pairs beautifully with a strong cup of coffee or a glass of cold milk. The bitterness of the coffee cuts through the sweetness of the cake.
Storage:
Store leftovers in the refrigerator in an airtight container. It will keep for up to 5 days. The cake actually gets better after a day as the flavors meld together. Bring it to room temperature for 20 minutes before serving for the best texture.
Freezing:
You can freeze the unfrosted cake layers. Wrap them tightly in plastic wrap and foil. Freeze for up to 3 months. Thaw overnight in the fridge before frosting. The ganache and peanut butter filling do not freeze well; the texture changes.
Nutrition Information
I’m not a nutritionist, but here’s the breakdown if you’re tracking. This is a rich dessert, so portion control is key.
Per Serving (based on 12 slices):
- Calories: 580
- Protein: 8g
- Carbs: 65g
- Fat: 32g
- Sugar: 45g
- Sodium: 320mg
Look, this is a cake. It’s chocolate and peanut butter. It’s not a salad. But it’s homemade, so you know exactly what’s in it. When I make it, I enjoy a small slice and savor it. It’s a treat, not a staple.
Final Thoughts
So that’s my Chocolate Peanut Butter Cup Layer Cake! I’ve probably talked your ear off at this point, but when you make a recipe this often, you have a lot to say about it.
This cake has saved my dessert game more times than I can count. It’s my answer to “what’s for dessert?” when I want something special but don’t want to order takeout. My family loves it, my friends beg for it, and I love making it. It’s indulgent, but it’s also approachable.
Make it yours! Try different peanut butters, add some crushed peanuts on top, or drizzle some caramel over the ganache. The best recipes are the ones you adapt to your tastes.
If you make this, drop a comment and let me know what you think! I love hearing how recipes turn out in your kitchen. And if something doesn’t work, tell me that too—I’m here to help troubleshoot.
Happy baking! And I hope your kitchen smells half as good as mine does right now.
Frequently Asked Questions
Can I use dark chocolate for the ganache?
Yes! I’ve used 60% dark chocolate, and it adds a nice depth of flavor. It’s less sweet, which balances the sweet peanut butter layer. Just make sure to chop it finely if you’re using bars instead of chips.
Why did my ganache seize?
If water gets into the chocolate, it seizes. Make sure your bowl is completely dry. Also, don’t overheat the cream. If the cream is boiling, it can burn the chocolate. Just simmering is enough.
Can I make this cake ahead of time?
Absolutely. Bake the cakes a day ahead. Wrap them tightly and store at room temperature. Make the peanut butter filling and ganache the day of. Assemble in the morning or the night before. It keeps well in the fridge.
Can I use salted butter?
You can, but reduce the added salt in the recipe by half. Butter salt content varies by brand, so taste your batter if you’re unsure. I prefer unsalted so I can control the salt level.
How do I get clean slices?
Use a sharp knife. Dip it in hot water and wipe it dry before each cut. This helps the knife glide through the ganache and peanut butter without tearing the cake.
Is the peanut butter filling stable?
Yes, it’s quite stable at room temperature, but it’s best served chilled. If your kitchen is very hot, keep the cake refrigerated until serving. The butter in the filling helps it hold its shape.
Can I double this recipe?
You can, but you’ll need three 9-inch pans. Bake times might vary slightly, so check for doneness a few minutes early. I usually make this in two pans, but triple batches work fine.
Pin This Recipe!
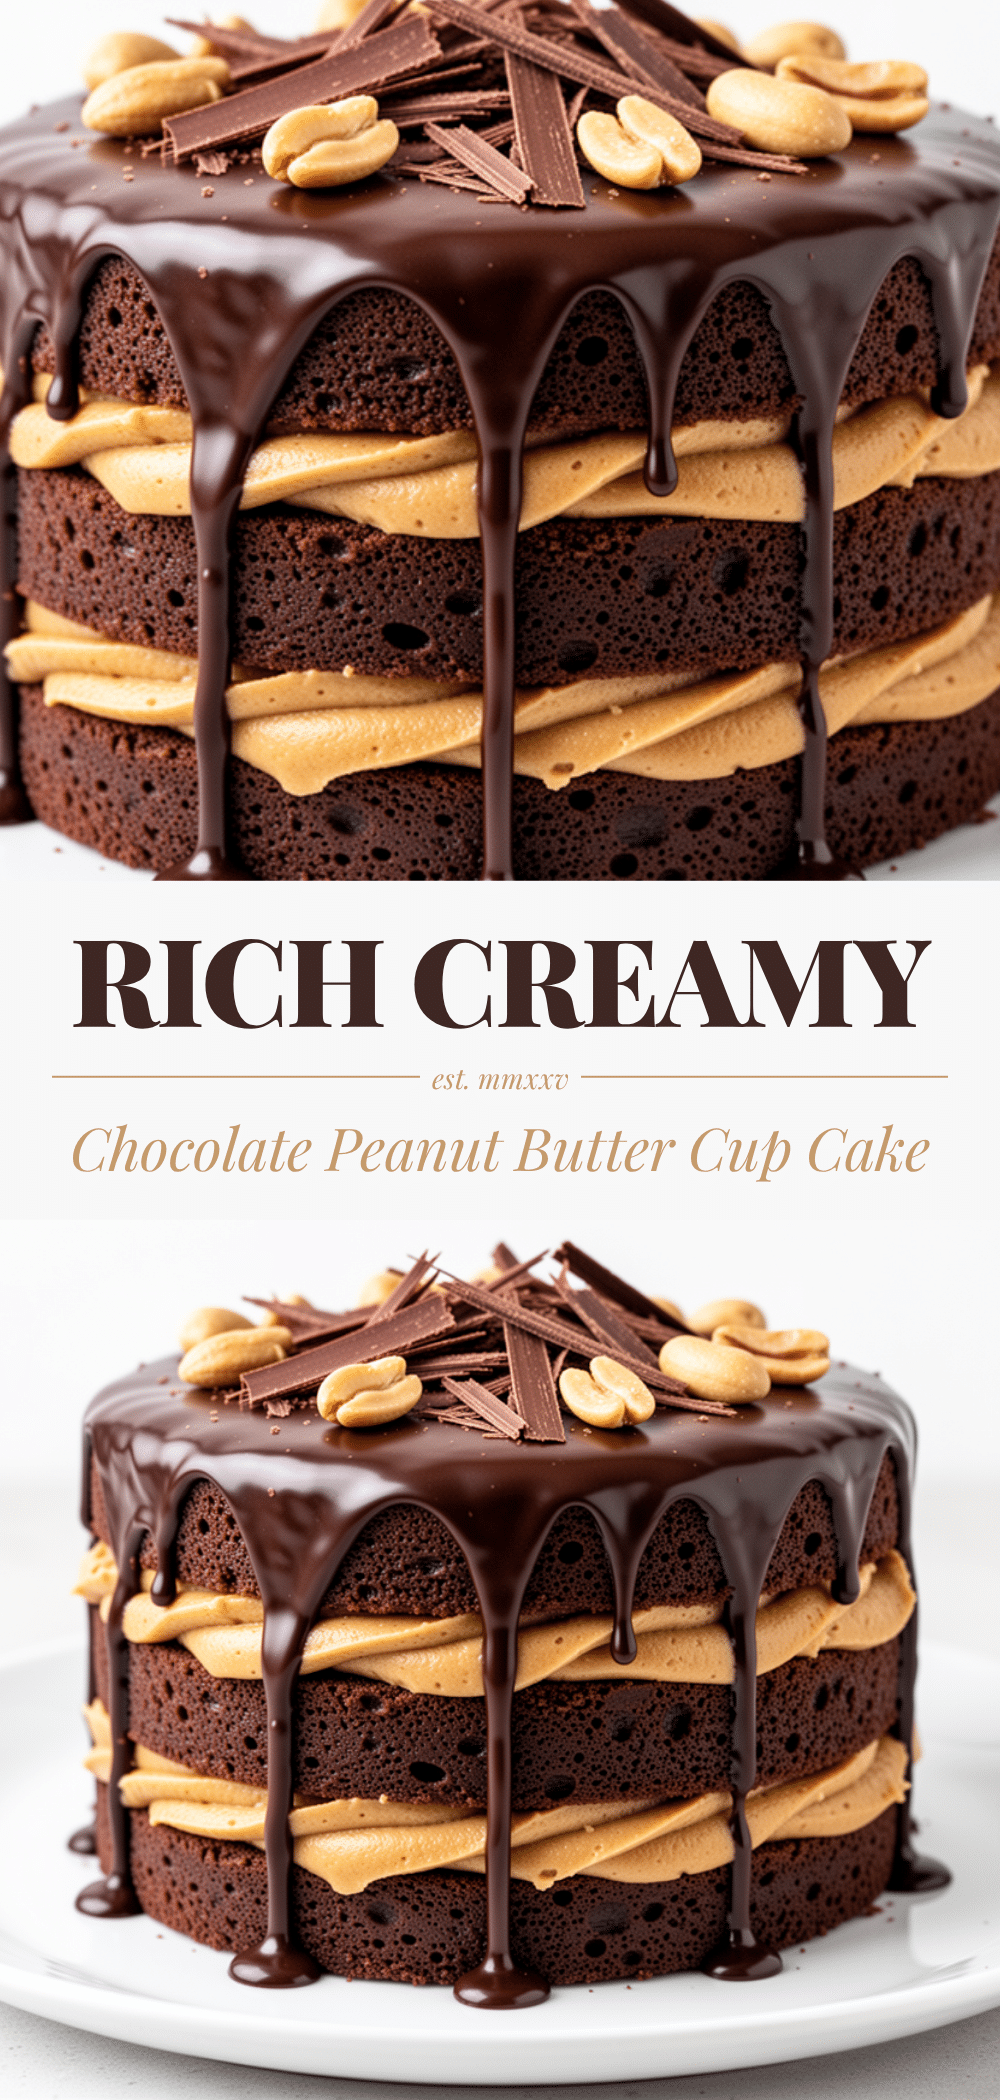
Chocolate Peanut Butter Cup Layer Cake
- Total Time: 1 hour 20 minutes
- Yield: 12 servings 1x
Description
A rich, indulgent homemade layer cake featuring moist chocolate cake layers, a creamy salty peanut butter filling, and a glossy semi-sweet chocolate ganache. Inspired by Reese’s Peanut Butter Cups, this dessert is moist, balanced, and perfect for entertaining.
Ingredients
- 1 cup (225g) unsalted butter, softened
- 2 cups (400g) granulated sugar
- 4 large eggs, room temperature
- 2 teaspoons vanilla extract
- 3 cups (375g) all-purpose flour
- 1 cup (100g) unsweetened natural cocoa powder
- 1 teaspoon baking soda
- 1 teaspoon salt
- 1 cup (240ml) buttermilk
- 1 cup (240ml) hot water or hot coffee
- 1 cup (250g) creamy peanut butter
- 1/2 cup (115g) butter, softened
- 2 cups (240g) powdered sugar, sifted
- 2–3 tablespoons milk
- 1 cup (240ml) heavy cream
- 2 cups (340g) semi-sweet chocolate chips
- 2 tablespoons butter
Instructions
- Preheat oven to 350°F (175°C). Grease two 9-inch round cake pans, line bottoms with parchment paper, and dust with cocoa powder.
- In a large bowl, whisk together flour, cocoa powder, baking soda, and salt.
- In a stand mixer, beat softened butter and granulated sugar on medium-high speed for 3-4 minutes until pale and fluffy.
- Beat in eggs one at a time, then add vanilla extract. Scrape down the bowl.
- Mix on low, adding dry ingredients in three additions alternating with buttermilk in two additions. Start and end with dry ingredients. Mix just until combined.
- Slowly pour in hot water or coffee while mixing on low. Batter will be thin. Divide evenly between prepared pans.
- Bake for 30-35 minutes until a toothpick inserted comes out clean. Rotate pans halfway through. Cool in pans for 10 minutes, then turn out onto a wire rack to cool completely.
- While cakes cool, beat 1/2 cup softened butter and peanut butter until smooth. Add sifted powdered sugar and mix on low. Add milk gradually until spreadable consistency is reached.
- Place one cake layer on a stand. Spread peanut butter filling evenly over the top, leaving a border. Top with second cake layer.
- Heat heavy cream in a saucepan until it just begins to simmer. Pour over chocolate chips in a heatproof bowl. Let sit for 5 minutes, then stir in 2 tablespoons butter until smooth and glossy.
- Let ganache cool for 10-15 minutes until slightly thickened but still pourable. Pour over the cake, allowing it to drip down the sides.
- Refrigerate for at least 1 hour to set before slicing with a sharp knife.
Notes
Ensure all ingredients like butter and eggs are at room temperature for proper emulsification. Do not overmix the batter to avoid a dense cake. The peanut butter filling should be thick enough to hold a shape but soft enough to spread. Ganache temperature is critical; if too hot it melts the cake, if too cold it clumps. For clean slices, dip a sharp knife in hot water and wipe dry between cuts.
- Prep Time: 45 minutes
- Cook Time: 35 minutes
- Category: Dessert
- Cuisine: American
Nutrition
- Serving Size: 1 slice
- Calories: 580
- Sugar: 45
- Sodium: 320
- Fat: 32
- Saturated Fat: 18
- Carbohydrates: 65
- Fiber: 3
- Protein: 8
Keywords: chocolate cake, peanut butter cake, layer cake, ganache, homemade candy, dessert recipe, chocolate peanut butter


