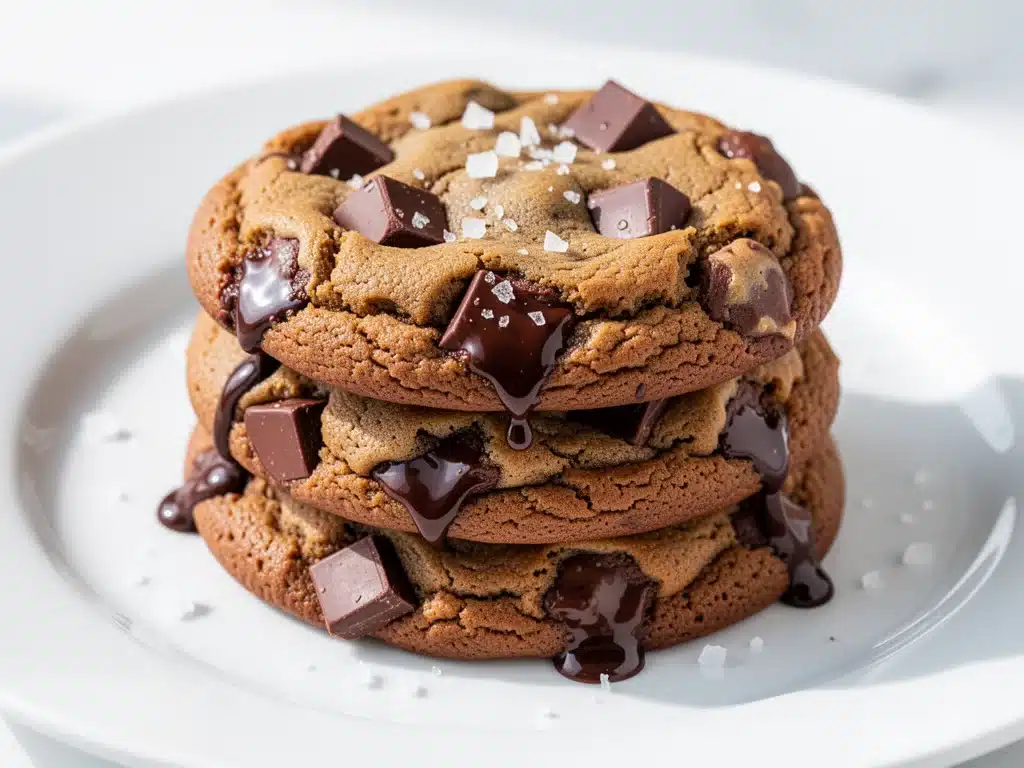
It was 11 PM on a Tuesday, and I was staring at a pot of bubbling, smoking butter that had gone from golden to “oh no” in about three seconds flat. I was trying to make what I thought would be a simple upgrade to my standard chocolate chip cookie recipe—brown butter cookies. I’d read all the blogs. I’d seen the photos of those thick, golden, fudgy cookies with crispy edges. I knew brown butter added this nutty, toffee-like depth that was supposed to make regular chocolate chip cookies taste like they came from a high-end bakery.
But my kitchen smelled like burnt toast, and my counter was a mess of failed dough balls.
I’ve made chocolate chip cookies so many times I could do it blindfolded. But brown butter? It’s tricky. You have to watch it like a hawk. One minute it’s foaming and smelling amazing, the next it’s bitter and ruined. I burned this batch. Then I tried again the next night and under-whisked it, leaving brown bits that tasted acrid. By the third attempt, I finally got it. That golden, amber hue. That smell that hits you and makes your mouth water before you even take a bite.
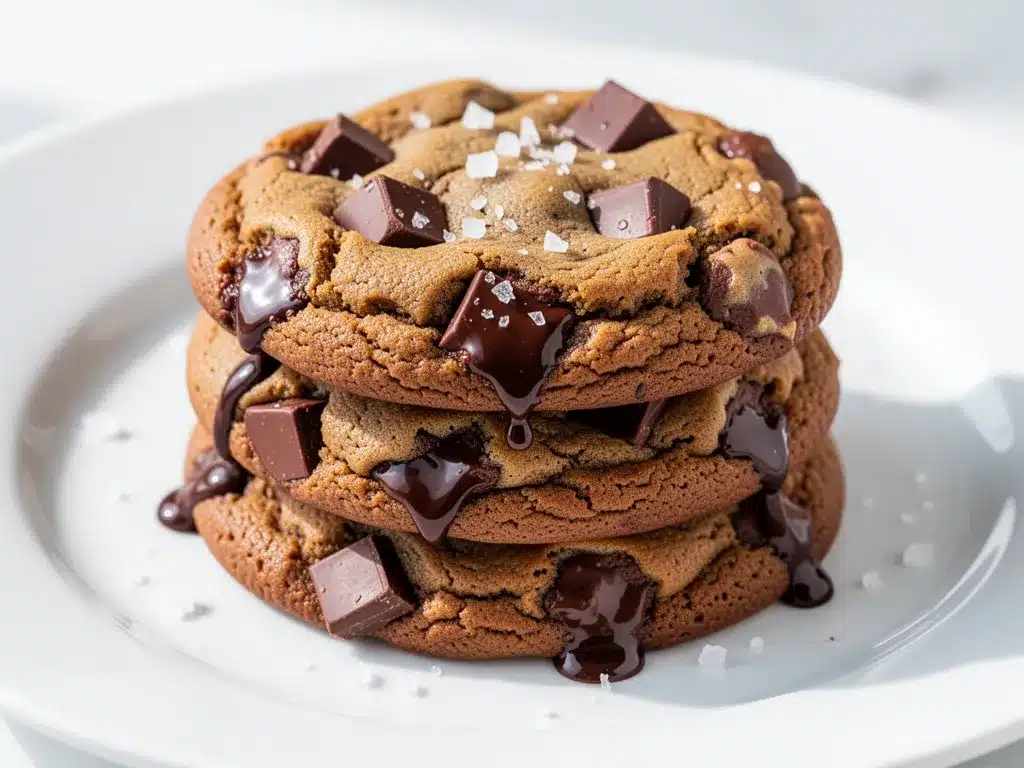
When I pulled those cookies out of the oven, they were different. Not just “better.” Different. The edges were lacy and crisp, the centers were soft and chewy, and the flavor had this complex, toasted-nut richness that regular butter just can’t achieve. My husband took one bite, stopped mid-chew, and said, “Okay, we’re never making regular chocolate chip cookies again.” He’s dramatic, but he wasn’t wrong.
These fudgy brown butter chocolate chip cookies have become my go-to. I’ve made them for book clubs, for last-minute guests, and just because I wanted them. I’ve tweaked the recipe at least a dozen times to get that perfect balance of chewy and crisp. The secret isn’t just the brown butter—it’s how you handle the dough, the type of sugar, and that crucial chill in the fridge. This is hands-down the best chewy chocolate chip cookie recipe I’ve ever developed. And now, I’m sharing exactly how to do it, so you don’t have to burn your butter like I did.
Why You’ll Love This Brown Butter Chocolate Chip Cookie Recipe
There are a million cookie recipes out there. So why this one? Why brown butter? Here’s the thing: once you try these, you won’t go back. It’s not just hype. It’s science, flavor, and texture working together perfectly.
- Deep, Complex Flavor — Regular butter tastes like butter. Brown butter tastes like toasted nuts, caramel, and toffee. It adds a savory-sweet depth that makes every bite interesting. I’ve had food critics try these and they immediately ask, “What’s in these? They taste expensive.”
- Perfect Texture Contrast — Crispy, lacy edges that shatter when you bite them, and a center that’s soft, chewy, and fudgy. Not cakey. Not crisp all the way through. That specific chewy center is what everyone is looking for, and this recipe delivers it every time.
- Rich, Fudgy Interior — Thanks to the ratio of brown sugar to white sugar and the extra egg yolk, these cookies have a dense, fudgy crumb. They feel indulgent without being heavy. It’s the difference between a dry cookie and one that melts in your mouth.
- Looks Impressive, Actually Simple — They look like they came from a boutique bakery. Golden-brown, thick, studded with chocolate. But the technique is straightforward. If you can melt butter and mix flour, you can make these. I’ve taught my teenager to make them while I’m on the phone with work.
- Great for Gifting — These keep well for up to 5 days in an airtight container. I bake a batch on Sunday, package them in a tin with some parchment paper, and give them to neighbors. They’re always the most appreciated gift. Better than flowers, honestly.
- Freezer-Friendly Dough — I often brown the butter and make the dough ahead of time. I freeze the dough balls on a tray, then transfer them to a bag. When I want cookies, I just pop a few in the oven straight from frozen. Adds 1-2 minutes to bake time, but the convenience is unbeatable.
This is my answer to “what should I bring to the party?” or “what’s a good last-minute dessert?” It’s reliable, delicious, and always makes people happy. No fancy equipment, no hard-to-find ingredients. Just good, honest baking with a twist.
Ingredients You’ll Need for Chewy Brown Butter Cookies
Here’s the best part: you probably have most of these ingredients already. The star is the butter, but the rest is pantry staples. I’m particular about a few things here, so pay attention to the details.
For the Brown Butter Base
Unsalted butter (1 cup / 226g or 2 sticks) — Use high-quality butter if you can. Since the butter is the main flavor driver, good butter makes a huge difference. I use Kerrygold or Land O’Lakes. Do not use margarine or light butter. It won’t work.
Dark brown sugar (1 cup / 200g, packed) — This is key for the chewiness and the molasses flavor. Light brown sugar works, but dark gives that deeper, richer taste. Pack it tightly into the cup. If you don’t have brown sugar, you can use all white sugar, but they won’t be as chewy.
Granulated white sugar (½ cup / 100g) — This helps with the crisp edges. Don’t skip it. The ratio of brown to white sugar is what creates that perfect texture contrast.
Egg (1 large) — Room temperature is best for easier mixing, but it’s not critical. I usually just take it out of the fridge 15 minutes before.
Egg yolk (1 large) — This is the secret weapon for fudginess. The extra fat and moisture from the yolk makes the center dense and chewy. Don’t skip this!
Vanilla extract (2 teaspoons) — Use real vanilla, not imitation. I use Nielsen-Massey. It adds that warm, comforting background note.
For the Dry Ingredients
All-purpose flour (2 ¼ cups / 280g) — Spoon and level method. Don’t scoop directly from the bag, or you’ll pack in too much flour and get dry cookies. I weigh my flour if I have a scale, but spoon-and-level works fine.
Baking soda (1 teaspoon) — Makes them spread and brown. Don’t use baking powder; it’s a different chemical reaction.
Salt (1 teaspoon) — Since we’re using unsalted butter, salt is crucial for flavor balance. I use fine sea salt.
Flaky sea salt (for topping) — Optional but highly recommended. A sprinkle of Maldon salt on top right after baking elevates the flavor instantly. Sweet and salty is the best combo.
For the Chocolate
Chocolate chips (2 cups / 340g) — I use a mix of semi-sweet and dark chocolate chips. Ghirardelli or Guittard are my go-tos. For extra fudginess, chop up a chocolate bar into chunks. The irregular pieces melt into gooey pockets. I do a 50/50 mix of chips and chunks.
Optional: Sea salt flakes — If you didn’t get any earlier, this is the time to add it.
Equipment Needed
You don’t need fancy gadgets. Here’s what I actually use:
Medium saucepan — For browning the butter. Light-colored stainless steel or aluminum is best so you can see the color change clearly. Dark pans make it hard to tell when it’s done.
Whisk — For stirring the butter constantly. Silicone or metal works.
Mixing bowls — One large for wet ingredients, one medium for dry. I use glass bowls because I can see the bottom.
Hand mixer or stand mixer — Optional. I use a hand mixer because it’s faster for small batches. You can mix by hand with a wooden spoon, but it takes more elbow grease.
Cooling rack — Essential. You need to transfer cookies here immediately after baking so they don’t overcook on the hot pan.
Baking sheets — Heavy-gauge aluminum sheets are best. Thin sheets warp and cause uneven baking. I use Nordic Ware half-sheets.
Parchment paper — Don’t use silicone mats for these. Parchment gives better browning and easier cleanup. I line my sheets every time.
Cookie scoop — A 2-tablespoon scoop ensures uniform size. Uniform size means even baking. I hate cookies that are raw in the middle and burnt on the edges because they’re different sizes.
Instant-read thermometer (optional) — I use this to check the brown butter temperature. It should be around 250°F when you take it off the heat, but it continues to cook. If you don’t have one, watch the color and smell.
How to Make Fudgy Brown Butter Chocolate Chip Cookies
Alright, let’s make these! I’m walking you through exactly how I do it, including the little tricks that prevent disaster.
Step 1: Brown the Butter (10 minutes)
This is the most important step. Melt your butter in a medium saucepan over medium heat. It will start to foam and bubble. Keep stirring constantly with a whisk. You’ll hear it sizzle, and you’ll see little milk solids turn golden at the bottom. The foam will rise, then start to settle. Watch the color closely. It should turn a deep golden amber, like honey. You’ll smell a nutty, toasty aroma. As soon as it smells like browned nuts and looks golden, remove it from the heat immediately. Pour it into a heat-proof bowl to stop the cooking. Let it cool for 10-15 minutes until it’s warm but not hot. If it’s too hot, it will melt the chocolate chips later. If it’s cold, it’ll solidify in weird clumps.
Step 2: Mix the Wet Ingredients (3 minutes)
Once the brown butter is warm, add the brown sugar and white sugar. Whisk vigorously for about 2 minutes. This dissolves the sugar slightly and incorporates air. Add the egg, egg yolk, and vanilla. Whisk again until the mixture looks smooth and glossy. It should be a light caramel color. This step takes patience, but it makes a difference in the texture.
Step 3: Combine Dry Ingredients (2 minutes)
In a separate bowl, whisk together the flour, baking soda, and salt. Make sure there are no lumps. This ensures even distribution.
Step 4: Make the Dough (3 minutes)
Gradually add the dry ingredients to the wet ingredients. Mix on low speed or stir by hand until just combined. Do not overmix! Once you see no more streaks of flour, stop. Fold in the chocolate chips and any chocolate chunks. The dough will be thick and rich. It should smell incredible.
Step 5: Chill the Dough (Crucial Step!)
Here’s the secret to chewy cookies: cold dough. Cover the bowl and refrigerate for at least 30 minutes, but preferably 1-2 hours (or up to 3 days). Chilling solidifies the fat, which prevents the cookies from spreading too thin. It also allows the flour to hydrate fully, which develops flavor and texture. If you skip this, you’ll get flat, crispy cookies instead of thick, chewy ones. I know it’s tempting to bake right away, but trust me. Chill the dough.
Step 6: Scoop and Bake (12-14 minutes)
Preheat your oven to 350°F (175°C). Line baking sheets with parchment paper. Scoop the dough into 2-tablespoon balls and place them on the sheets, spacing them about 2 inches apart. They will spread. Bake for 12-14 minutes. The edges should be golden brown and set, but the centers should still look slightly soft and underdone. They will continue to cook on the hot pan after you take them out. Do not overbake! They look done when the edges are crisp and the center is still soft.
Step 7: Cool and Serve
Let the cookies sit on the baking sheet for 5 minutes. Then transfer them to a cooling rack. Sprinkle with flaky sea salt while they’re still warm. Let them cool completely before eating, though I know how hard that is. They firm up as they cool. Enjoy!
Expert Tips for Perfect Cookies Every Time
Here’s everything I’ve learned from making these dozens of times. These tips will save you from my mistakes.
Don’t Skip the Chill
I cannot stress this enough. Cold dough = thick, chewy cookies. Room temp dough = thin, crispy cookies. If you’re in a rush, freeze the dough balls for 15 minutes. It’s better than nothing.
Watch the Butter Like a Hawk
Brown butter goes from perfect to burnt in seconds. Use a light-colored pan. Stir constantly. When you see the milk solids turn golden brown at the bottom, that’s your cue. The foam will settle, and the smell will change from milky to nutty.
Weigh Your Flour
If you scoop flour directly from the bag, you’re likely using too much. Too much flour = dry, cakey cookies. Spoon flour into the measuring cup and level it off. Or better yet, use a kitchen scale.
Underbake Slightly
Take them out when the edges are golden but the center looks soft. They will firm up as they cool. Overbaking is the #1 reason cookies are dry.
Use Room Temperature Eggs
Cold eggs can cause the butter to seize up when you mix them. Take them out of the fridge 15 minutes before you start.
Double-Check Your Baking Soda
Baking soda loses its potency over time. If your cookies don’t spread or look dense, check the expiration date on your baking soda. A quick test: drop a little in vinegar. It should fizz vigorously.
Don’t Overmix
Once you add the flour, mix until just combined. Overmixing develops gluten, which makes cookies tough instead of tender.
Let Them Rest on the Pan
The residual heat continues to cook the center. If you move them immediately, they might fall apart. Give them 5 minutes on the hot pan.
Variations & Substitutions
Once you’ve nailed the basic version, here’s how you can mix it up. I’ve tried all of these.
White Chocolate Macadamia Nut
Swap chocolate chips for white chocolate chips and macadamia nuts. The brown butter pairs beautifully with white chocolate. Add 1 cup chopped macadamia nuts.
Peanut Butter Chip
Use peanut butter chips instead of chocolate. The salty-sweet combo is amazing. Add a drizzle of peanut butter on top before baking for extra flavor.
Chewy Oatmeal Cookie Twist
Add 1 cup of rolled oats to the dry ingredients. Makes them heartier and chewier. Great for breakfast cookies.
Gluten-Free Version
Use a 1:1 gluten-free flour blend (like Bob’s Red Mill or King Arthur). The texture will be slightly different but still delicious. Add ¼ teaspoon xanthan gum if your blend doesn’t have it.
Dairy-Free
Use vegan butter sticks (like Miyoko’s or Earth Balance) that brown well. Note: some vegan butters don’t brown the same way. Test a small amount first. Use dairy-free chocolate chips.
Vegan
Replace egg with a flax egg (1 tbsp ground flax + 3 tbsp water). Replace butter with vegan butter. Replace chocolate with vegan chips. The texture will be denser but still tasty.
Chunky Chocolate
Instead of chips, chop up high-quality dark chocolate bars. The irregular chunks create pockets of melted chocolate. Use 2 cups of chopped chocolate.
Serving & Storage
How to Serve:
These are best eaten warm, right off the cooling rack. But they’re also great at room temperature. Pair with a cold glass of milk, a cup of coffee, or a scoop of vanilla ice cream. For a fancy touch, serve with a drizzle of salted caramel sauce.
Storage:
Store in an airtight container at room temperature for up to 5 days. Place a slice of bread in the container to keep them soft. If they start to dry out, the bread will transfer moisture to them.
Freezing Dough:
Best method. Scoop dough balls and freeze on a baking sheet for 2 hours. Transfer to a freezer bag. Freeze for up to 3 months. Bake straight from frozen, adding 1-2 minutes to bake time.
Freezing Baked Cookies:
They freeze well for up to 2 months. Thaw at room temperature. Texture might be slightly less crisp, but still good.
Nutrition Information
I’m not a nutritionist, but here’s the breakdown if you’re tracking. These are indulgent cookies, so enjoy in moderation!
Per Cookie (makes about 24 cookies):
- Calories: 220
- Protein: 3g
- Carbs: 28g
- Fiber: 1g
- Sugar: 18g
- Fat: 12g
- Saturated Fat: 7g
- Cholesterol: 35mg
- Sodium: 150mg
My Take:
Look, these are chocolate chip cookies. They’re meant to be enjoyed. The brown butter adds some complexity, but they’re still a treat. If you want to lighten them up, reduce the sugar slightly or add more oats. But honestly? I don’t recommend it. These are best as they are.
Final Thoughts
So that’s my fudgy brown butter chocolate chip cookie recipe! I know I’ve talked a lot about brown butter, but it’s the game-changer. Once you master it, you’ll never look at a plain chocolate chip cookie the same way again.
This recipe has saved me on countless occasions. It’s my go-to for holidays, for bringing to work, for when I need a comfort food fix. My kids love them, my friends crave them, and I make them almost every week. They’re reliable, delicious, and always a crowd-pleaser.
Make them your own! Try different chocolates, add nuts, or sprinkle sea salt. The best recipes are the ones you adapt. If you make these, I’d love to hear how they turn out. Drop a comment and let me know if you browned your butter successfully (or if you burned it like I did initially!).
Happy baking! And I hope your kitchen smells like a bakery soon.
Frequently Asked Questions
Why did my cookies spread too much?
Usually, this means the dough was too warm when it went into the oven. Did you chill it? If you didn’t chill, the butter melted too quickly. Next time, refrigerate the dough for at least 30 minutes. Also, make sure your baking sheets aren’t too hot. If you’re baking multiple batches, let the pan cool between batches.
Can I use light brown sugar instead of dark?
Yes, but dark brown sugar has more molasses, which adds moisture and chewiness. Light brown sugar will work, but the cookies might be slightly less chewy and less flavorful. For the best result, stick with dark brown sugar.
How do I know when the butter is properly browned?
Look for a deep golden amber color, similar to honey. The foam will settle, and you’ll see brown milk solids at the bottom. The smell will change from milky to nutty and toasty. If it smells burnt, you’ve gone too far. Trust your nose and your eyes.
Can I freeze the baked cookies?
Yes! Let them cool completely, then store in an airtight container or freezer bag. They’ll keep for up to 2 months. Thaw at room temperature. They might lose a little crispness, but they’ll still be delicious.
Why are my cookies cakey instead of chewy?
Cakey cookies usually result from too much flour, too much baking powder (instead of soda), or overmixing. Make sure you’re using the spoon-and-level method for flour, and don’t overmix the dough. Also, ensure your baking soda is fresh.
Can I make these without an electric mixer?
Absolutely. You can mix the dough by hand with a sturdy wooden spoon. It takes a bit more effort, especially when combining the wet and dry ingredients, but it works fine. Just make sure everything is well combined.
What kind of chocolate chips should I use?
I recommend semi-sweet or dark chocolate chips for the best balance of sweetness and bitterness. Ghirardelli, Guittard, or Lindt are great brands. For extra texture, chop up a chocolate bar into chunks. The irregular pieces melt into gooey pockets.
Pin This Recipe!
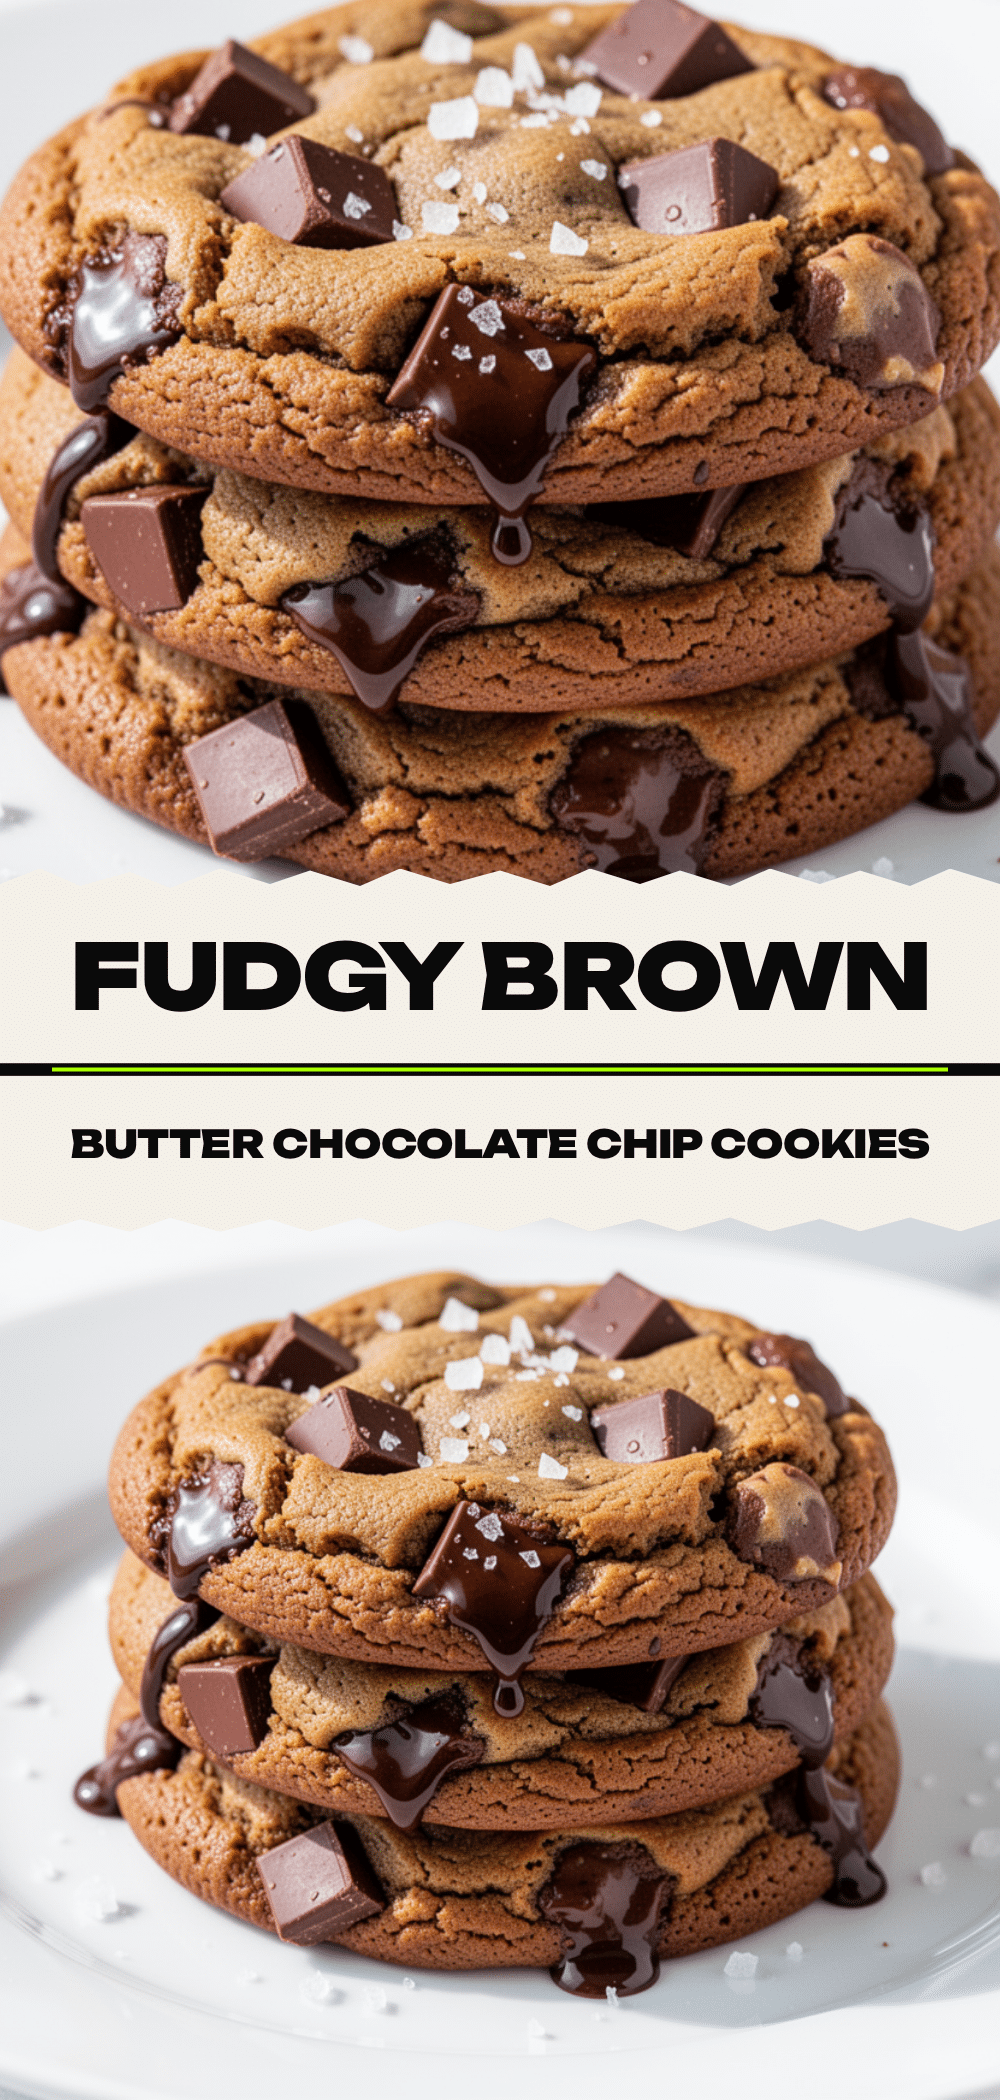
Fudgy Brown Butter Chocolate Chip Cookies: Best Chewy
- Total Time: 34 minutes
- Yield: 24 cookies 1x
Description
These fudgy brown butter chocolate chip cookies feature crispy, lacy edges and a soft, chewy, fudgy center. The brown butter adds a deep, nutty, toffee-like flavor that elevates this classic cookie recipe.
Ingredients
- 1 cup (226g) unsalted butter
- 1 cup (200g) dark brown sugar, packed
- ½ cup (100g) granulated white sugar
- 1 large egg, room temperature
- 1 large egg yolk
- 2 teaspoons vanilla extract
- 2 ¼ cups (280g) all-purpose flour
- 1 teaspoon baking soda
- 1 teaspoon fine sea salt
- 2 cups (340g) chocolate chips (semi-sweet and dark mix)
- Flaky sea salt (for topping, optional)
Instructions
- Brown the butter: Melt butter in a medium saucepan over medium heat. Stir constantly with a whisk until it turns deep golden amber and smells nutty (about 10 minutes). Remove from heat and pour into a heat-proof bowl to cool for 10-15 minutes.
- Mix wet ingredients: Whisk the warm brown butter, brown sugar, and white sugar vigorously for 2 minutes. Add the egg, egg yolk, and vanilla, whisking until smooth and glossy.
- Combine dry ingredients: In a separate bowl, whisk together the flour, baking soda, and salt.
- Make the dough: Gradually add dry ingredients to wet ingredients. Mix on low speed or by hand until just combined. Do not overmix. Fold in the chocolate chips.
- Chill the dough: Cover the bowl and refrigerate for at least 30 minutes, preferably 1-2 hours (or up to 3 days).
- Preheat oven to 350°F (175°C). Line baking sheets with parchment paper.
- Scoop dough into 2-tablespoon balls and place on sheets, spacing 2 inches apart.
- Bake for 12-14 minutes until edges are golden brown but centers look slightly soft.
- Let cookies sit on the baking sheet for 5 minutes, then transfer to a cooling rack. Sprinkle with flaky sea salt while warm.
Notes
Do not skip the chilling step; it prevents spreading and ensures a chewy texture. Watch the butter closely as it burns quickly. Weigh flour for accuracy or use the spoon-and-level method. Underbake slightly for a fudgy center.
- Prep Time: 20 minutes
- Cook Time: 14 minutes
- Category: Dessert
- Cuisine: American
Nutrition
- Serving Size: 1 cookie
- Calories: 220
- Sugar: 18
- Sodium: 150
- Fat: 12
- Saturated Fat: 7
- Carbohydrates: 28
- Fiber: 1
- Protein: 3
Keywords: brown butter cookies, chewy chocolate chip cookies, fudgy cookies, best chocolate chip cookie recipe, homemade cookies, baking from scratch


