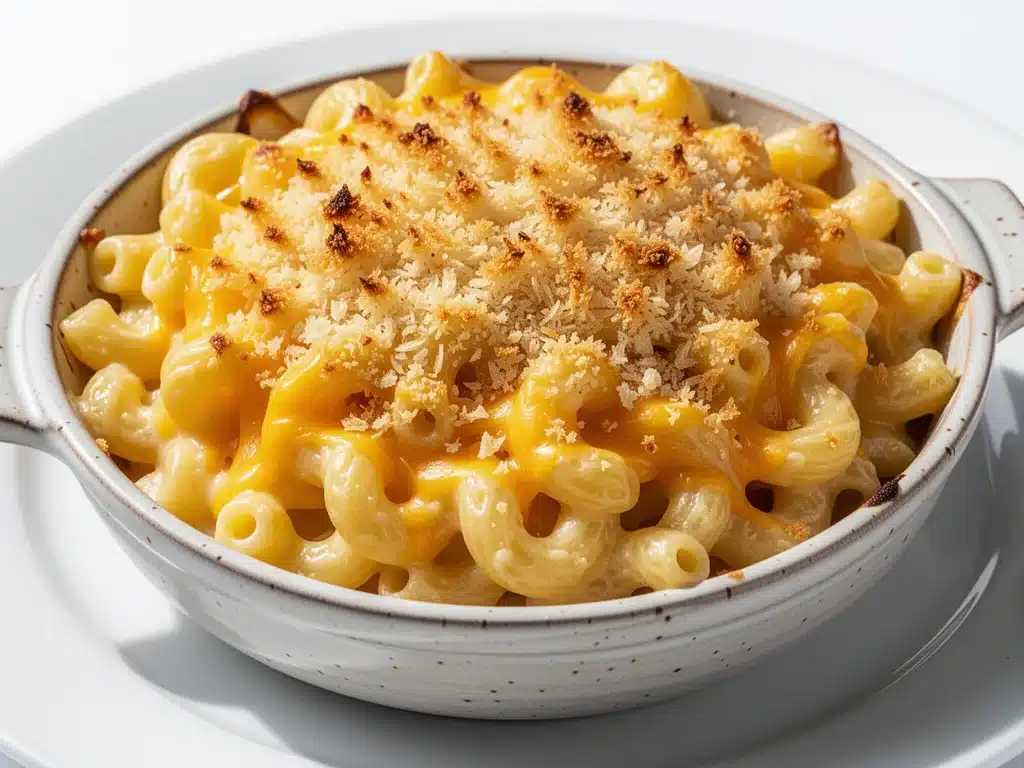
I have a confession to make. For years, I was a Mac and Cheese snob. You know the type. I’d look at a pot of creamy, cheesy pasta and roll my eyes, thinking, “It’s just pasta and cheese. What’s the big deal?” I was wrong. So, so wrong.
The turning point came on a rainy Tuesday in November, about three years ago. I was stressed, my toddler was screaming, and my husband was asking for “comfort food” in that specific tone that means he’s had a terrible day at work. I didn’t have time for a fancy roast or a complicated stir-fry. I needed something warm, heavy, and deeply satisfying. So I threw together what I thought would be a mediocre boxed mac and cheese with a sprinkle of breadcrumbs on top.
But here’s the thing: I accidentally used a block of sharp cheddar instead of the pre-shredded kind in the bag, and I added a pinch of nutmeg because it was on the counter. What came out of the oven wasn’t just dinner. It was a hug on a plate. My husband took one bite, closed his eyes, and said, “This is the best thing I’ve ever eaten.” I was skeptical until I took a bite myself. The cheese sauce was velvety, not grainy. The pasta had a slight crunch from the top but stayed tender underneath. It was perfect.
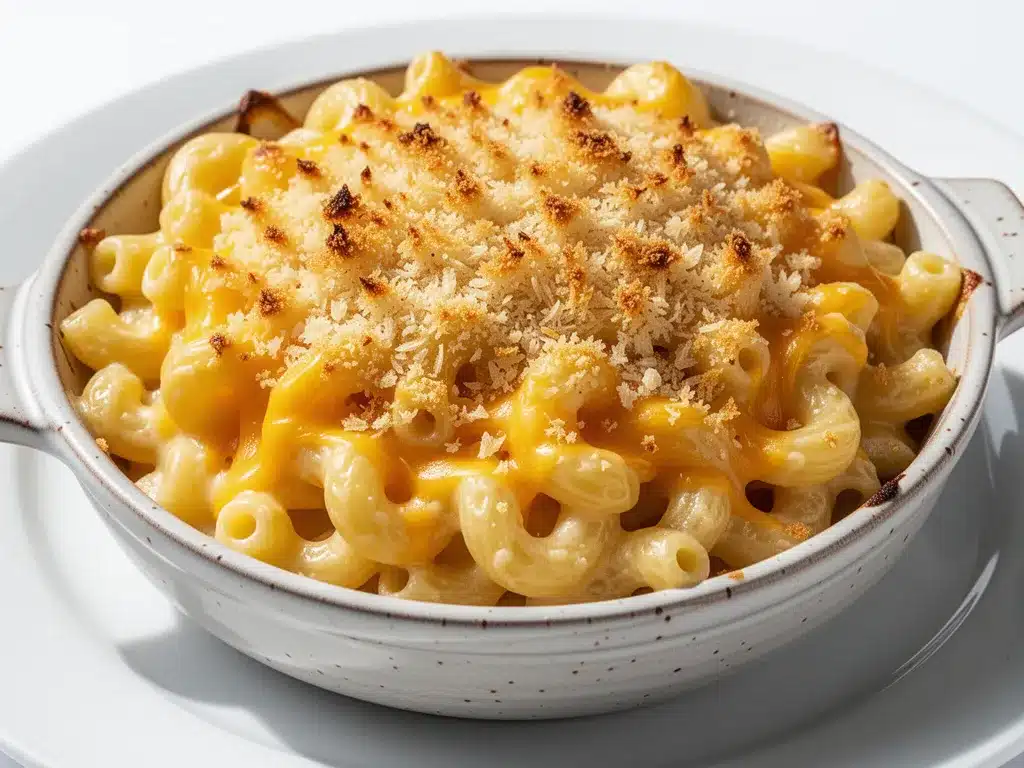
That recipe became a weekly staple. I’ve tested it, tweaked it, and tested it again—over 30 times now. I’ve figured out exactly which cheeses melt best, how to prevent that dreaded separation, and why baking it is better than just serving it hot from the stove. This Cheesy Baked Mac and Cheese isn’t just a side dish; it’s the ultimate comfort food that works for weeknight dinners, holiday gatherings, or when you just need to feel good. And the best part? It’s easier than you think.
Why You’ll Love This Recipe
There are about ten reasons I keep making this, but here are the big ones that will convince you to add it to your rotation immediately.
- Actually Creamy, Not Gritty — Most homemade mac and cheese turns out grainy or separates into oil and cheese curds. This recipe uses a proper béchamel base (yes, it’s easier than it sounds) and the right cheese blend to keep it silky smooth every single time.
- The Crunch Factor — We’re topping it with buttery panko breadcrumbs mixed with a little extra parmesan. That contrast between the soft, creamy interior and the crispy, golden top is what makes this recipe addictive. You’ll fight over the crust.
- Pantry Staples — You probably have most of this already. Butter, flour, milk, eggs (optional binder), and cheese. No weird ingredients you have to hunt for at a specialty store.
- Makes Amazing Leftovers — I know, I know, people say mac and cheese doesn’t reheat well. But if you store it properly (more on that later), it actually tastes even better the next day as the flavors meld. I deliberately make extra for lunch.
- Crowd-Pleaser — I’ve served this to picky kids, cheese-snobby foodies, and my vegetarian sister who usually complains about everything. Everyone asks for the recipe. It’s a guaranteed hit.
This is my go-to when I need dinner to just work. No complicated techniques, no weird ingredients, just reliable, delicious food that makes everyone happy.
Ingredients You’ll Need
Here’s the best part: you probably have most of this already. I’m particular about three ingredients here, and I’ll tell you exactly why.
For the Pasta
Elbow Macaroni (1 pound / 450g) — I use elbow pasta because it holds the sauce perfectly in its curves. Cavatappi or rotini work too if you want a different shape, but stick to sturdy pastas. Avoid thin spaghetti or angel hair; they’ll get mushy.
Butter (4 tablespoons / 55g) — Unsalted is best so you can control the saltiness. This is for the roux and the breadcrumb topping.
For the Cheese Sauce (The Most Important Part)
All-Purpose Flour (¼ cup / 30g) — This thickens the sauce. Don’t skip it, or you’ll have cheesy soup.
Whole Milk (3 cups / 720ml) — Full-fat milk gives the richest sauce. If you’re watching calories, you can use 2%, but it won’t be as luxurious. Warm the milk slightly before adding it to the roux to prevent lumps.
Sharp Cheddar Cheese (2 cups / 200g, freshly grated) — This is the star. Use a block and grate it yourself. Pre-shredded cheese contains cellulose (anti-caking agent) which prevents it from melting smoothly. Your sauce will be grainy if you use the bag stuff. I buy a block of extra-sharp cheddar for the best flavor.
Gruyère or Monterey Jack (1 cup / 100g, freshly grated) — Cheddar has great flavor but doesn’t always melt super smoothly on its own. Gruyère adds a nutty depth and melts beautifully. Monterey Jack is a cheaper, milder alternative that also melts well. I use a mix of both for the perfect texture and taste.
Garlic Powder (½ teaspoon) — Fresh garlic can burn in the roux, so I use powder for a subtle background flavor.
Dijon Mustard (1 teaspoon) — This sounds weird, but it cuts through the richness of the cheese and enhances the flavor. You won’t taste the mustard, I promise.
Nutmeg (a pinch) — A classic addition to béchamel sauces. Just a tiny pinch adds warmth and complexity.
Salt and Black Pepper — To taste. Remember, cheese is salty, so go easy on the salt initially.
For the Topping
Panko Breadcrumbs (½ cup / 40g) — These stay crunchier than regular breadcrumbs. If you don’t have them, use regular dry breadcrumbs.
Parmesan Cheese (2 tablespoons / 20g, grated) — Adds a salty, savory kick to the crust.
Fresh Parsley (1 tablespoon, chopped) — For color and a fresh finish. Optional but nice.
Equipment Needed
You don’t need fancy equipment for this. Here’s what I actually use.
Large Pot — For boiling the pasta. A 6-quart pot works well for a pound of pasta.
Large Skillet or Saucepan — A 4-quart saucepan or a wide skillet is perfect for making the roux and sauce. I prefer a heavy-bottomed pot to prevent scorching.
Box Grater — Essential for grating your own cheese. Microplane works too if you want finer shreds.
Whisk — You need a good whisk to keep the sauce smooth. Silicone whisks are great because they don’t scratch the pot.
9×13 Inch Baking Dish — Standard glass or ceramic dish. I use Pyrex because I can see the bottom browning.
Small Bowl — For mixing the breadcrumb topping.
How to Make It: Step-by-Step
Alright, let’s make this! I’m walking you through exactly how I do it, including the little tricks I’ve picked up over the years.
Step 1: Prep Your Cheese and Oven (10 minutes)
Preheat your oven to 350°F (175°C). Grease your 9×13 baking dish with a little butter. Now, the most important step: grate all your cheese. If you use pre-shredded cheese, your sauce will be grainy. Take the time to grate a block of sharp cheddar and Gruyère (or Monterey Jack). Set aside in a bowl.
Step 2: Cook the Pasta (10 minutes)
Bring a large pot of salted water to a boil. The water should taste like the ocean. Add the elbow macaroni and cook according to package directions until al dente (usually 8-10 minutes). IMPORTANT: Drain the pasta, but do not rinse it! Rinsing removes the starch that helps the sauce cling. Set the cooked pasta aside.
Step 3: Make the Roux (3 minutes)
In your large skillet or saucepan, melt the 4 tablespoons of butter over medium heat. Once melted and foaming, add the flour. Whisk constantly for about 1-2 minutes. You’re cooking the raw flour taste out. It should turn a light golden color and smell slightly nutty. Don’t let it burn!
Step 4: Build the Sauce (5 minutes)
Slowly pour in the warm milk, whisking constantly. This is crucial—if you pour it in too fast, you’ll get lumps. Keep whisking until the mixture thickens and comes to a gentle simmer. It should coat the back of a spoon. This takes about 3-5 minutes.
Once thickened, remove from heat. Stir in the garlic powder, Dijon mustard, nutmeg, salt, and pepper. Now, add the grated cheese gradually, a handful at a time, stirring until each addition is fully melted before adding more. This prevents clumping. The sauce should be smooth, glossy, and thick.
Step 5: Combine and Bake (25 minutes)
Add the cooked pasta to the cheese sauce. Stir gently to coat every noodle. Pour the mixture into your greased baking dish. In a small bowl, mix the panko breadcrumbs with the grated Parmesan and a tablespoon of melted butter (or just sprinkle the butter on top). Sprinkle this mixture evenly over the mac and cheese.
Bake for 20-25 minutes, until the top is golden brown and bubbly. Let it rest for 5-10 minutes before serving. This step is important—it allows the sauce to set slightly so it’s not liquid when you scoop it.
Expert Tips & Tricks
Here’s everything I’ve learned from making this dozens of times. These tips will save you from my mistakes.
Grate Your Own Cheese
I cannot stress this enough. Pre-shredded cheese is coated in potato starch or cellulose to keep it from clumping in the bag. These coatings prevent the cheese from melting smoothly, resulting in a grainy, separated sauce. Buy a block of sharp cheddar and a wedge of Gruyère. Grate them yourself. It takes 5 minutes and makes a world of difference.
Don’t Overcook the Pasta
Since the pasta will continue to cook in the oven, drain it when it’s al dente, not soft. If you cook it until it’s perfect straight from the pot, it’ll be mushy after baking. Check the package for the al dente time and subtract 1 minute.
Warm the Milk
Adding cold milk to a hot roux can cause lumps. Warm your milk in the microwave for 30-60 seconds before adding it to the butter-flour mixture. It helps create a silky smooth sauce faster.
The Cheese Blend Matters
Cheddar has great flavor but can be oily when melted. Gruyère or Monterey Jack adds creaminess and meltability. Using a mix gives you the best of both worlds: flavor and texture.
Let It Rest
I know it’s tempting to dig in immediately, but let the mac and cheese rest for 5-10 minutes after taking it out of the oven. This allows the sauce to thicken up and hold its shape when you serve it.
Variations & Substitutions
Once you’ve nailed the basic version, here’s how you can mix it up. I’ve tried all of these.
Broccoli Cheddar Mac
Steam 2 cups of broccoli florets until tender-crisp and fold them into the pasta before baking. This is my family’s favorite version. The broccoli adds color and nutrients without overpowering the cheese.
BBQ Chicken Mac
Add 2 cups of shredded cooked chicken (tossed in BBQ sauce) to the pasta mixture. Top with extra cheddar and bake. This turns it into a full meal. Great for using up leftover rotisserie chicken.
Bacon Mac and Cheese
Cook 6-8 strips of bacon until crispy, crumble it, and mix it into the cheese sauce. Save some to sprinkle on top. The salty, smoky bacon pairs perfectly with the rich cheese.
Gluten-Free
Use gluten-free elbow pasta (Barilla makes a good one) and gluten-free breadcrumbs. The rest of the ingredients are naturally gluten-free.
Dairy-Free
Use dairy-free butter, almond milk or oat milk (unsweetened), and dairy-free cheese shreds. Note: Dairy-free cheese doesn’t melt the same way, so the texture will be different. I use Violife or Daiya for the best melt.
Spicy Kick
Add ½ teaspoon of cayenne pepper or a diced jalapeño to the sauce. Top with sliced jalapeños before baking.
Serving & Storage
How to Serve
I usually serve this straight from the baking dish at the dinner table—it looks rustic and stays warm. But here are other ways I’ve enjoyed it:
- Garlic Bread — Obvious choice. Essential.
- Simple Green Salad — A crisp salad with a vinaigrette cuts through the richness of the mac.
- Roasted Vegetables — Broccoli, green beans, or asparagus pair well.
- Wine Pairing — A crisp Pinot Grigio or a light Chardonnay works great. If you’re drinking beer, a lager or pale ale is perfect.
Storage Instructions
Refrigerator:
Store leftovers in an airtight container for up to 4 days. The sauce will thicken in the fridge—this is normal.
Reheating:
The best method is in the oven. Preheat to 350°F, cover the dish with foil, and heat for 15-20 minutes. If the top is getting too brown, leave the foil on. Add a splash of milk before reheating to help loosen the sauce. Microwave reheating works too, but add a splash of milk and heat in 30-second intervals, stirring in between.
Freezing:
I don’t recommend freezing baked mac and cheese. The dairy can separate and become grainy when thawed. However, you can freeze the unbaked pasta and cheese sauce separately. Thaw the sauce, reheat gently, add the pasta, and then bake as directed.
Nutrition Information
I’m not a nutritionist, but here’s the breakdown if you’re tracking. Please note that these are estimates and can vary based on the specific cheeses and brands used.
Per Serving (based on 8 servings):
| Nutrient | Amount |
|---|---|
| Calories | 450 |
| Protein | 18g |
| Carbs | 42g |
| Fiber | 2g |
| Fat | 22g |
| Saturated Fat | 12g |
| Cholesterol | 55mg |
| Sodium | 600mg |
What’s Good:
Decent protein from the cheese and pasta. Calcium from the dairy.
What to Know:
This is a rich, calorie-dense dish. It’s comfort food, after all. If you’re watching your intake, stick to a smaller portion and add a side of vegetables.
Final Thoughts
So that’s my go-to Cheesy Baked Mac and Cheese! I’ve probably talked your ear off at this point, but when you make a recipe this often, you have a lot to say about it.
This has saved weeknight dinners more times than I can count. It’s my answer to “what’s for dinner” when I’m tired, don’t want takeout, and still want something that tastes really good. My kids are happy, my husband’s happy, and I’m happy because I’m not stressed about cooking.
Make it yours! Try different add-ins, swap in your favorite vegetables, or adjust the cheese blend. The best recipes are the ones you adapt to your family’s tastes.
If you make this, drop a comment and let me know what you think! I love hearing how recipes turn out in your kitchen. And if something doesn’t work, tell me that too—I’m here to help troubleshoot.
Happy cooking! And I hope your kitchen smells half as good as mine does right now.
Frequently Asked Questions
Can I use pre-shredded cheese?
You can, but I strongly advise against it. Pre-shredded cheese is coated with anti-caking agents (like cellulose) that prevent it from melting smoothly. Your sauce will likely be grainy or separated. For the best results, buy a block of cheese and grate it yourself. It takes about 5 minutes and makes a huge difference.
Why is my mac and cheese watery?
This usually happens if the roux wasn’t cooked long enough or if the sauce wasn’t thickened enough before adding the cheese. Make sure your béchamel sauce is thick enough to coat the back of a spoon before adding the cheese. Also, if you overcook the pasta, it can release too much starch and water. Drain it well!
Can I make this ahead of time?
Yes! You can assemble the mac and cheese up to 24 hours in advance. Cover it tightly with plastic wrap and refrigerate. When you’re ready to bake, take it out of the fridge 30 minutes before baking to take the chill off. You may need to add 5-10 minutes to the baking time since it’s starting cold.
What’s the best cheese to use?
I recommend a blend. Sharp cheddar provides the best flavor, but it doesn’t always melt smoothly. Gruyère or Monterey Jack melts beautifully and adds creaminess. A mix of 2 parts cheddar to 1 part Gruyère or Monterey Jack is my personal favorite for the perfect balance of flavor and texture.
How do I reheat leftovers without it getting dry?
Always add a splash of milk or cream when reheating. This helps restore the creamy texture. Reheat gently on the stovetop or in the oven. Microwave reheating can dry it out, so if you use the microwave, heat in short bursts and stir frequently, adding a little milk each time.
Can I add vegetables?
Absolutely! Broccoli, peas, spinach, or roasted cauliflower all work well. Just make sure to cook the vegetables first (steam or roast them) so they’re tender before adding them to the mac and cheese. Raw vegetables will release water and make the dish soggy.
Pin This Recipe!
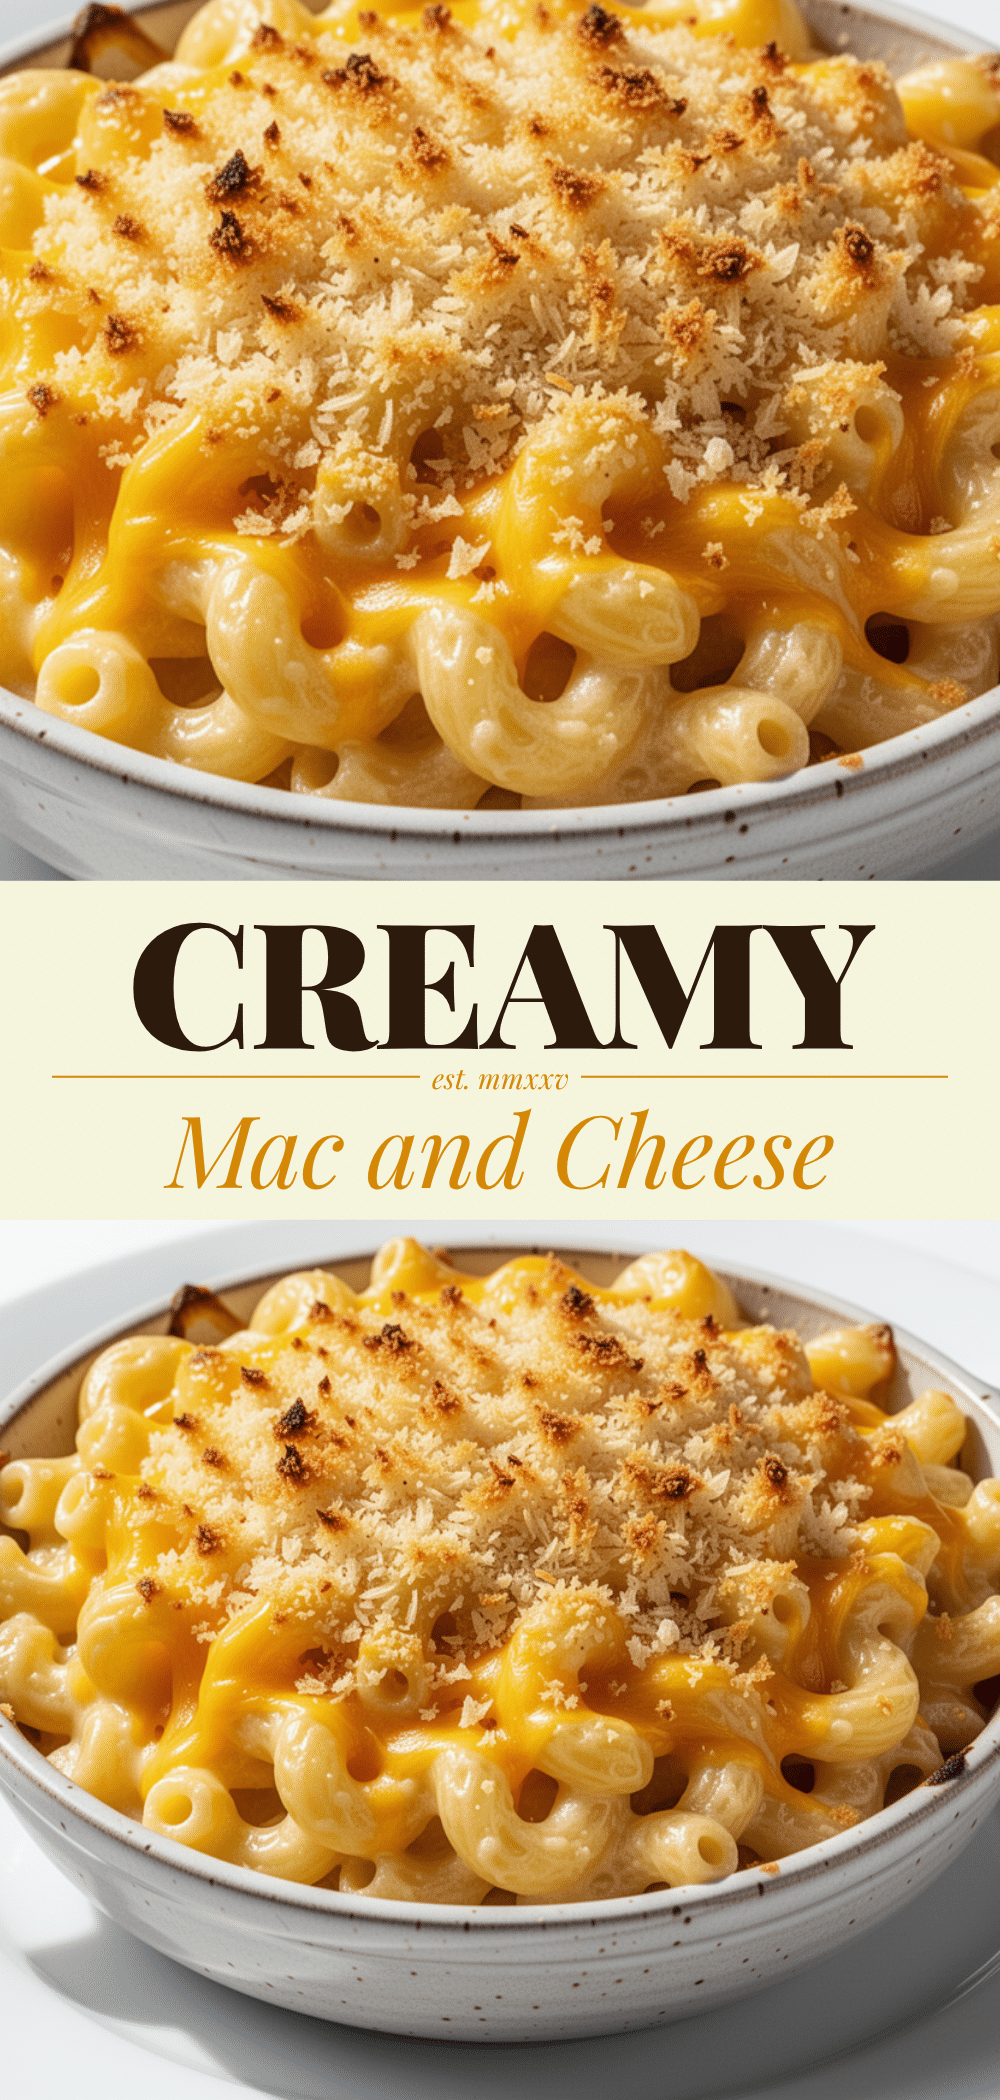

Cheesy Baked Mac and Cheese: 5-Step Easy Comfort Food
- Total Time: 55 minutes
- Yield: 8 servings 1x
Description
This ultimate comfort food recipe features a velvety, creamy cheese sauce made with a proper béchamel base and a blend of sharp cheddar and Gruyère. Topped with buttery panko breadcrumbs, it offers the perfect contrast of soft interior and crispy crust.
Ingredients
- 1 pound elbow macaroni
- 4 tablespoons unsalted butter (divided)
- ¼ cup all-purpose flour
- 3 cups whole milk (warmed)
- 2 cups sharp cheddar cheese (freshly grated)
- 1 cup Gruyère or Monterey Jack cheese (freshly grated)
- ½ teaspoon garlic powder
- 1 teaspoon Dijon mustard
- a pinch of nutmeg
- salt and black pepper to taste
- ½ cup panko breadcrumbs
- 2 tablespoons Parmesan cheese (grated)
- 1 tablespoon fresh parsley (chopped, optional)
Instructions
- Preheat oven to 350°F (175°C) and grease a 9×13 inch baking dish with butter.
- Grate the sharp cheddar and Gruyère (or Monterey Jack) cheeses yourself; do not use pre-shredded cheese.
- Bring a large pot of salted water to a boil and cook the elbow macaroni until al dente (8-10 minutes). Drain but do not rinse.
- In a large skillet or saucepan, melt 4 tablespoons of butter over medium heat. Add the flour and whisk constantly for 1-2 minutes until light golden.
- Slowly pour in the warm milk while whisking constantly until the mixture thickens and coats the back of a spoon (3-5 minutes).
- Remove from heat and stir in garlic powder, Dijon mustard, nutmeg, salt, and pepper.
- Add the grated cheese gradually, a handful at a time, stirring until fully melted before adding more.
- Combine the cooked pasta with the cheese sauce, stirring to coat every noodle.
- Pour the mixture into the prepared baking dish.
- Mix panko breadcrumbs, Parmesan, and a tablespoon of melted butter (or sprinkle butter on top) and sprinkle evenly over the mac and cheese.
- Bake for 20-25 minutes until the top is golden brown and bubbly.
- Let rest for 5-10 minutes before serving to allow the sauce to set.
Notes
Grate your own cheese to avoid anti-caking agents that cause graininess. Do not rinse the pasta after boiling to keep the starch that helps the sauce cling. Warm the milk before adding to the roux to prevent lumps. Let the dish rest for 5-10 minutes after baking so the sauce thickens. For leftovers, store in an airtight container for up to 4 days and reheat with a splash of milk.
- Prep Time: 10 minutes
- Cook Time: 45 minutes
- Category: Main Course
- Cuisine: American
Nutrition
- Serving Size: 1 serving
- Calories: 450
- Sodium: 600
- Fat: 22
- Saturated Fat: 12
- Carbohydrates: 42
- Fiber: 2
- Protein: 18
Keywords: mac and cheese, baked mac and cheese, comfort food, cheesy pasta, easy dinner, family friendly, weeknight dinner


