It was Super Bowl Sunday three years ago, and I was standing over my stove, holding my breath. Not because I was nervous about the game, but because I was terrified of the grease splatter. I had just dropped a basket of battered wings into a deep fryer, and the oil hissed like an angry cat. By the time I got them out, the kitchen looked like a crime scene, the house smelled like old french fries for a week, and honestly? The wings were just okay. Soggy in the middle, burnt on the edges, and covered in so much oil that my napkins dissolved instantly.
I was ready to give up on game day snacks entirely. I considered ordering pizza. Again. But then I looked at my air fryer, gathering dust in the corner, and thought, “Why not? What’s the worst that could happen?”
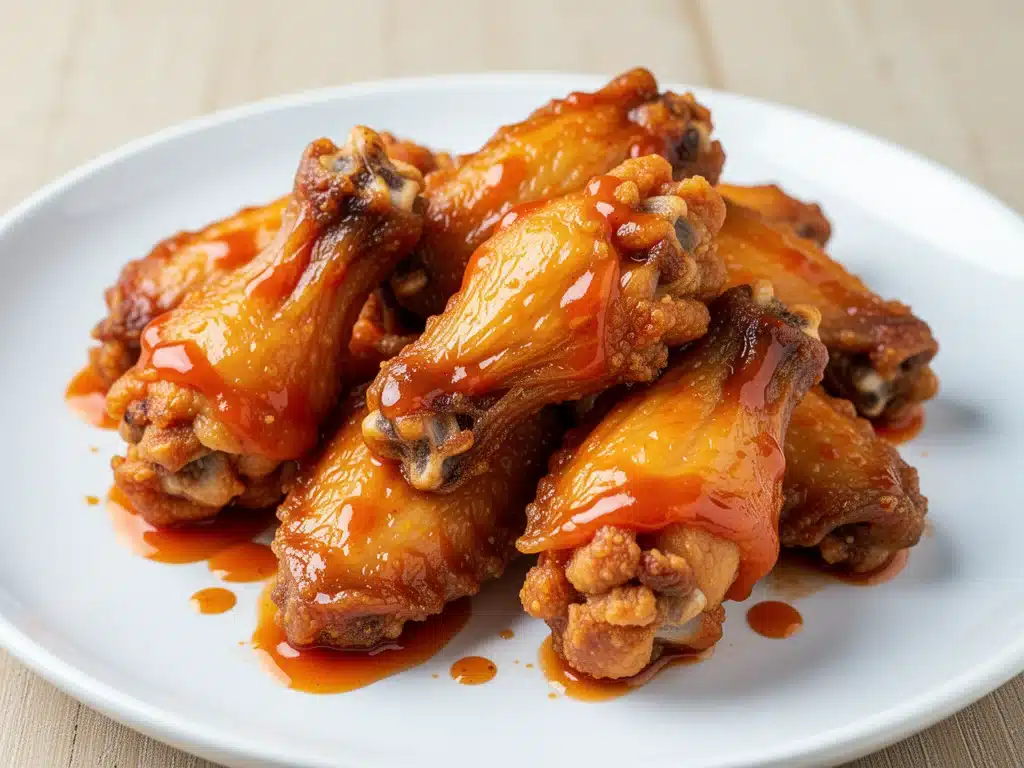
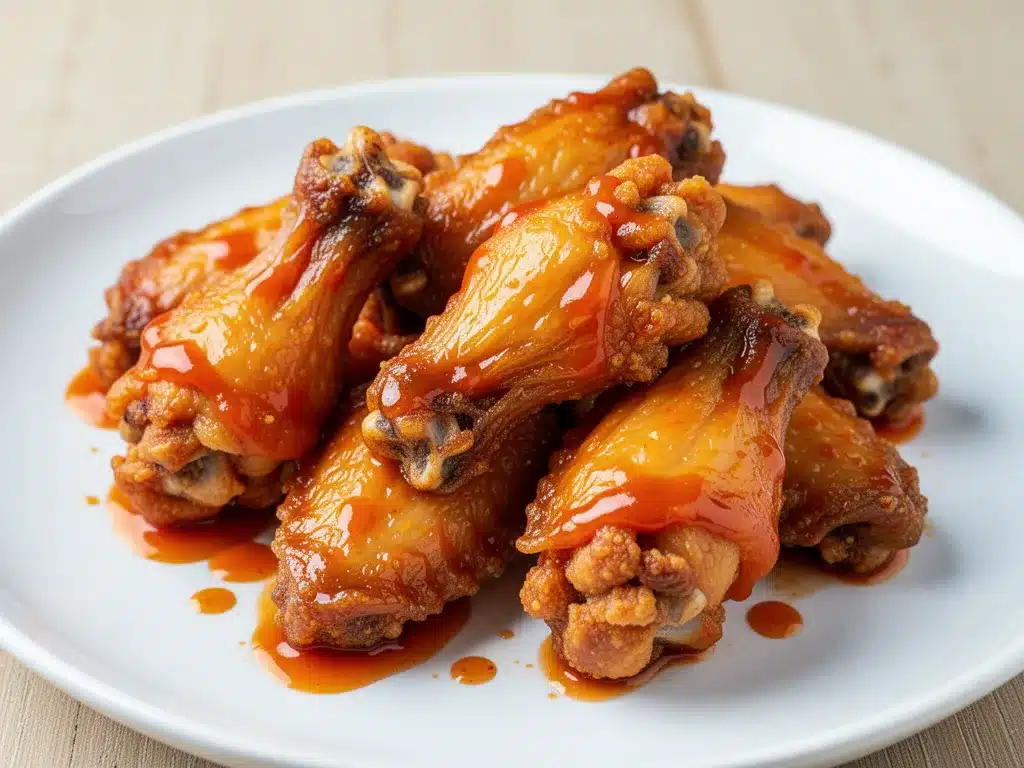
Turns out, the worst that could happen was that I’d have crispy, restaurant-quality chicken wings in 20 minutes with zero mess. That one risky experiment turned into a ritual. Now, when the big game comes around, I don’t even think about frying. I just grab the air fryer, toss those Crispy Air Fryer Chicken Wings in, and let the machine do the heavy lifting. They come out shattering crisp, juicy inside, and ready to be tossed in whatever sauce I’m craving. No oil splatters. No greasy counters. Just pure, crispy wing happiness.
If you’ve been trying to get crispy wings in the oven and ending up with rubbery, steamed chicken, listen to me: The air fryer is the game-changer you’ve been waiting for. It’s not just a gadget; it’s the secret to finally getting that fried texture without the fried food guilt or the cleanup nightmare.
Why You’ll Love This Recipe
I’ve made these wings dozens of times now, from casual Tuesday nights to major championship parties, and they never fail to impress. Here’s why this method has completely replaced my deep fryer and oven methods:
- Actual Crispiness — I’m not kidding. These wings get crunchy. Like, shatteringly crunchy. The hot air circulation dries out the skin rapidly, which is exactly what you need for that perfect crackle. Oven-baked wings often turn out soft because the moisture gets trapped. Not here.
- Lightning Fast — From prep to plate, it’s about 20 minutes. That’s faster than waiting for a delivery driver. You can have hot wings ready before the first commercial break of the game.
- Zero Oil Mess — This is the biggest selling point for me. No splattering oil, no disposing of gallons of used grease, no scrubbing a deep fryer basket. You just wipe down the air fryer basket with a paper towel. Done. It’s honestly the most relaxing part of game day cooking.
- Healthy(ish) — You’re using a tiny spray of oil instead of submerging the wings in hot fat. It cuts the calories significantly while keeping that rich, savory flavor. My dietitian friend even approved of these (she ate four, though).
- Flavor Versatility — Because the skin is so crisp, it holds sauce beautifully. Whether you want classic Buffalo, sticky BBQ, or spicy garlic parmesan, these wings act as the perfect canvas. The texture stays intact even after tossing in wet sauces.
This is my go-to when I need a snack that feels indulgent but doesn’t leave me feeling sluggish or stuck in the kitchen for hours. It’s reliable, it’s fast, and it tastes like I spent all day cooking.
Ingredients You’ll Need
Here’s the thing about chicken wings: you don’t need a long list of fancy ingredients. The quality of the chicken and the technique matter way more than the spices. I’m particular about a few things here, so let’s get into it.
Chicken Wings (2 pounds / 900g) — I always buy “party cut” wings, which are the drumettes and flat tips separated. You can get whole wings and chop them yourself, but pre-cut saves time and ensures even cooking. Look for wings that are pink and fresh, not pale or slimy. Avoid frozen wings if you can help it; fresh ones crisp up better. If you must use frozen, thaw them completely first.
Baking Powder (1 tablespoon / 10g) — This is the secret weapon. Not baking soda! Baking powder. It raises the pH of the chicken skin, which helps it break down proteins faster and crisp up like crazy. Use aluminum-free baking powder if you can. This step is non-negotiable for those crispy results.
Salt (1 teaspoon / 6g) — Kosher salt is best because it’s easy to control. It draws out moisture from the skin, which is crucial for crispiness. Season generously; the skin needs salt to flavor the outside.
Garlic Powder (1 teaspoon / 2g) — Adds a savory depth without the risk of burning fresh garlic in the high heat. It’s a mild, aromatic base that works with any sauce.
Smoked Paprika (1 teaspoon / 2g) — This gives a subtle smokiness and a beautiful red color. It’s not spicy, just flavorful. If you don’t have smoked paprika, regular paprika works, but you’ll miss that nice undertone.
Black Pepper (½ teaspoon / 1g) — Freshly cracked is best. It adds a little bite and complexity.
Cooking Spray — I use avocado oil spray or olive oil spray. Just a light mist is enough to help the spices stick and promote browning. Don’t drench them; a little goes a long way.
Sauce of Choice — For classic Buffalo: ½ cup Frank’s RedHot and ¼ cup melted butter. For BBQ: Your favorite thick BBQ sauce. For Garlic Parmesan: Melted butter, minced garlic, and grated Parmesan. The sky is the limit.
Equipment Needed
You don’t need fancy equipment for this. Here’s what I actually use:
Air Fryer — Obviously. I use a 5.8-quart basket style. It’s big enough for two pounds of wings in a single layer. If you have a smaller air fryer, you’ll need to cook in batches. Do not overcrowd the basket, or they’ll steam instead of crisp.
Bowl — A medium mixing bowl for tossing the wings with the dry ingredients.
Paper Towels — Crucial. You need to pat the wings dry before seasoning. Moisture is the enemy of crispiness.
Tongs — For flipping the wings halfway through. Metal tongs are fine since you’re not using non-stick spray on the basket (or if you do, be gentle).
How to Make It: Step-by-Step
Alright, let’s make this! I’m walking you through exactly how I do it, including the little tricks I’ve picked up over the years.
Step 1: Dry the Wings (5 minutes)
This is the most important step, and I know it’s boring, but do it. Take your wings out of the package and pat them thoroughly dry with paper towels. You want them as dry as possible. Any surface moisture will turn to steam in the air fryer, and steam prevents crisping. If the wings are wet, they won’t get crunchy. I usually use two or three stacks of paper towels to get them bone-dry.
Step 2: The Dry Rub (2 minutes)
In your mixing bowl, combine the baking powder, salt, garlic powder, smoked paprika, and black pepper. Add the dried wings to the bowl. Toss them well until every wing is coated in the powder mixture. The baking powder should be evenly distributed. You want a thin, dusty coating on the skin. If you see clumps of baking powder, toss them a bit more.
Step 3: The Rest (10-30 minutes)
Place the coated wings on a wire rack set over a baking sheet, or just leave them in the bowl. Let them sit at room temperature for at least 10 minutes, or up to 30 minutes. This allows the baking powder to work its magic on the skin and lets the surface dry out further. If you’re short on time, you can skip this, but the crispiness will be slightly less perfect. I usually start this step while I’m prepping my sauces.
Step 4: Air Fry (18-20 minutes)
Preheat your air fryer to 400°F (200°C) for 3-5 minutes. Once preheated, arrange the wings in a single layer in the air fryer basket. Do not overlap them! Air needs to circulate around each wing. If you have a small basket, cook in two batches. Spray the wings lightly with cooking oil spray. This helps the spices adhere and promotes browning.
Cook for 10 minutes. Then, open the basket and flip each wing using tongs. You want even browning on all sides. Spray the other side lightly with oil. Cook for another 8-10 minutes, or until the wings are golden brown and crispy. The internal temperature should reach 165°F (74°C). If you don’t have a thermometer, cut into the thickest part of a drumette to check—the juices should run clear, not pink.
Step 5: Sauce and Serve
While the wings cook, prepare your sauce. For classic Buffalo, mix the hot sauce and melted butter in a bowl. Once the wings are done, transfer them to a large bowl. Pour the sauce over the hot wings and toss quickly to coat. The heat from the wings will help the sauce adhere. Serve immediately with celery sticks, carrot sticks, and blue cheese or ranch dressing.
Expert Tips & Tricks
Here’s everything I’ve learned from making these dozens of times. These tips will save you from my mistakes.
The Baking Powder Secret
I can’t stress this enough: baking powder is key. It changes the pH of the skin, breaking down the proteins and allowing the skin to crisp up like fried chicken. Without it, you’re just baking chicken. And yes, it’s safe. You won’t taste it because it’s used in such small amounts and is rinsed off/cooked out.
Don’t Skip the Dry Step
Wet wings = steamed wings. If you don’t pat them dry thoroughly, you’re wasting your time. I’ve made this mistake before, and the result was sad, soggy chicken. Take the extra 5 minutes to dry them.
Single Layer Only
Overcrowding is the #1 reason air fryer wings fail. If the wings are touching, they’ll steam each other. Cook in batches if you have to. It’s annoying, but the result is worth it. Two pounds of wings usually fit in two batches in a standard basket.
Flip Halfway
Even though air fryers are great at circulating air, flipping ensures even browning. It’s a small step that makes a big difference in presentation and texture.
Sauce Immediately
Toss the wings in sauce right when they come out of the air fryer. They’re hot and steamy, which helps the sauce stick. If you let them cool, the sauce will slide off.
Variations & Substitutions
Once you’ve nailed the basic crispy version, here’s how you can mix it up. I’ve tried all of these.
Classic Buffalo
Mix ½ cup Frank’s RedHot with ¼ cup melted butter. Toss the wings and garnish with celery and blue cheese. This is the gold standard.
Sticky BBQ
Use a thick, sticky BBQ sauce. Toss the wings in the sauce after cooking. The crispiness holds up surprisingly well against the thick sauce.
Garlic Parmesan
Toss cooked wings in melted butter, minced fresh garlic, and grated Parmesan cheese. Add a pinch of parsley. This is my favorite for non-spicies.
Honey Sriracha
Mix ¼ cup honey with 2 tablespoons Sriracha. Sweet and spicy is a winning combo. Drizzle over the wings and toss.
Glaze It
For a glossy finish, brush the wings with sauce during the last 2 minutes of cooking. This caramelizes the sauce slightly and adds a nice sheen.
Dietary Modifications
This recipe is naturally gluten-free (just check your hot sauce and BBQ sauce labels). For a dairy-free version, use olive oil instead of butter for the Buffalo sauce.
Serving & Storage
How to Serve:
I usually serve these straight from the bowl at the party. They look rustic and inviting. Pair them with celery sticks, carrot sticks, and your choice of dipping sauce. I love blue cheese for classic wings and ranch for garlic parmesan.
Leftovers:
Store leftovers in an airtight container in the fridge for up to 3 days. The wings will lose some crispiness in the fridge, which is normal.
Reheating:
Do not microwave these! They will become chewy and tough. Reheat them in the air fryer at 400°F for 3-4 minutes. This restores the crispiness almost perfectly. You can also reheat them in a 400°F oven for 5-7 minutes.
Freezing:
You can freeze cooked wings, but they won’t be as crispy when reheated. Freeze in a single layer on a baking sheet, then transfer to a freezer bag. Reheat in the air fryer from frozen at 375°F for 8-10 minutes.
Nutrition Information
I’m not a nutritionist, but here’s the breakdown if you’re tracking. This is for the classic Buffalo version, per serving (based on 4 servings, 8 wings each).
| Nutrient | Amount |
|---|---|
| Calories | 320 |
| Protein | 22g |
| Carbs | 2g |
| Fat | 24g |
| Sodium | 650mg |
What’s Good: High protein, low carb. Great for keto or low-carb diets. The air frying reduces fat content compared to deep frying.
What to Know: Sodium can be high depending on the sauce you use. Use low-sodium hot sauce if you’re watching salt. The skin is still fatty, so keep portions reasonable if you’re counting calories.
My Take: Look, this is a game day snack. It’s meant to be enjoyed. It’s way better than takeout, and you know exactly what’s in it. When I want to make it lighter, I skip the butter in the Buffalo sauce and just use hot sauce. But usually? I add the butter. Life’s short.
Final Thoughts
So that’s my go-to crispy air fryer chicken wings! I’ve probably talked your ear off at this point, but when you make a recipe this often, you have a lot to say about it. These wings have saved my game day sanity more times than I can count. They’re my answer to “what’s for snack” when I’m tired, don’t want takeout, and still want something that tastes really good. My kids are happy, my husband’s happy, and I’m happy because I’m not stressed about cooking.
Make it yours! Try different sauces, swap in your favorite spices, adjust the heat level. The best recipes are the ones you adapt to your family’s tastes. If you make this, drop a comment and let me know what you think! I love hearing how recipes turn out in your kitchen. And if something doesn’t work, tell me that too—I’m here to help troubleshoot.
Happy cooking! And I hope your kitchen smells half as good as mine does right now.
Frequently Asked Questions
Can I use frozen wings?
You can, but you must thaw them completely first. Cooking frozen wings will result in uneven cooking and soggy skin. If you’re in a rush, thaw them in the fridge overnight or in a bowl of cold water.
Why are my wings not crispy?
Usually, this means the wings were too wet before cooking, or the basket was overcrowded. Make sure you pat them dry thoroughly and cook in a single layer. Also, check that your baking powder is fresh.
Can I make these ahead for a party?
Yes! Cook the wings ahead of time, store them in the fridge, and reheat them in the air fryer at 400°F for 3-4 minutes right before serving. This restores the crispiness. Toss in sauce just before serving.
Do I need to preheat the air fryer?
It’s not strictly necessary, but it helps. Preheating ensures the wings start cooking immediately at the right temperature, which promotes better crisping. I usually preheat for 3-5 minutes.
Can I use chicken thighs instead?
You can, but the cooking time will be longer. Bone-in chicken thighs take about 25-30 minutes. Make sure to check the internal temperature reaches 165°F.
Is baking powder safe to eat?
Yes, it’s completely safe. It’s a common leavening agent used in baking. In this recipe, it’s used in small amounts and doesn’t leave a soapy taste. It’s the key to getting that fried texture.
How do I store leftovers?
Store in an airtight container in the fridge for up to 3 days. Reheat in the air fryer to restore crispiness. Do not microwave.
Pin This Recipe!
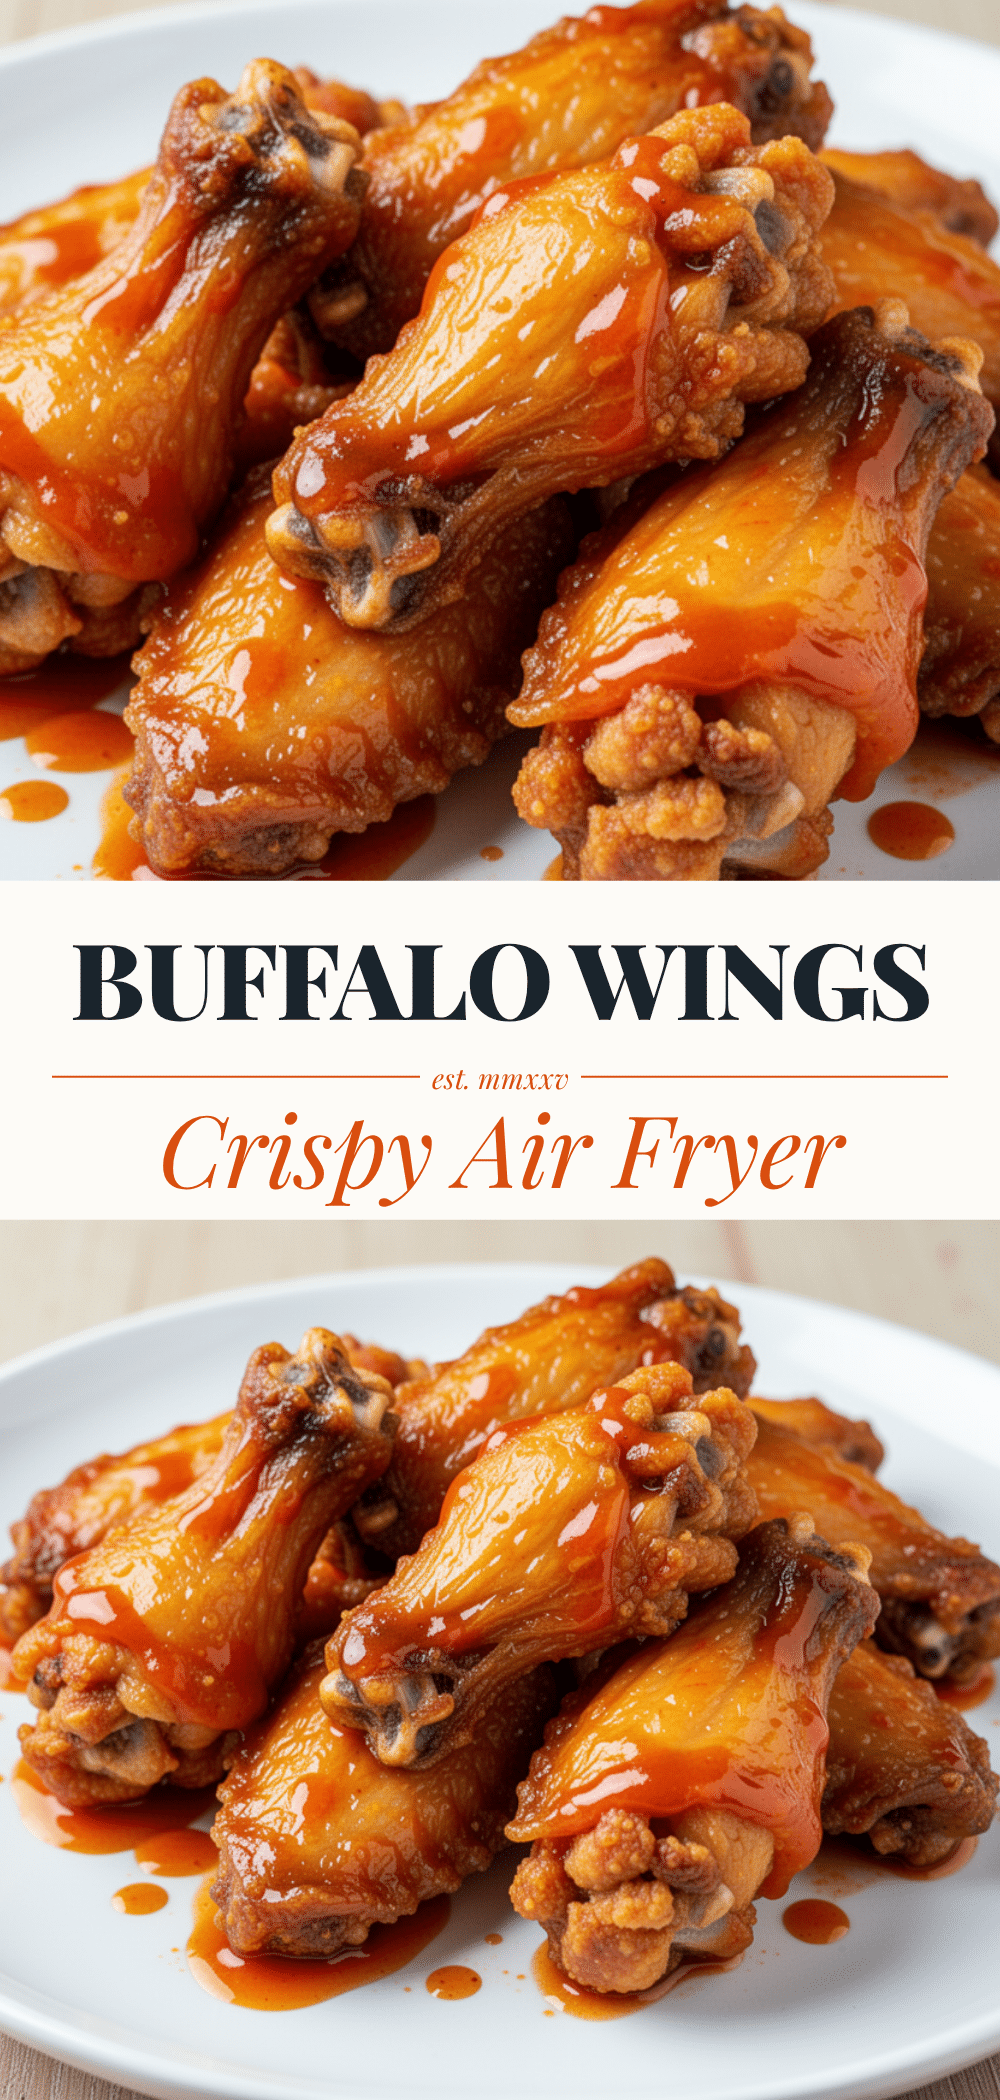
Crispy Air Fryer Chicken Wings: Best 20-Min Game Day Snack
- Total Time: 35 minutes
- Yield: 4 servings 1x
Description
Achieve restaurant-quality, shatteringly crispy chicken wings in just 20 minutes using an air fryer. This recipe uses a baking powder secret for maximum crunch with minimal oil and zero mess.
Ingredients
- 2 pounds (900g) chicken wings (party cut: drumettes and flats)
- 1 tablespoon (10g) baking powder (aluminum-free)
- 1 teaspoon (6g) kosher salt
- 1 teaspoon (2g) garlic powder
- 1 teaspoon (2g) smoked paprika
- ½ teaspoon (1g) freshly cracked black pepper
- Cooking spray (avocado oil or olive oil)
- Sauce of choice (e.g., ½ cup Frank’s RedHot and ¼ cup melted butter for Buffalo)
Instructions
- Pat chicken wings thoroughly dry with paper towels to remove all surface moisture.
- In a medium mixing bowl, combine baking powder, salt, garlic powder, smoked paprika, and black pepper.
- Add dried wings to the bowl and toss until evenly coated with the dry rub.
- Place coated wings on a wire rack or leave in the bowl and let rest at room temperature for 10-30 minutes.
- Preheat air fryer to 400°F (200°C) for 3-5 minutes.
- Arrange wings in a single layer in the air fryer basket without overlapping. Spray lightly with cooking oil.
- Cook for 10 minutes, then flip wings and spray the other side lightly with oil.
- Cook for another 8-10 minutes until golden brown, crispy, and internal temperature reaches 165°F (74°C).
- While wings cook, prepare your chosen sauce.
- Transfer hot wings to a large bowl, pour sauce over them, and toss quickly to coat.
- Serve immediately with celery sticks, carrot sticks, and dipping sauce.
Notes
Do not overcrowd the air fryer basket; cook in batches if necessary to ensure proper air circulation. Patting wings dry is crucial for crispiness. Baking powder is safe to eat and essential for breaking down proteins to create a crispy skin. Reheat leftovers in the air fryer at 400°F for 3-4 minutes; do not microwave.
- Prep Time: 15 minutes
- Cook Time: 20 minutes
- Category: Appetizer
- Cuisine: American
Nutrition
- Serving Size: 2 wings per serving
- Calories: 320
- Sugar: 1
- Sodium: 650
- Fat: 24
- Saturated Fat: 6
- Carbohydrates: 2
- Protein: 22
Keywords: air fryer chicken wings, crispy wings, game day snacks, buffalo wings, healthy fried chicken, quick dinner, keto friendly


