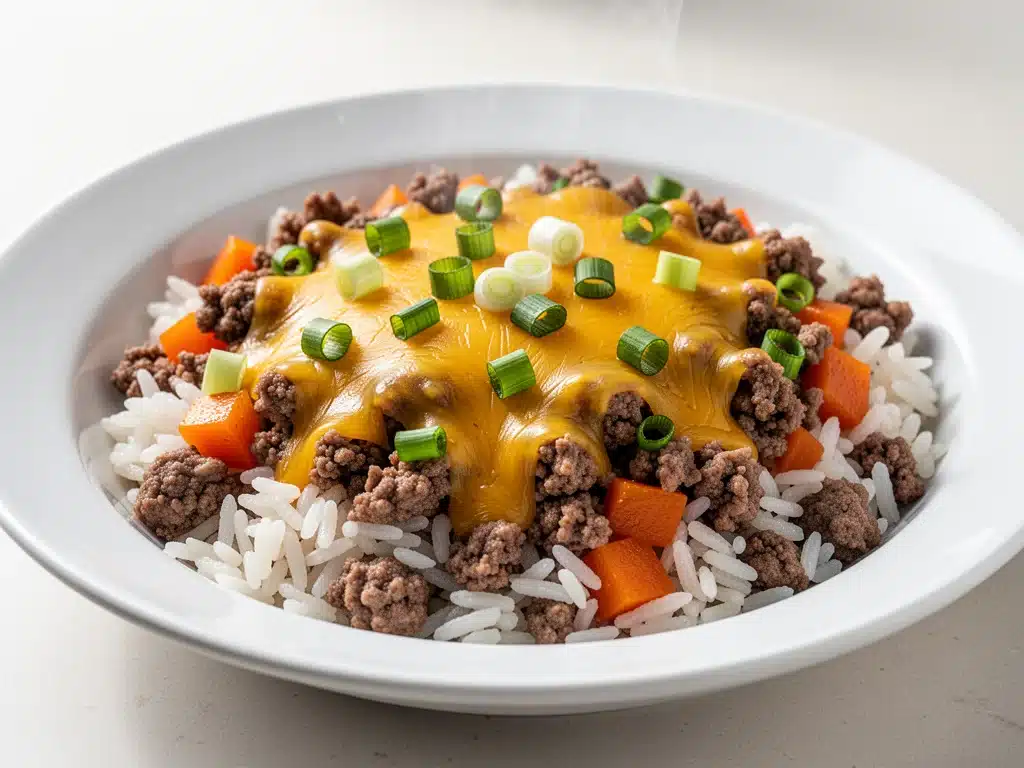
It was 6:30 PM on a Tuesday, and I was staring into the abyss of my refrigerator. You know the look. The light flickers, there’s a sad container of leftover rice from three days ago, a package of ground beef that’s been sitting there since Sunday, and a block of cheddar that’s slowly turning into a science experiment. My kids were already complaining about being hungry. My husband was asking the dreaded question: “What’s for dinner?”
I was about to cave and order takeout. But then I remembered a recipe my mom used to make when I was a kid, back when we didn’t have the money for delivery or the patience to cook complicated meals. It was a one-pan wonder—cheesy, hearty, and ridiculously easy. I threw the fridge contents into a skillet, added some spices I had on hand, and waited. Ten minutes later, the smell of melting cheese and savory beef filled the house. The kids stopped complaining. My husband took one bite and actually smiled.
That was the moment I fell in love with the Cheesy Ground Beef and Rice Skillet. It’s not just a recipe; it’s a lifeline for busy parents, a budget-friendly miracle, and honestly, one of the best meals I’ve ever made. I’ve tested this version dozens of times, tweaking the ratios and the spice blend until it was perfect. And let me tell you, it’s not just good for a “quick dinner.” It’s genuinely delicious.
If you’re tired of the same old chicken recipes or spending an hour chopping vegetables for a stir-fry, this is your answer. It’s comfort food in its purest form. No fancy techniques, no expensive ingredients, just real food that tastes like a hug from the inside. I’m going to walk you through exactly how to make it, why it works so well, and how to make it yours.
Why You’ll Love This Cheesy Ground Beef and Rice Skillet
Look, I’m not saying this is the most elegant dish in the world. It’s not going to win any culinary awards. But it is, without a doubt, the most reliable dinner I have in my rotation. Here’s why this Cheesy Ground Beef and Rice Skillet has earned a permanent spot on my weekly menu:
- One Pan, Zero Stress — Seriously, one skillet. That’s it. I hate doing dishes as much as the next person. With this recipe, you brown the beef, cook the rice, and melt the cheese all in the same pan. Cleanup takes about 30 seconds. I’ve made this while helping my kid with math homework, and it actually worked out.
- Stupid Simple Ingredients — You probably have most of this already. Ground beef, rice, onion, garlic, some canned tomatoes or sauce, and cheese. That’s it. No weird spices from the back of the cupboard you don’t recognize. It’s pantry-friendly dinner gold.
- Budget-Friendly — Feeds a family of four for under $15. I did the math. Ground beef and rice are cheap staples. Even when beef prices go up, this meal is still way cheaper than buying four individual meals at a fast-food drive-thru. Plus, it uses up that leftover rice you’re afraid to throw away.
- Kid-Approved — My picky eater, who usually only eats bread and peanut butter, asks for this every week. The cheese factor is huge. It masks any veggies you might sneak in (I’m looking at you, spinach) and makes the beef taste rich and comforting.
- Meal Prep Friendly — This reheats beautifully. I make a double batch on Sunday, store it in the fridge, and grab a container for lunch during the week. It doesn’t get soggy or weird like some casseroles do. It stays creamy and delicious.
So basically, if you want dinner to just work, this is it. No complicated techniques, no weird ingredients, just reliable, delicious food that makes everyone happy. It’s my go-to when I’m tired, broke, or just don’t want to think.
Ingredients You’ll Need
Here’s the best part: you probably have most of this already. I’m particular about three things here, and I’ll tell you exactly why. Don’t skip the details, or you might end up with a dry, bland mess.
For the Base
Ground beef (1 pound / 450g) — I use 80/20 fat ratio. Yes, it’s higher fat, but that flavor is essential. Lean beef turns this dry and chalky. If you must use lean, add a tablespoon of oil to the pan. I prefer 80/20 for that rich, juicy taste.
Yellow onion (1 medium, diced / about 200g) — Sweet onions work too, but yellow gives better depth. White onions are too sharp for this. Dice it small so it cooks evenly and disappears into the sauce.
Garlic (4 cloves, minced / about 2 tablespoons) — Yes, four cloves. Don’t skimp. Fresh only—no jarred garlic in this recipe. It tastes metallic and ruins the fresh flavor. If you’re lazy, buy pre-peeled cloves, but mince them yourself.
Long-grain white rice (1 cup / 200g) — I use standard long-grain white rice. It absorbs the liquid perfectly and stays fluffy. Do not use instant rice; it turns to mush. Do not use brown rice unless you want to change the cooking time and texture significantly.
Beef broth (1 ½ cups / 360ml) — I use low-sodium so I can control the salt. Chicken broth works too, but beef gives that savory depth. Vegetable broth is fine for a lighter taste.
For the Flavor
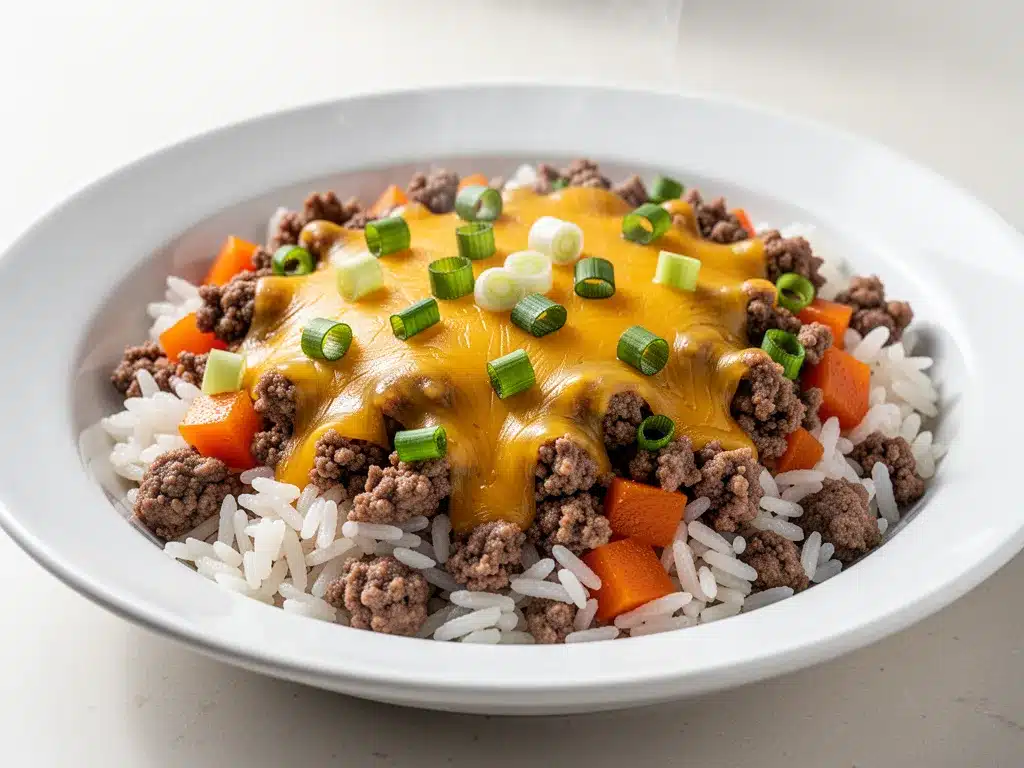
Diced tomatoes (1 can, 14.5 oz / 411g) — I use plain diced tomatoes, undrained. The juice adds moisture. If you prefer, you can use tomato sauce, but the diced bits add nice texture. Drain them if you want a thicker consistency, but I like the extra liquid for cooking the rice.
Tomato paste (2 tablespoons) — This is the secret weapon. It adds concentrated tomato flavor and helps thicken the sauce. Don’t skip it. It makes the dish taste richer than it actually is.
Chili powder (1 teaspoon) — Adds a warm, earthy base. Not too spicy, just flavorful. If you like heat, add a pinch of cayenne.
Cumin (½ teaspoon) — Essential for that savory, Mexican-inspired vibe. It complements the beef perfectly.
Salt and black pepper — To taste. I usually start with 1 teaspoon salt and ½ teaspoon pepper, but adjust based on your broth and beef.
For the Cheesy Finish
Cheddar cheese (1 ½ cups / 170g, shredded) — Buy the block and grate it yourself. Pre-shredded cheese has anti-caking agents that make the sauce grainy. Sharp cheddar is best for flavor, but mild works if you’re feeding kids. I use a mix of sharp and mild for balance.
Optional: Green onions (2 stalks, sliced) — For garnish. Adds a fresh crunch and color. I always have these in the fridge.
Optional: Sour cream — A dollop on top adds creaminess and coolness. I love this contrast.
Equipment Needed
You don’t need fancy equipment for this. Here’s what I actually use.
Large skillet or Dutch oven — I use a 12-inch cast iron skillet. It holds heat well and goes from stove to table. A non-stick skillet works too, but cast iron gives better browning. If you don’t have a large skillet, use a Dutch oven or a big pot.
Wooden spoon — For stirring. Silicone works too. Don’t use metal on non-stick.
Measuring cups and spoons — Pretty standard stuff. Dollar store versions work fine.
Sharp knife and cutting board — For chopping onion and garlic. Dull knives make you cry more—learned this the hard way.
Colander — Optional. I don’t rinse my rice for this recipe because the starch helps thicken the sauce. But if you prefer rinsed rice, you’ll need a colander.
Grater — For the cheese. Box grater or microplane. Or food processor if you’re grating lots of cheese.
Optional but nice:
- Ladle — For serving. Makes it easier to scoop out portions.
- Paper towels — For blotting excess grease if your beef is very fatty.
How to Make It: Step-by-Step
Alright, let’s make this! I’m walking you through exactly how I do it, including the little tricks I’ve picked up.
Step 1: Prep Your Ingredients (5 minutes)
Before you start cooking, chop your onion, mince your garlic, and measure everything out. I know it seems fussy, but it makes the actual cooking way less stressful. Grate your cheese while you’re at it. Once you start cooking, things move fast.
Step 2: Brown the Beef (8-10 minutes)
Heat your large skillet over medium-high heat. Add the ground beef. Break it up with your wooden spoon as it cooks. You want small crumbles, not big chunks. Cook until it’s no longer pink, about 5-7 minutes. If there’s a lot of grease, drain it off. I leave about a tablespoon for flavor. Add the diced onion and cook for 2-3 minutes until soft. Add the garlic and cook for 1 minute until fragrant. Don’t let the garlic burn.
Step 3: Build the Sauce (2 minutes)
Stir in the tomato paste, chili powder, cumin, salt, and pepper. Cook for 1 minute, stirring constantly. This “blooms” the spices and cooks out the raw tomato paste taste. It smells amazing. Pour in the beef broth and diced tomatoes (with their juice). Stir well, scraping up any browned bits from the bottom of the pan. Those bits are flavor gold.
Step 4: Cook the Rice (15-18 minutes)
Stir in the uncooked rice. Make sure it’s submerged in the liquid. Bring to a boil, then reduce heat to low. Cover the skillet with a tight-fitting lid. Simmer for 15-18 minutes. Do not lift the lid! I know it’s tempting, but steam is what cooks the rice. If you lift it, you lose the steam, and the rice will be undercooked. After 15 minutes, check the rice. It should be tender and most of the liquid should be absorbed.
Step 5: Add the Cheese (2 minutes)
Remove the skillet from heat. Sprinkle the shredded cheese evenly over the top. Replace the lid and let it sit for 2 minutes. The residual heat will melt the cheese. If it’s not fully melted, put it back on low heat for 1 minute. Do not stir yet.
Step 6: Combine and Serve (2 minutes)
Fluff the rice with a fork. Stir the melted cheese into the beef and rice mixture. It should be creamy and cohesive. Taste and adjust salt if needed. Serve hot, topped with green onions and a dollop of sour cream if you want.
Total Time: About 30 minutes (10 minutes active, 20 minutes mostly hands-off)
Expert Tips & Tricks
Here’s everything I’ve learned from making this dozens of times. These tips will save you from my mistakes.
Don’t Rinse the Rice
This is the #1 tip. The starch from the rice helps thicken the sauce. If you rinse it, you’ll end up with watery rice. I learned this the hard way with a soup-like mess. Now I just dump it in.
Keep the Lid On
I cannot stress this enough. Lifting the lid releases steam. Steam cooks the rice. No steam = undercooked rice. Be patient. Set a timer and don’t touch it.
Grate Your Own Cheese
Pre-shredded cheese contains cellulose, which prevents clumping but also prevents smooth melting. Your cheese sauce will be grainy. Grate it yourself. It takes 2 minutes and makes a huge difference.
Drain the Grease (But Not All)
If your beef is very fatty, drain most of it. But leave a little bit. Fat carries flavor. If you drain it all, the dish will taste dry.
Use Low-Sodium Broth
Canned tomatoes and beef broth can be salty. Using low-sodium lets you control the final salt level. You can always add more salt, but you can’t take it away.
Common Mistakes (and how to avoid them)
Mistake: Rice is crunchy
Fix: You lifted the lid or didn’t cook it long enough. Simmer for another 5 minutes with the lid on. If it’s still crunchy, add a splash of water and cook longer.
Mistake: Sauce is too watery
Fix: You used too much broth or didn’t simmer long enough. Simmer uncovered for a few minutes to reduce. Or add more cheese, which thickens it.
Mistake: Cheese is clumpy
Fix: Heat was too high. Remove from heat before adding cheese. Let residual heat melt it.
Variations & Substitutions
Once you’ve nailed the basic version, here’s how you can mix it up. I’ve tried all of these.
Turkey Version
Swap ground beef for ground turkey. Use olive oil instead of beef fat. It’s leaner and lighter. I use this when I’m trying to eat healthier.
Chicken Version
Swap ground beef for ground chicken or shredded rotisserie chicken. Use chicken broth. It’s milder but still good.
Vegetarian Version
Skip the beef. Use extra beans (black or kidney) or lentils. Add extra vegetables like bell peppers and zucchini. Use vegetable broth. It’s surprisingly hearty.
Spicy Version
Add a diced jalapeño with the onions. Use pepper jack cheese instead of cheddar. Add a pinch of cayenne. This is for my heat lovers.
Mexican Rice Style
Add a can of black beans and a can of corn. Use Mexican cheese blend. Top with cilantro. It’s like a deconstructed burrito bowl.
Dairy-Free
Use dairy-free cheese shreds (like Violife or Daiya) and coconut cream or olive oil for richness. It’s different but works.
Serving & Storage
How to Serve:
I usually serve this straight from the skillet at the dinner table. It looks rustic and stays warm. But here are other ways I’ve enjoyed it:
Side Dishes:
- Simple green salad with vinaigrette
- Roasted broccoli
- Garlic bread
- Corn on the cob
Toppings Bar:
When I have guests, I put out: extra cheese, sour cream, salsa, chopped cilantro, hot sauce. Everyone customizes their bowl.
Storage Instructions:
Refrigerator:
Store in an airtight container for up to 4 days. The rice will absorb more liquid, so it might look dry. Just add a splash of water or broth when reheating.
Reheating:
Best method: Add to a skillet with a splash of water or broth over low heat. Cover and stir until heated through.
Microwave method: Heat in 1-minute intervals, stirring between. Add a splash of liquid to prevent drying out.
Freezing:
Honestly, this doesn’t freeze well because of the cheese and rice texture. The rice can get mushy, and the cheese can separate. I recommend making it fresh or storing in the fridge.
Nutrition Information
I’m not a nutritionist, but here’s the breakdown if you’re tracking.
Per Serving (based on 6 servings):
- Calories: 450
- Protein: 25g
- Carbs: 40g
- Fiber: 2g
- Sugar: 4g
- Fat: 20g
- Saturated Fat: 10g
- Cholesterol: 70mg
- Sodium: 600mg
What’s Good:
- High protein from beef and cheese
- Calcium from the cheese
- Filling and satisfying
What to Know:
- Higher in calories from cheese and beef
- Contains dairy and gluten (if using certain broths)
- Moderate sodium (use low-sodium broth to reduce)
My Take:
Look, this is comfort food. It’s not a diet recipe. But it’s way better than takeout, costs less, and I know exactly what’s in it. When I want to make it lighter, I use lean turkey and less cheese. But usually? I just eat a reasonable portion and enjoy it.
Final Thoughts
So that’s my go-to Cheesy Ground Beef and Rice Skillet! I’ve probably talked your ear off at this point, but when you make a recipe this often, you have a lot to say about it.
This has saved weeknight dinners more times than I can count. It’s my answer to “what’s for dinner” when I’m tired, don’t want takeout, and still want something that tastes really good. My kids are happy, my husband’s happy, and I’m happy because I’m not stressed about cooking.
Make it yours! Try different add-ins, swap in your favorite vegetables, adjust the spice level. The best recipes are the ones you adapt to your family’s tastes.
If you make this, drop a comment and let me know what you think! I love hearing how recipes turn out in your kitchen. And if something doesn’t work, tell me that too—I’m here to help troubleshoot.
Happy cooking! And I hope your kitchen smells half as good as mine does right now.
Frequently Asked Questions
Can I use instant rice?
You can, but the texture will be different. Instant rice cooks much faster and can get mushy. If you use it, reduce the cooking time to 5-7 minutes and use less broth. I prefer long-grain white rice for the best texture, but instant works in a pinch.
Can I use brown rice?
Yes, but you’ll need to adjust the liquid and cooking time. Brown rice takes longer to cook and absorbs more liquid. Use 2 cups of broth and simmer for 40-45 minutes. It’s healthier but takes more time.
Why did my sauce turn out watery?
Usually means you didn’t simmer it long enough, or you added too much broth. Let it simmer uncovered for a few minutes to reduce. Or add more cheese, which thickens it up.
Can I make this ahead of time?
Yes, make the sauce and rice, store in the fridge, and reheat when ready. The cheese is best added fresh when reheating, but you can melt it in before serving. It reheats well.
Can I freeze this?
I don’t recommend it. The rice gets mushy and the cheese separates. It’s best eaten fresh or stored in the fridge for up to 4 days.
What cheese is best?
Sharp cheddar is my favorite for flavor. But you can use Monterey Jack, Pepper Jack, or a Mexican blend. Avoid pre-shredded cheese for best melting results.
Can I add vegetables?
Absolutely! Bell peppers, corn, zucchini, or spinach all work great. Add them with the onions or tomatoes. It’s a great way to sneak in extra nutrition.
Pin This Recipe!
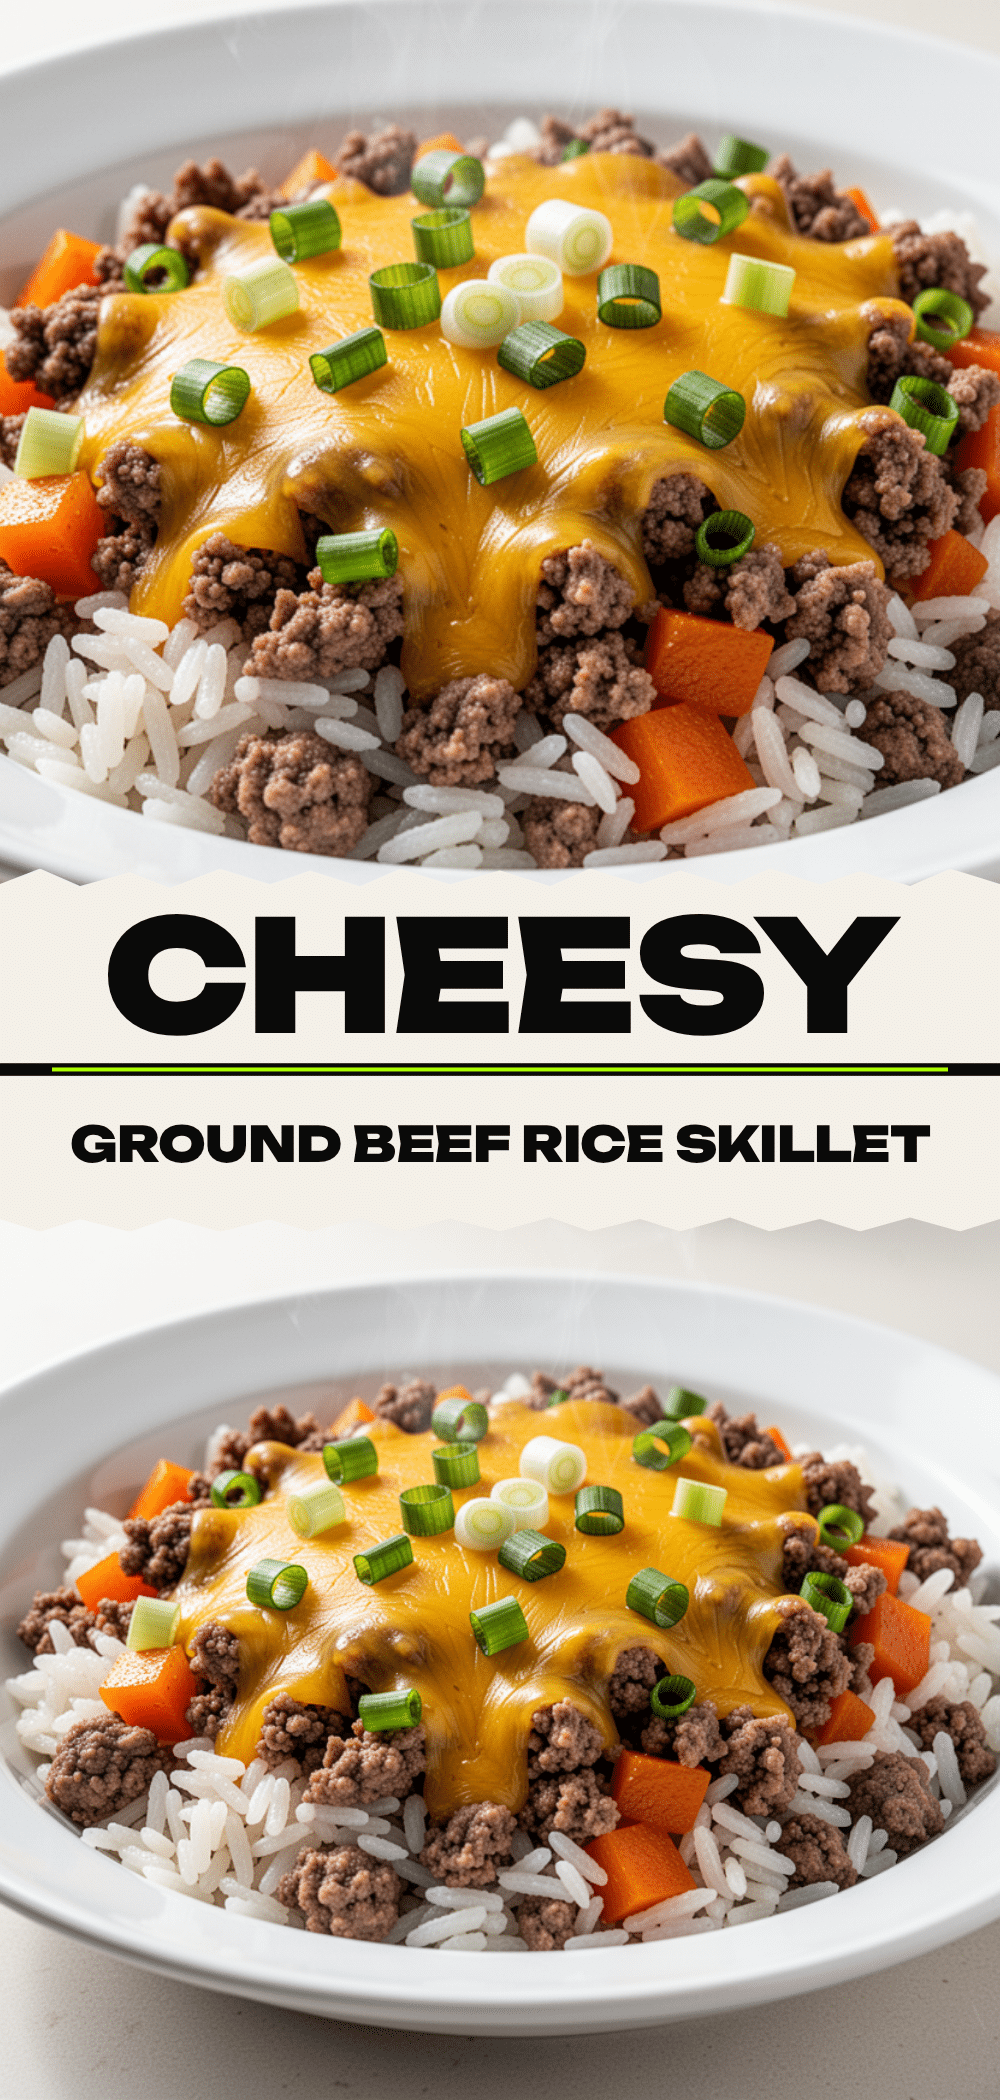

Cheesy Ground Beef and Rice Skillet
- Total Time: 30 minutes
- Yield: 6 servings 1x
Description
A one-pan, budget-friendly weeknight dinner featuring ground beef, rice, and melted cheddar cheese. This easy skillet meal is kid-approved, requires minimal cleanup, and comes together in about 30 minutes.
Ingredients
- 1 pound ground beef (80/20 fat ratio)
- 1 medium yellow onion, diced
- 4 cloves garlic, minced
- 1 cup long-grain white rice
- 1 ½ cups beef broth (low-sodium)
- 1 can (14.5 oz) diced tomatoes, undrained
- 2 tablespoons tomato paste
- 1 teaspoon chili powder
- ½ teaspoon cumin
- 1 teaspoon salt (or to taste)
- ½ teaspoon black pepper (or to taste)
- 1 ½ cups sharp cheddar cheese, shredded
- 2 stalks green onions, sliced (optional, for garnish)
- Sour cream (optional, for serving)
Instructions
- Prep ingredients: Dice the onion, mince the garlic, and shred the cheese. Measure out all other ingredients.
- Brown the beef: Heat a large skillet over medium-high heat. Add ground beef and break into small crumbles. Cook for 5-7 minutes until no longer pink. Drain excess grease, leaving about 1 tablespoon. Add diced onion and cook for 2-3 minutes until soft. Add garlic and cook for 1 minute until fragrant.
- Build the sauce: Stir in tomato paste, chili powder, cumin, salt, and pepper. Cook for 1 minute. Pour in beef broth and diced tomatoes (with juice). Stir well, scraping up browned bits from the bottom of the pan.
- Cook the rice: Stir in the uncooked rice, ensuring it is submerged. Bring to a boil, then reduce heat to low. Cover with a tight-fitting lid and simmer for 15-18 minutes without lifting the lid. Check for tenderness and liquid absorption.
- Add the cheese: Remove skillet from heat. Sprinkle shredded cheese evenly over the top. Replace lid and let sit for 2 minutes to melt via residual heat.
- Combine and serve: Fluff rice with a fork and stir in the melted cheese until creamy. Taste and adjust salt if needed. Serve hot with optional green onions and sour cream.
Notes
[‘Do not rinse the rice; the starch helps thicken the sauce.’, ‘Keep the lid on while simmering rice to trap steam.’, ‘Grate your own cheese to avoid anti-caking agents that prevent smooth melting.’, ‘Leave a little grease from the beef for flavor.’, ‘Use low-sodium broth to control salt levels.’, ‘This recipe does not freeze well due to texture changes in rice and cheese.’]
- Prep Time: 10 minutes
- Cook Time: 20 minutes
- Category: Main Course
- Cuisine: American
Nutrition
- Serving Size: 1 bowl
- Calories: 450
- Sugar: 4
- Sodium: 600
- Fat: 20
- Saturated Fat: 10
- Carbohydrates: 40
- Fiber: 2
- Protein: 25
Keywords: ground beef, rice skillet, one pan dinner, weeknight dinner, cheesy beef, easy recipe, family dinner, budget meal


