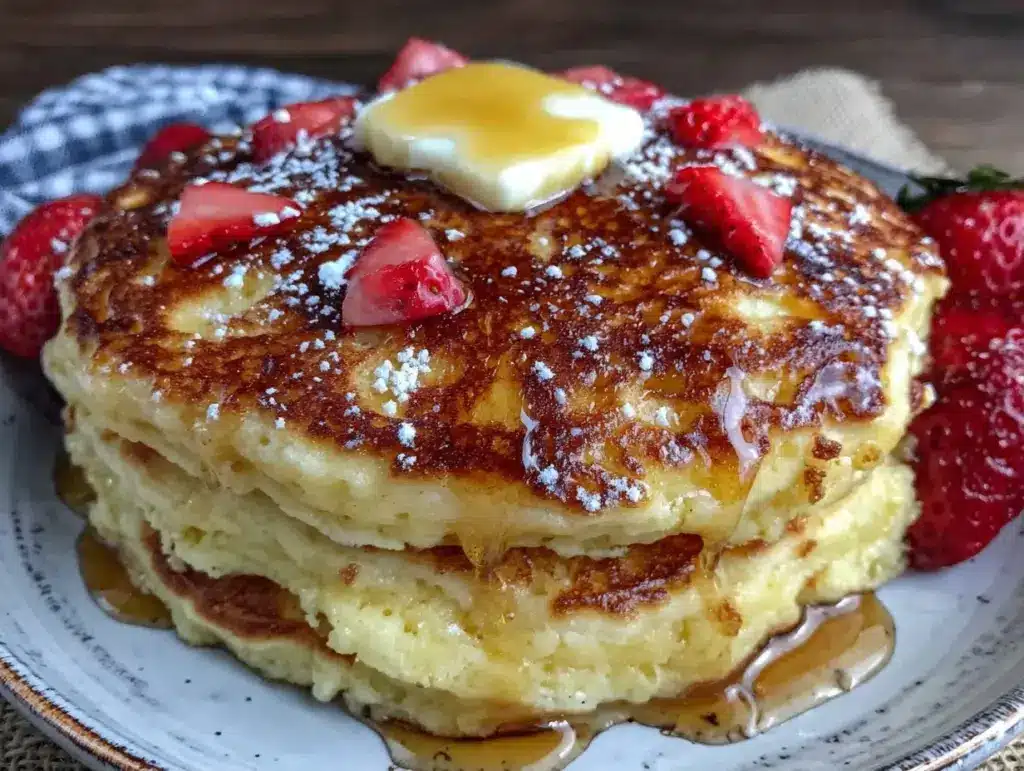
I still remember the smell of my grandmother’s kitchen on a rainy Sunday morning. It wasn’t just the coffee brewing; it was that distinct, tangy scent of buttermilk hitting hot butter. I’d wake up to the sound of clattering pans and the soft hum of her radio, and I knew exactly what day it was. She didn’t make pancakes for breakfast every day. That was a weekend luxury, a moment to slow down before the week began again.
My grandmother never rushed. While modern recipes shout about “20-minute hacks” and “overnight prep,” she spent time. She whisked the batter until her arm ached slightly. She waited for the bubbles to form and pop on the surface, signaling the perfect moment to flip. She taught me that patience isn’t wasted time; it’s the ingredient that creates texture. However, as I’ve grown older and life has gotten busier, I’ve had to find a balance. I wanted that same fluffy, golden taste without spending an hour in the kitchen before noon.
That’s why I developed this version of extra-fluffy buttermilk pancakes. I tested it dozens of times—some batches were too dense, others fell flat, and I even burned a few batches because I got distracted talking to my husband. But finally, I cracked the code. You get all the tender, cloud-like texture of my grandmother’s original, but you can have them on the table in under twenty minutes. It’s the best of both worlds: the soul of a slow morning with the speed of a busy week.
I’ve made this extra-fluffy buttermilk pancakes recipe for brunches, lazy weekends, and even quick Tuesday breakfasts when we need comfort food fast. They stack high. They hold syrup without getting soggy immediately. And honestly? They taste like a hug. If you’re looking for a way to bring a bit of that old-fashioned warmth into your home, this is the recipe for you.
Why You’ll Love This Recipe
There are a thousand pancake recipes out there. So why this one? Because it solves the biggest problem home cooks face: the sad, flat, rubbery pancake. This extra-fluffy buttermilk pancakes recipe delivers consistent results every single time. Here is why it has earned a permanent spot in my weekly rotation:
Actual Fluffiness, Not Hype — I’ve tried recipes that claim to be fluffy but turn out dense. This one uses the correct ratio of buttermilk to baking powder. The result is a pancake that springs back when you touch it. It’s light, airy, and holds its shape. I once made these for a group of skeptical foodie friends, and they asked if I was using whipped egg whites. I wasn’t. Just good chemistry.
Tangy, Rich Flavor Profile — Regular milk makes okay pancakes. Buttermilk adds a subtle tang that cuts through the sweetness of maple syrup. It’s complex. It’s savory-sweet. It keeps your palate from getting tired after the third pancake. The lactic acid in the buttermilk also tenderizes the gluten, which is key for that melt-in-your-mouth texture.
Forgiving for Beginners — You don’t need to be a pastry chef to nail this. The visual cues are clear. When you see bubbles forming and bursting on the surface, you know it’s time to flip. There’s no guessing. I’ve made this while half-asleep, and they still came out perfect. It’s a confidence builder for anyone who’s ever felt intimidated by breakfast cooking.
Ready in Under 20 Minutes — From mixing to the first bite, it takes about 15-20 minutes. This isn’t a slow-simmer project. It’s a “I woke up late and need to feed my family” solution that doesn’t sacrifice quality. It’s faster than ordering takeout and infinitely better for you.
Perfect for Company — These pancakes look beautiful. They have that golden-brown exterior that photographs well. If you’re hosting guests or want to impress your kids, presentation matters. These stack beautifully and don’t collapse under the weight of toppings. They’re sturdy enough to handle a heavy pour of syrup or a pile of fresh berries.
This is my go-to when I want breakfast to feel special but manageable. It’s reliable, delicious, and deeply satisfying.
Key Ingredients for Success
Let’s talk about what goes into the bowl. You don’t need fancy, obscure ingredients. You need quality staples. Here is exactly what you need for this extra-fluffy buttermilk pancakes recipe, and why each one matters.
All-Purpose Flour (2 cups / 250g) — This is your structure. Don’t use cake flour; it’s too weak. Don’t use bread flour; it’s too chewy. All-purpose gives you the perfect balance of tenderness and structure. Sift it if you can, but don’t obsess over it. Just make sure it’s not packed down in the bag.
Buttermilk (1 ½ cups / 360ml) — This is the star. Real buttermilk is fermented, tangy, and thick. If you can’t find it, make your own by adding 1 tablespoon of white vinegar or lemon juice to 1 ½ cups of whole milk. Let it sit for 5-10 minutes until it curdles slightly. Do not skip this. The acidity reacts with the baking powder to create lift. Regular milk will make flat pancakes.
Large Eggs (2 large / ~100g) — Room temperature eggs emulsify better into the batter. Cold eggs can cause the butter to clump. Crack them into a small bowl first to check for shells, then whisk them lightly before adding. They provide richness and help bind the batter together.
Unsalted Butter (4 tbsp / 57g, melted) — Melted butter adds flavor and tenderness. Use real butter, not margarine. The flavor difference is night and day. Let it cool slightly before adding it to the wet ingredients so it doesn’t cook the eggs. You can also use neutral oil like canola, but the flavor won’t be as rich.
Granulated Sugar (2 tbsp / 25g) — Just a little bit. You don’t want sweet pancakes; you want savory-sweet pancakes that complement the syrup. This helps with browning too. If you prefer less sweetness, you can reduce this to 1 tablespoon, but don’t eliminate it entirely.
Baking Powder (2 tsp / 8g) — Your leavening agent. Make sure it’s fresh! If your baking powder is older than six months, it might not work effectively. Test it by dropping a teaspoon into hot water; it should fizz vigorously. If it doesn’t, buy new. This is crucial for the “extra-fluffy” part of the title.
Baking Soda (½ tsp / 2g) — This reacts with the acidic buttermilk to create carbon dioxide bubbles. It’s what gives those pancakes their rise. Never skip this. The combination of baking powder and soda is what creates the optimal texture.
Salt (½ tsp / 3g) — Salt enhances flavor. It makes the pancakes taste more like pancakes. Without it, they taste flat and bland. It’s non-negotiable.
Vanilla Extract (1 tsp / 5ml) — Pure vanilla adds warmth and depth. Avoid imitation vanilla. It tastes chemical. A good quality extract makes a huge difference in the final aroma.
Tools You’ll Need
You don’t need a fancy kitchen to make these. Here is what I use, and what works just as well.
Large Mixing Bowl — I use a 4-quart ceramic bowl. It’s wide enough to whisk without splashing. A glass bowl works too, but ceramic feels nicer to hold.
Medium Mixing Bowl — For your wet ingredients. Keep the bowls separate until the last minute. This prevents overmixing.
Whisk — A standard balloon whisk is perfect. You don’t need an electric mixer. Hand whisking gives you control and prevents overworking the gluten.
Measuring Cups and Spoons — Use proper measuring tools. Scooping flour directly from the bag with a cup packs it down, leading to dry pancakes. Spoon the flour into the cup and level it off with a knife. It’s a small step that makes a big difference.
Non-Stick Griddle or Skillet — I use a cast iron griddle for even heat distribution. A non-stick skillet is easier for beginners. Avoid stainless steel unless you’re experienced with temperature control; pancakes will stick.
Spatula — A thin, flexible silicone spatula is best for flipping. It gets under the pancake easily without tearing it.
How to Make Extra-Fluffy Buttermilk Pancakes
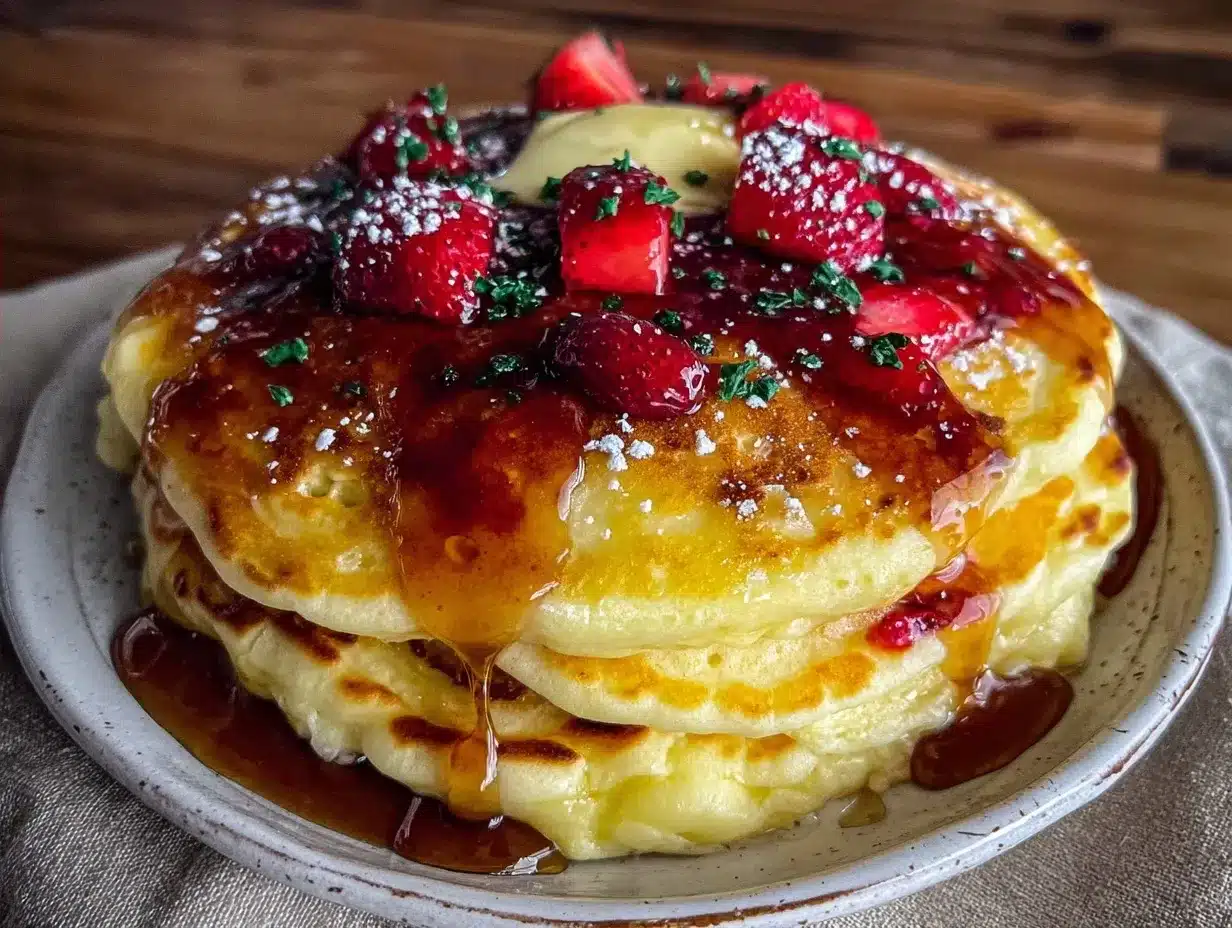
Here is the step-by-step process. It’s simple, but timing is everything. Follow these steps closely for the best results.
Step 1: Mix Dry Ingredients (2 minutes)
In your large bowl, whisk together the flour, sugar, baking powder, baking soda, and salt. Whisking them together ensures that the leavening agents are evenly distributed. If you don’t do this, you might get pockets of bitter baking soda in your finished pancakes. Whisk for about 30 seconds to aerate the flour slightly.
Step 2: Combine Wet Ingredients (2 minutes)
In the medium bowl, whisk the buttermilk, eggs, melted butter, and vanilla extract until smooth. The butter should be warm, not hot. If it’s too hot, it will scramble the eggs. The mixture should look creamy and uniform.
Step 3: Bring Them Together (1 minute)
Make a well in the center of the dry ingredients. Pour the wet ingredients into the well. Start whisking gently from the center outward. Stop as soon as the flour is moistened. The batter will be lumpy. This is good. Lumpy batter means tender pancakes. Overmixing develops gluten, which leads to tough, rubbery pancakes. Do not strive for a smooth batter. If you see streaks of flour, that’s okay; they will cook out in the pan.
Step 4: Rest the Batter (5 minutes)
Let the batter sit for 5 minutes. This allows the flour to hydrate and the leavening agents to start working. You’ll see small bubbles forming on the surface. Do not skip this step. It is the secret to the extra-fluffy texture. While it rests, heat your griddle.
Step 5: Preheat the Griddle (5 minutes)
Heat your griddle or skillet over medium heat. Test it by sprinkling a few drops of water on the surface. If they sizzle and evaporate, it’s ready. If they dance around like mercury, it’s too hot. If they just sit there, it’s too cold. Aim for a steady, gentle sizzle. Lightly grease the surface with butter or oil. Butter adds flavor but burns faster; oil is more stable. I usually brush with oil and finish with a pat of butter for flavor.
Step 6: Cook the Pancakes (2-3 minutes per side)
Pour about ¼ cup of batter onto the griddle for each pancake. Do not crowd the pan. Cook until the edges look set and dry, and bubbles form on the surface and pop, leaving small holes that don’t immediately fill back in. This usually takes about 2 minutes. Flip carefully. Cook the second side for another 1-2 minutes until golden brown. They should spring back when you press them lightly.
Step 7: Serve Immediately
Transfer to a plate and cover loosely with foil to keep warm while you cook the rest. Serve with warm maple syrup, butter, and fresh berries. Enjoy the fruits of your labor.
Total Time: 20 minutes (10 min prep, 10 min cook).
Expert Tips for Perfect Pancakes
Here is everything I learned from making this too many times. These tips separate the good pancakes from the great ones.
Don’t Overmix the Batter
This is the #1 mistake. Once flour meets liquid, gluten develops. Mix just until combined. The first time I made this, I mixed for 2 minutes thinking smooth is better. The bread came out tough. Never again. Lumps are your friend.
Control the Heat
Medium heat is the sweet spot. If the outside burns before the inside cooks, lower the heat. If the pancakes are pale and greasy, raise it slightly. It takes a test pancake to dial in your stove. Discard the first one if needed; it’s the cook’s tax.
Use Buttermilk, Not Milk
I cannot stress this enough. The acid in buttermilk tenderizes the gluten and reacts with the baking soda. Milk pancakes are fine, but they lack that distinct tang and lift. If you’re out of buttermilk, make a substitute with milk and vinegar. It works surprisingly well.
Keep Them Warm
Set your oven to 200°F (95°C). Place a wire rack on a baking sheet and put cooked pancakes on it. This keeps them warm and crisp without steaming them. If you stack them on a plate, the steam will make the bottoms soggy. I’ve ruined perfect pancakes by stacking them too early. Learn from my mistake.
Recipe Variations
Once you’ve nailed the basic version, here’s how to mix it up. This extra-fluffy buttermilk pancakes base is versatile.
Berry Burst Pancakes
Add ½ cup of fresh blueberries or raspberries to the batter just before cooking. The berries add bursts of tartness that pair perfectly with the buttermilk. Don’t stir them in too much, or they will bleed color into the batter.
Chocolate Chip Delight
Fold in ½ cup of semi-sweet chocolate chips. They melt into gooey pockets. This is a hit with kids and adults alike. It turns breakfast into dessert.
Banana Walnut
Mash one ripe banana and fold it into the batter along with ½ cup of chopped walnuts. The banana adds natural sweetness and moisture. This is a great way to use up overripe bananas.
Gluten-Free Option
Use a 1:1 gluten-free flour blend. Make sure it contains xanthan gum, or add ½ teaspoon. The texture might be slightly denser, but the flavor will still be excellent.
Dairy-Free Version
Use oat milk or almond milk mixed with vinegar for the buttermilk substitute. Use coconut oil or vegan butter instead of dairy butter. The result is surprisingly close to the original.
Serving & Storage
Serving Suggestions
I serve these with warm maple syrup, a pat of salted butter, and a handful of fresh strawberries or blueberries. For a more indulgent treat, add whipped cream or a dollop of Greek yogurt. They pair beautifully with crispy bacon or sausage links. If you want a savory twist, try them with fried chicken, similar to crispy air fryer chicken wings, for a southern-style feast.
Storage
These pancakes are best fresh. However, if you have leftovers, let them cool completely. Store them in an airtight container in the refrigerator for up to 3 days. Reheat them in a toaster or a 350°F oven for 5 minutes to restore crispness. The microwave will make them chewy and tough.
They also freeze well. Lay cooled pancakes on a baking sheet and freeze until solid, then transfer to a freezer bag. They will keep for up to 3 months. Reheat directly from frozen in a toaster. This is a great meal prep option for busy mornings.
Nutrition Information
I’m not a nutritionist, but here’s the breakdown. This is comfort food. It’s meant to be enjoyed.
| Per Serving (2 pancakes) | Amount |
|---|---|
| Calories | 280 |
| Protein | 8g |
| Carbohydrates | 42g |
| Fiber | 1g |
| Fat | 9g |
| Sodium | 450mg |
My Take: These are not diet food. They are carbohydrate-rich, energy-dense, and delicious. But they are made with simple, recognizable ingredients. Unlike processed breakfast cereals or frozen waffles, you know exactly what’s in them. They provide sustained energy for your day. Enjoy them as part of a balanced meal.
Final Thoughts
Making these extra-fluffy buttermilk pancakes is more than just cooking; it’s a moment of connection. Whether you’re feeding your family, hosting friends, or just treating yourself, these pancakes bring a sense of comfort and nostalgia. They remind me of my grandmother’s kitchen, of slow Sundays, and of the joy found in simple things.
I hope you try this recipe. I hope it becomes a tradition in your home. And if you do, I’d love to hear how it turns out. Drop a comment below with your favorite topping or any modifications you made. Happy cooking!
Frequently Asked Questions
Q: Can I use self-rising flour instead of all-purpose flour?
A: You can, but you need to adjust the recipe. Self-rising flour already contains baking powder and salt. If you use it, omit the baking powder and salt from this recipe. However, the texture might be slightly different because self-rising flour often has a lower protein content. I recommend sticking to all-purpose for the best results.
Q: Why are my pancakes dense?
A: This is usually caused by overmixing the batter. Remember, lumps are good. Also, check your baking powder. If it’s old, it won’t create enough lift. Make sure you are using buttermilk, not regular milk, as the acidity is crucial for the reaction.
Q: Can I make the batter ahead of time?
A: It’s not recommended. The baking powder starts working as soon as it hits the liquid. If you let the batter sit for more than 10 minutes, the bubbles will escape, and the pancakes will be flat. However, you can prep the dry and wet ingredients separately in the fridge and mix them just before cooking.
Q: How do I keep pancakes warm for a crowd?
A: Set your oven to 200°F (95°C). Place a wire rack on a baking sheet and arrange the cooked pancakes on it. This allows air to circulate and keeps them warm without steaming. Do not stack them on a plate, as the steam will make the bottoms soggy.
Q: Can I freeze these pancakes?
A: Yes, they freeze beautifully. Let them cool completely, then freeze them in a single layer on a baking sheet. Once solid, transfer them to a freezer bag. They will keep for up to 3 months. Reheat in a toaster for the best texture.
Q: What is the best substitute for buttermilk?
A: For every cup of buttermilk, add 1 tablespoon of white vinegar or lemon juice to a measuring cup, then fill the rest with milk. Let it sit for 5-10 minutes until it thickens slightly. This creates the acidity needed for the recipe.
Pin This Recipe!
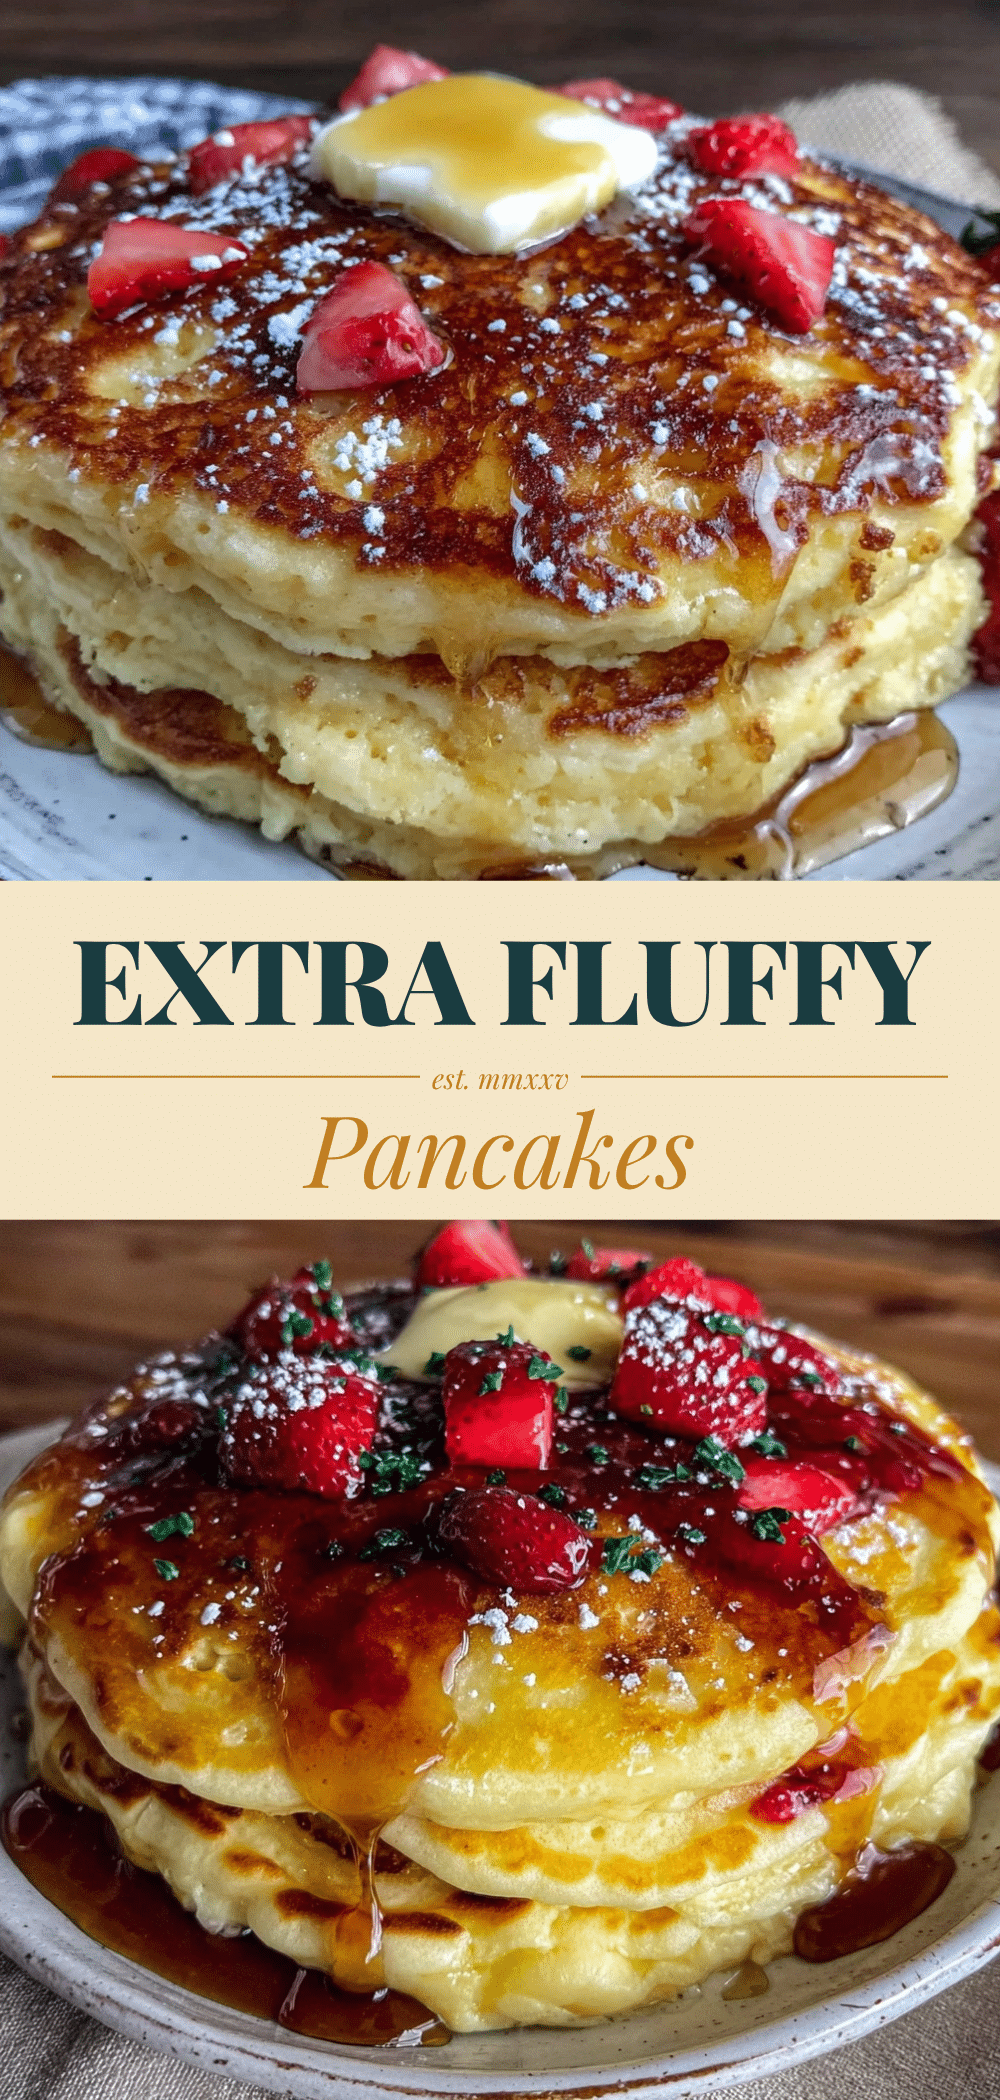
Extra-Fluffy Buttermilk Pancakes: Grandma’s 20-Minute Recipe
- Total Time: 20 minutes
- Yield: 4 servings 1x
Description
A quick and reliable recipe for tender, cloud-like buttermilk pancakes that deliver consistent fluffiness in under 20 minutes, perfect for busy mornings or special weekend brunches.
Ingredients
- 2 cups (250g) All-Purpose Flour
- 1 ½ cups (360ml) Buttermilk
- 2 large Eggs
- 4 tbsp (57g) Unsalted Butter, melted
- 2 tbsp (25g) Granulated Sugar
- 2 tsp (8g) Baking Powder
- ½ tsp (2g) Baking Soda
- ½ tsp (3g) Salt
- 1 tsp (5ml) Vanilla Extract
Instructions
- In a large bowl, whisk together the flour, sugar, baking powder, baking soda, and salt for about 30 seconds to aerate and distribute leavening agents.
- In a medium bowl, whisk the buttermilk, eggs, melted butter, and vanilla extract until smooth and creamy. Ensure the butter is warm, not hot.
- Make a well in the center of the dry ingredients and pour in the wet ingredients. Whisk gently from the center outward until just moistened. The batter should remain lumpy; do not overmix.
- Let the batter rest for 5 minutes to allow the flour to hydrate and leavening agents to activate.
- Preheat a non-stick griddle or skillet over medium heat. Test readiness by sprinkling water; it should sizzle gently. Lightly grease with oil or butter.
- Pour about ¼ cup of batter onto the griddle for each pancake. Cook until edges look set and bubbles form and pop on the surface (approx. 2 minutes).
- Flip carefully and cook the second side for another 1-2 minutes until golden brown and springy to the touch.
- Transfer cooked pancakes to a plate and cover loosely with foil to keep warm. Serve immediately with maple syrup, butter, and fresh berries.
Notes
Do not overmix the batter; lumps are good and ensure tenderness. Use fresh baking powder for maximum lift. If you don’t have buttermilk, substitute with milk plus 1 tablespoon of vinegar or lemon juice per cup, let sit for 5-10 minutes. Keep cooked pancakes warm in a 200°F oven on a wire rack to prevent sogginess.
- Prep Time: 10 minutes
- Cook Time: 10 minutes
- Category: Breakfast
- Cuisine: American
Nutrition
- Serving Size: 2 pancakes
- Calories: 280
- Sugar: 12
- Sodium: 450
- Fat: 9
- Saturated Fat: 5
- Carbohydrates: 42
- Fiber: 1
- Protein: 8
Keywords: buttermilk pancakes, fluffy pancakes, quick breakfast, weekend brunch, homemade pancakes, easy pancake recipe, southern breakfast


